


How to create a Svelte app with serverless
In this example we will look at how to create and deploy SvelteKit to AWS with SST. We’ll be using the SvelteKitSite construct.
Requirements
- Node.js 16 or later
- We’ll be using TypeScript
- An AWS account with the AWS CLI configured locally
Create a SvelteKit app
 Let’s start by creating a SvelteKit app. We’ll use TypeScript and just go with the defaults.
$ npx create-svelte@latest
Initialize SST in your app
Initialize SST in your Svelte app by running this in the root.
$ npx create-sst@latest
$ npm install
This will detect that you are trying to configure a Svelte app. It’ll add a sst.config.ts and a couple of packages to your package.json.
import type { SSTConfig } from "sst";
import { Cron, Bucket, SvelteKitSite } from "sst/constructs";
export default {
config(_input) {
return {
name: "quickstart-sveltekit",
region: "us-east-1",
};
},
stacks(app) {
app.stack(function Site({ stack }) {
const site = new SvelteKitSite(stack, "site");
stack.addOutputs({
url: site.url,
});
});
},
} satisfies SSTConfig;
The stacks code describes the infrastructure of your serverless app. SST uses AWS CDK.
You are ready to deploy your Svelte app at this point! But for the purpose of this example, we’ll go a bit further and add a file uploads feature to our app.
Start the dev environment
Let’s start our SST dev environment.
$ npx sst dev
SST features a Live Lambda Development environment that allows you to work on your serverless apps live. This will ask you to start your Svelte dev environment as well.
Start Svelte locally in a separate terminal.
$ npm run dev
This will run sst bind next dev. More on bind later.
Create our infrastructure
To support file uploads in our app, we need an S3 bucket. Let’s add that.
Add the table
Add the following above our SvelteKitSite definition in the sst.config.ts.
const bucket = new Bucket(stack, "public");
Here we are using the Bucket construct to create an S3 bucket.
Add it to the imports.
- import { SvelteKitSite } from "sst/constructs";
+ import { Bucket, SvelteKitSite } from "sst/constructs";
Bind it to our app
We want our Svelte app to be able to access our bucket.
Add this to our Svelte definition in the sst.config.ts.
- const site = new SvelteKitSite(stack, "site");
+ const site = new SvelteKitSite(stack, "site", {
+ bind: [bucket],
+ });
We’ll see what bind does below.
Support file uploads
Now to let our users upload files in our Svelte app we need to start by generating a presigned URL. This is a temporary URL that our frontend can make a request to upload files.
Generate a presigned URL
Create a src/routes/+page.server.ts with this.
export const load = (async () => {
const command = new PutObjectCommand({
ACL: "public-read",
Key: crypto.randomUUID(),
Bucket: Bucket.public.bucketName,
});
const url = await getSignedUrl(new S3Client({}), command);
return { url };
}) satisfies PageServerLoad;
This generates a presigned URL when our app loads. Note how we can access our S3 bucket in a typesafe way — Bucket.public.bucketName. You can learn more about Resource Binding over on our docs.
We need to install a couple of packages.
$ npm install @aws-sdk/client-s3 @aws-sdk/s3-request-presigner
And add these to the imports.
import crypto from "crypto";
import { Bucket } from "sst/node/bucket";
import type { PageServerLoad } from "./$types";
import { getSignedUrl } from "@aws-sdk/s3-request-presigner";
import { S3Client, PutObjectCommand } from "@aws-sdk/client-s3";
Add an upload form
Now let’s add the form.
Replace the HTML in src/routes/+page.svelte with.
<section>
<form on:submit|preventDefault={handleSubmit}>
<input name="file" type="file" accept="image/png, image/jpeg" />
<button type="submit">Upload</button>
</form>
</section>
And add the upload handler as <script lang="ts">.
import type { PageData } from "./$types";
export let data: PageData;
const handleSubmit = async (e: SubmitEvent) => {
const formData = new FormData(e.target as HTMLFormElement);
const file = formData.get("file") as File;
const image = await fetch(data.url, {
body: file,
method: "PUT",
headers: {
"Content-Type": file.type,
"Content-Disposition": `attachment; filename="${file.name}"`,
},
});
window.location.href = image.url.split("?")[0];
};
We also need to disable prerendering since we want to generate the presigned URL on page load.
Replace src/routes/+page.ts with.
// since there is data here, we can't prerender
export const prerender = false;
Test your app
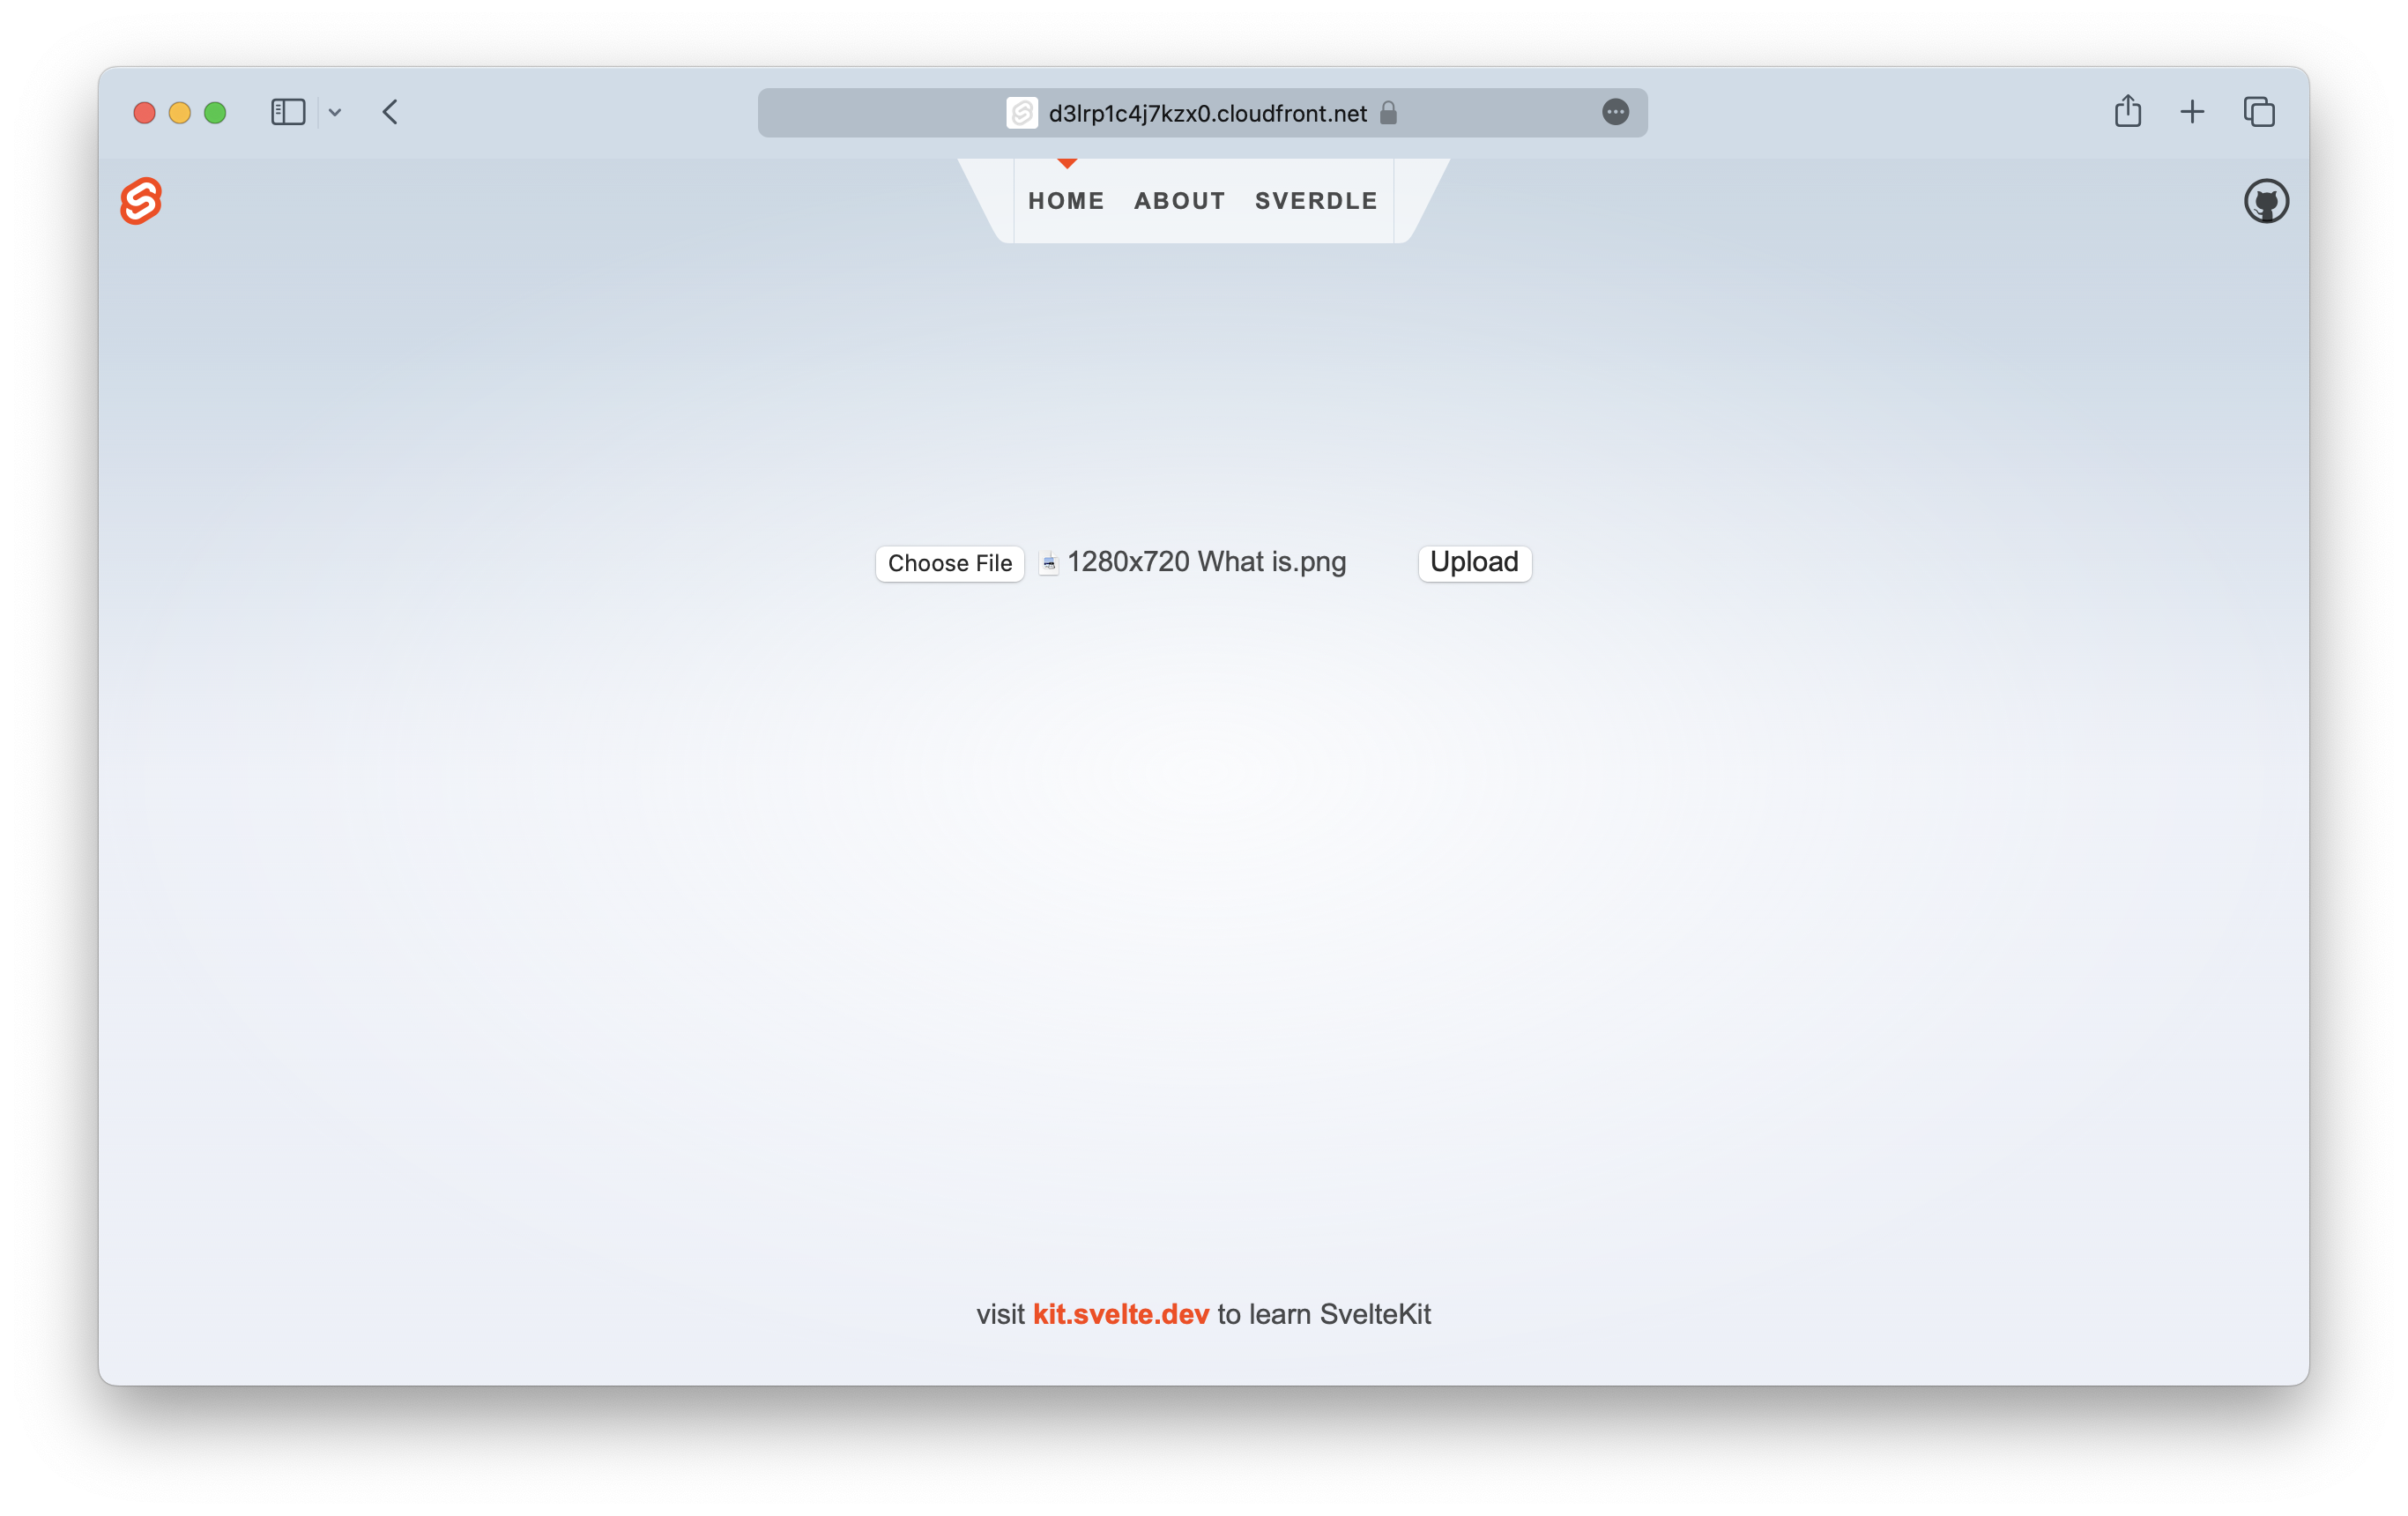
Now if you flip over to your browser, you should be able to upload an image and it’ll redirect to it!
Deploy to AWS
To wrap things up we’ll deploy our app to prod.
$ npx sst deploy --stage prod
This allows us to separate our environments, so when we are working in our local environment, it doesn’t break the app for our users. You can stop the npm run dev command that we had previously run.
Once deployed, you should see your app’s URL.
SiteUrl: https://dq1n2yr6krqwr.cloudfront.net
If you head over to the URL in your browser, you should see your new Svelte app in action!
We can add a custom domain to our app but we’ll leave that as an exercise for later.
Cleaning up
Finally, you can remove the resources created in this example using the following commands.
$ npx sst remove
$ npx sst remove --stage prod
Conclusion
And that’s it! We’ve got a full-stack SvelteKit app deployed to AWS with SST. We also added an S3 bucket and the ability to upload files! Check out the repo below for the code we used in this example.
For help and discussion
Comments on this example