Bun on AWS with SST
We are going to build an app with Bun, add an S3 Bucket for file uploads, and deploy it to AWS in a container with SST.
Before you get started, make sure to configure your AWS credentials.
Examples
We also have a few other Bun examples that you can refer to.
1. Create a project
Let’s start by creating our Bun app.
mkdir aws-bun && cd aws-bunbun init -yInit Bun Serve
Replace your index.ts with the following.
const server = Bun.serve({  async fetch(req) {    const url = new URL(req.url);
    if (url.pathname === "/" && req.method === "GET") {      return new Response("Hello World!");    }
    return new Response("404!");  },});
console.log(`Listening on ${server.url}`);
This starts up an HTTP server by default on port 3000.
Add scripts
Add the following to your package.json.
"scripts": { "dev": "bun run --watch index.ts"},This adds a dev script with a watcher.
Init SST
Now let’s initialize SST in our app.
bunx sst initbun installThis’ll create an sst.config.ts file in your project root and install SST.
2. Add a Service
To deploy our Bun app, let’s add an AWS Fargate container with Amazon ECS. Update your sst.config.ts.
async run() {  const vpc = new sst.aws.Vpc("MyVpc");
  const cluster = new sst.aws.Cluster("MyCluster", { vpc });  new sst.aws.Service("MyService", {    cluster,    loadBalancer: {      ports: [{ listen: "80/http", forward: "3000/http" }],    },    dev: {      command: "bun dev",    },  });}
This creates a VPC with an ECS Cluster, and adds a Fargate service to it.
The dev.command tells SST to instead run our Bun app locally in dev mode.
Start dev mode
Run the following to start dev mode. This’ll start SST and your Bun app.
bun sst devOnce complete, click on MyService in the sidebar and open your Bun app in your browser.
3. Add an S3 Bucket
Let’s add an S3 Bucket for file uploads. Add this to your sst.config.ts below the Vpc component.
const bucket = new sst.aws.Bucket("MyBucket");Link the bucket
Now, link the bucket to the container.
new sst.aws.Service("MyService", { // ... link: [bucket],});This will allow us to reference the bucket in our Bun app.
4. Upload a file
We want a POST request made to the / route to upload a file to our S3 bucket. Let’s add this below our Hello World route in our index.ts.
if (url.pathname === "/" && req.method === "POST") {  const formData = await req.formData();  const file = formData.get("file")! as File;  const params = {    Bucket: Resource.MyBucket.name,    ContentType: file.type,    Key: file.name,    Body: file,  };  const upload = new Upload({    params,    client: s3,  });  await upload.done();
return new Response("File uploaded successfully.");}Add the imports. We’ll use the extra ones below.
import { Resource } from "sst";import {  S3Client,  GetObjectCommand,  ListObjectsV2Command,} from "@aws-sdk/client-s3";import { Upload } from "@aws-sdk/lib-storage";import { getSignedUrl } from "@aws-sdk/s3-request-presigner";
const s3 = new S3Client();
And install the npm packages.
bun install @aws-sdk/client-s3 @aws-sdk/lib-storage @aws-sdk/s3-request-presigner5. Download the file
We’ll add a /latest route that’ll download the latest file in our S3 bucket. Let’s add this below our upload route in index.ts.
if (url.pathname === "/latest" && req.method === "GET") { const objects = await s3.send( new ListObjectsV2Command({ Bucket: Resource.MyBucket.name, }), ); const latestFile = objects.Contents!.sort( (a, b) => (b.LastModified?.getTime() ?? 0) - (a.LastModified?.getTime() ?? 0), )[0]; const command = new GetObjectCommand({ Key: latestFile.Key, Bucket: Resource.MyBucket.name, }); return Response.redirect(await getSignedUrl(s3, command));}Test your app
To upload a file run the following from your project root.
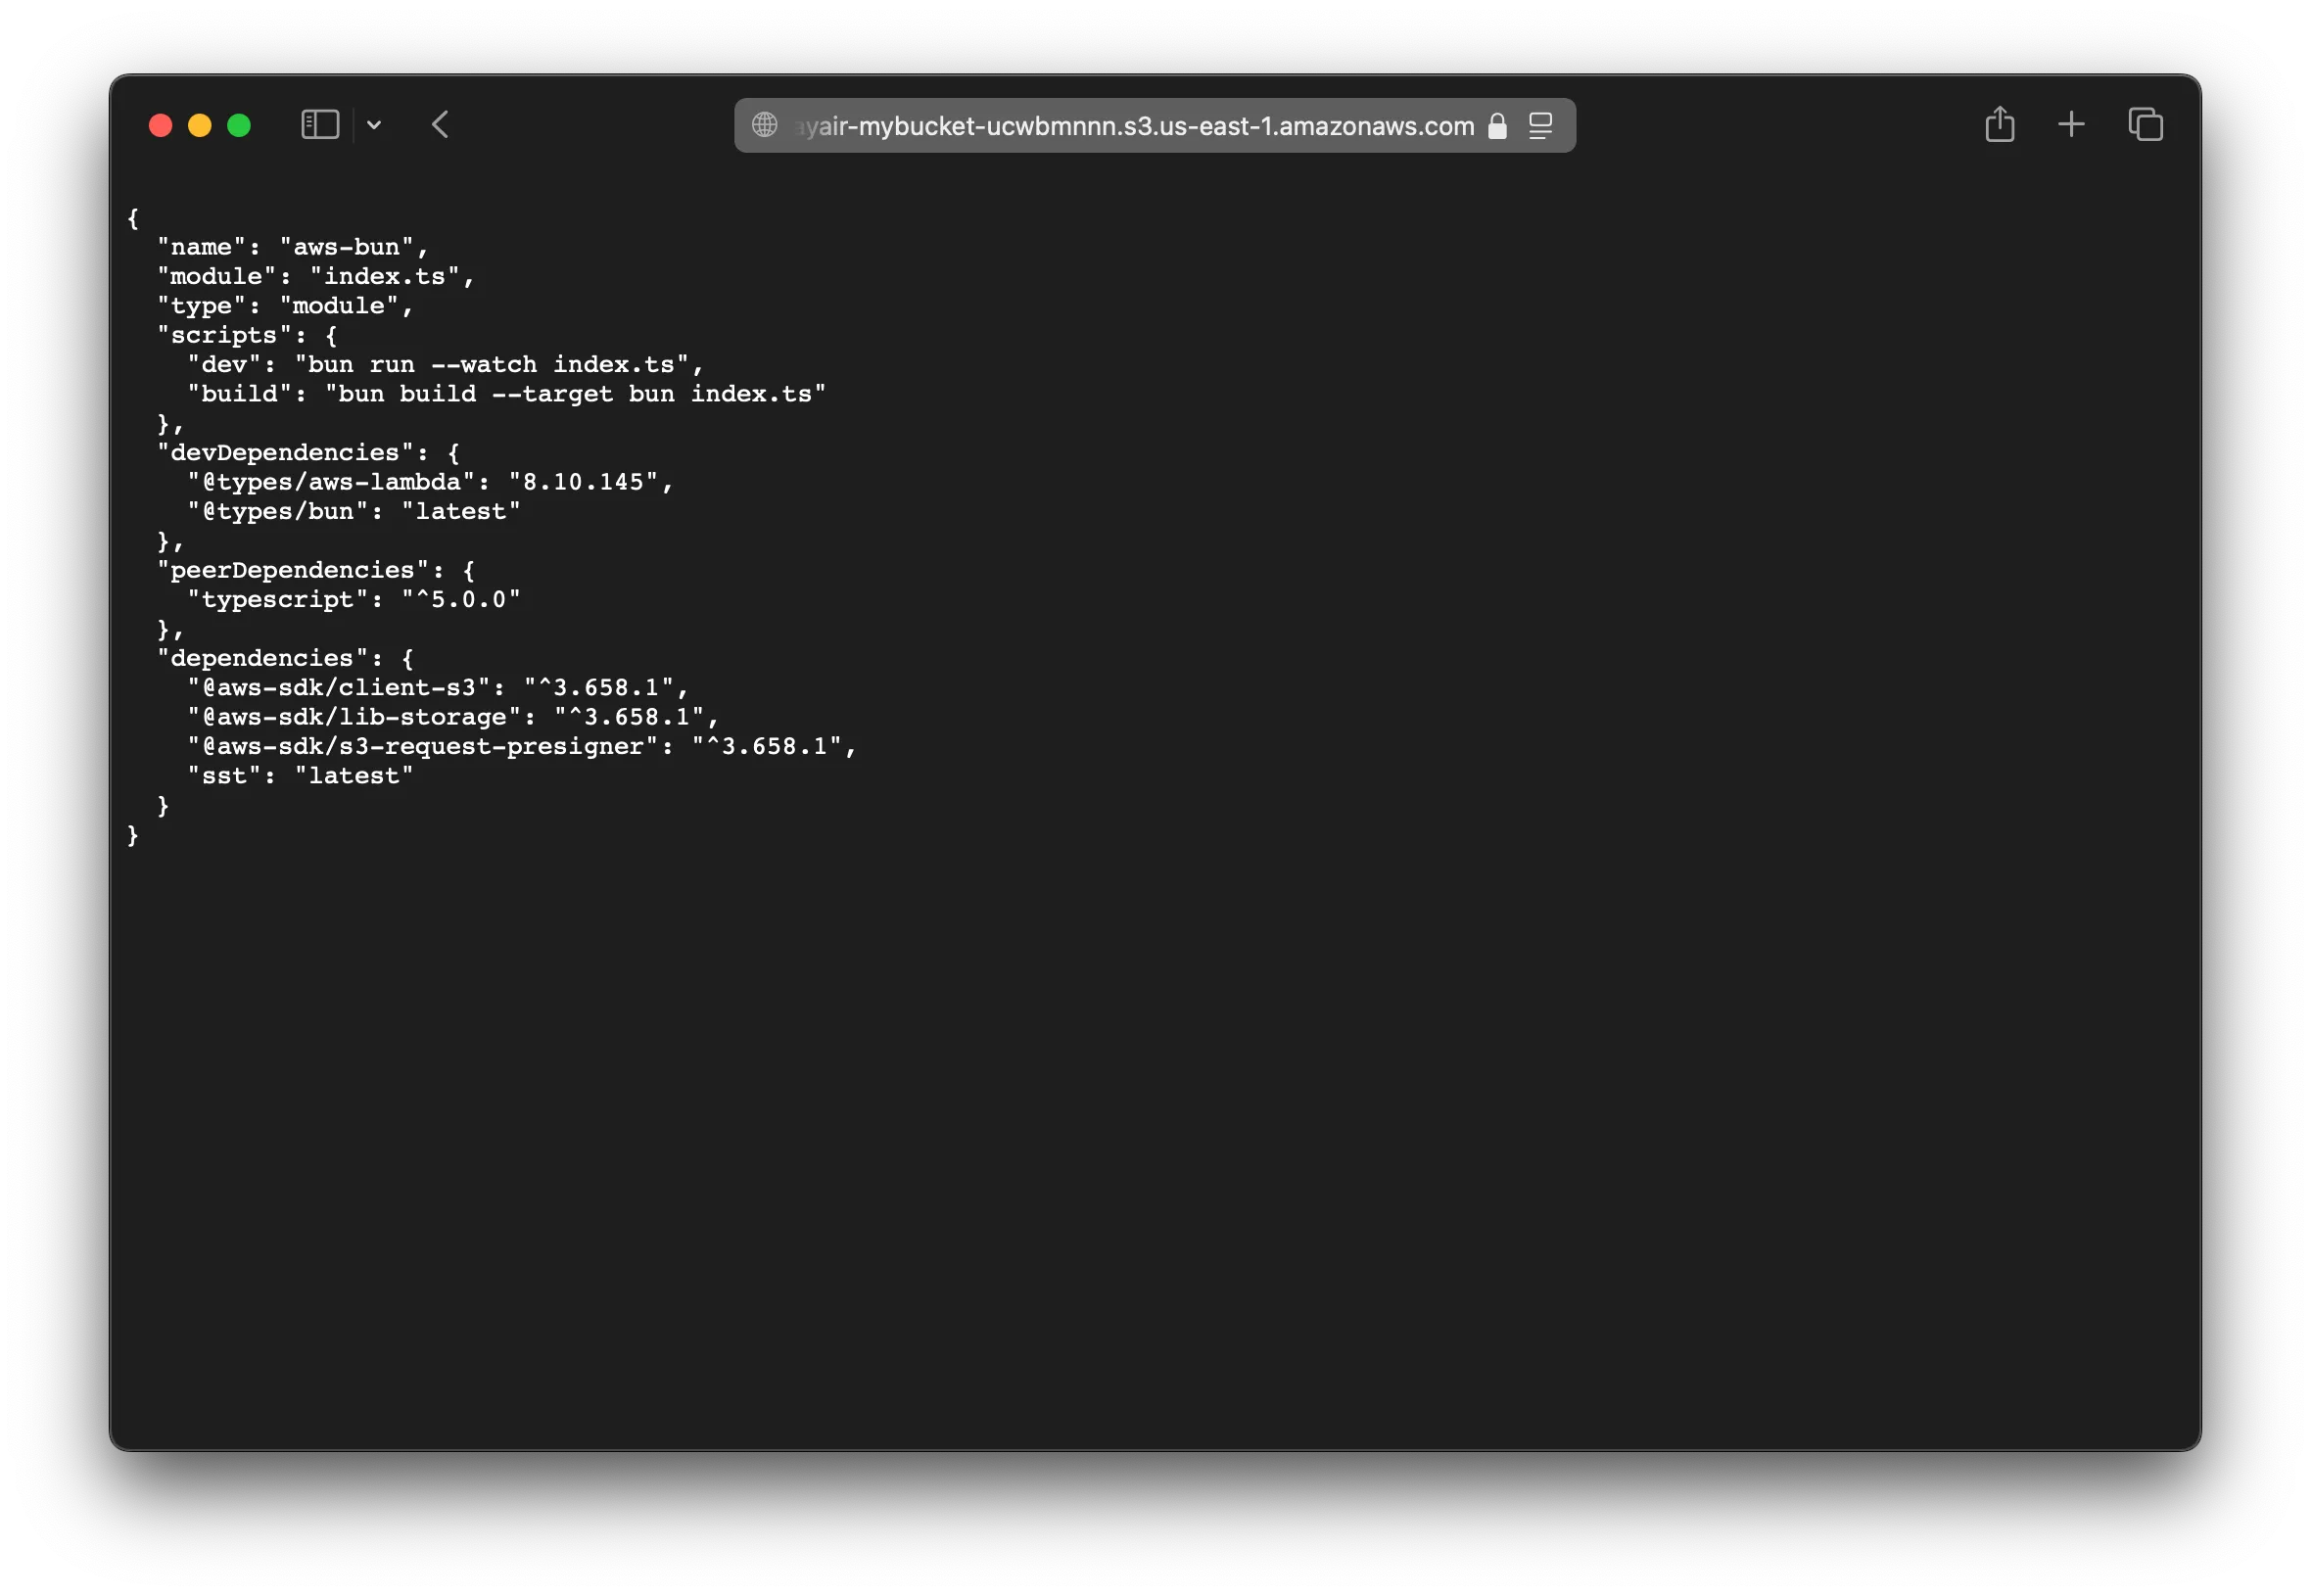
curl -F file=@package.json http://localhost:3000/This should upload the package.json. Now head over to http://localhost:3000/latest in your browser and it’ll show you what you just uploaded.

6. Deploy your app
To deploy our app we’ll first add a Dockerfile.
FROM oven/bun
COPY bun.lock .COPY package.json .
RUN bun install --frozen-lockfile
COPY . .
EXPOSE 3000CMD ["bun", "index.ts"]
This is a pretty basic setup. You can refer to the Bun docs for a more optimized Dockerfile.
Let’s also add a .dockerignore file in the root.
node_modules.git.gitignoreREADME.mdDockerfile*Now to build our Docker image and deploy we run:
bun sst deploy --stage productionYou can use any stage name here but it’s good to create a new stage for production. This’ll give the URL of your Bun app deployed as a Fargate service.
✓ Complete MyService: http://prod-MyServiceLoadBalanc-491430065.us-east-1.elb.amazonaws.comCongrats! Your app should now be live!
Connect the console
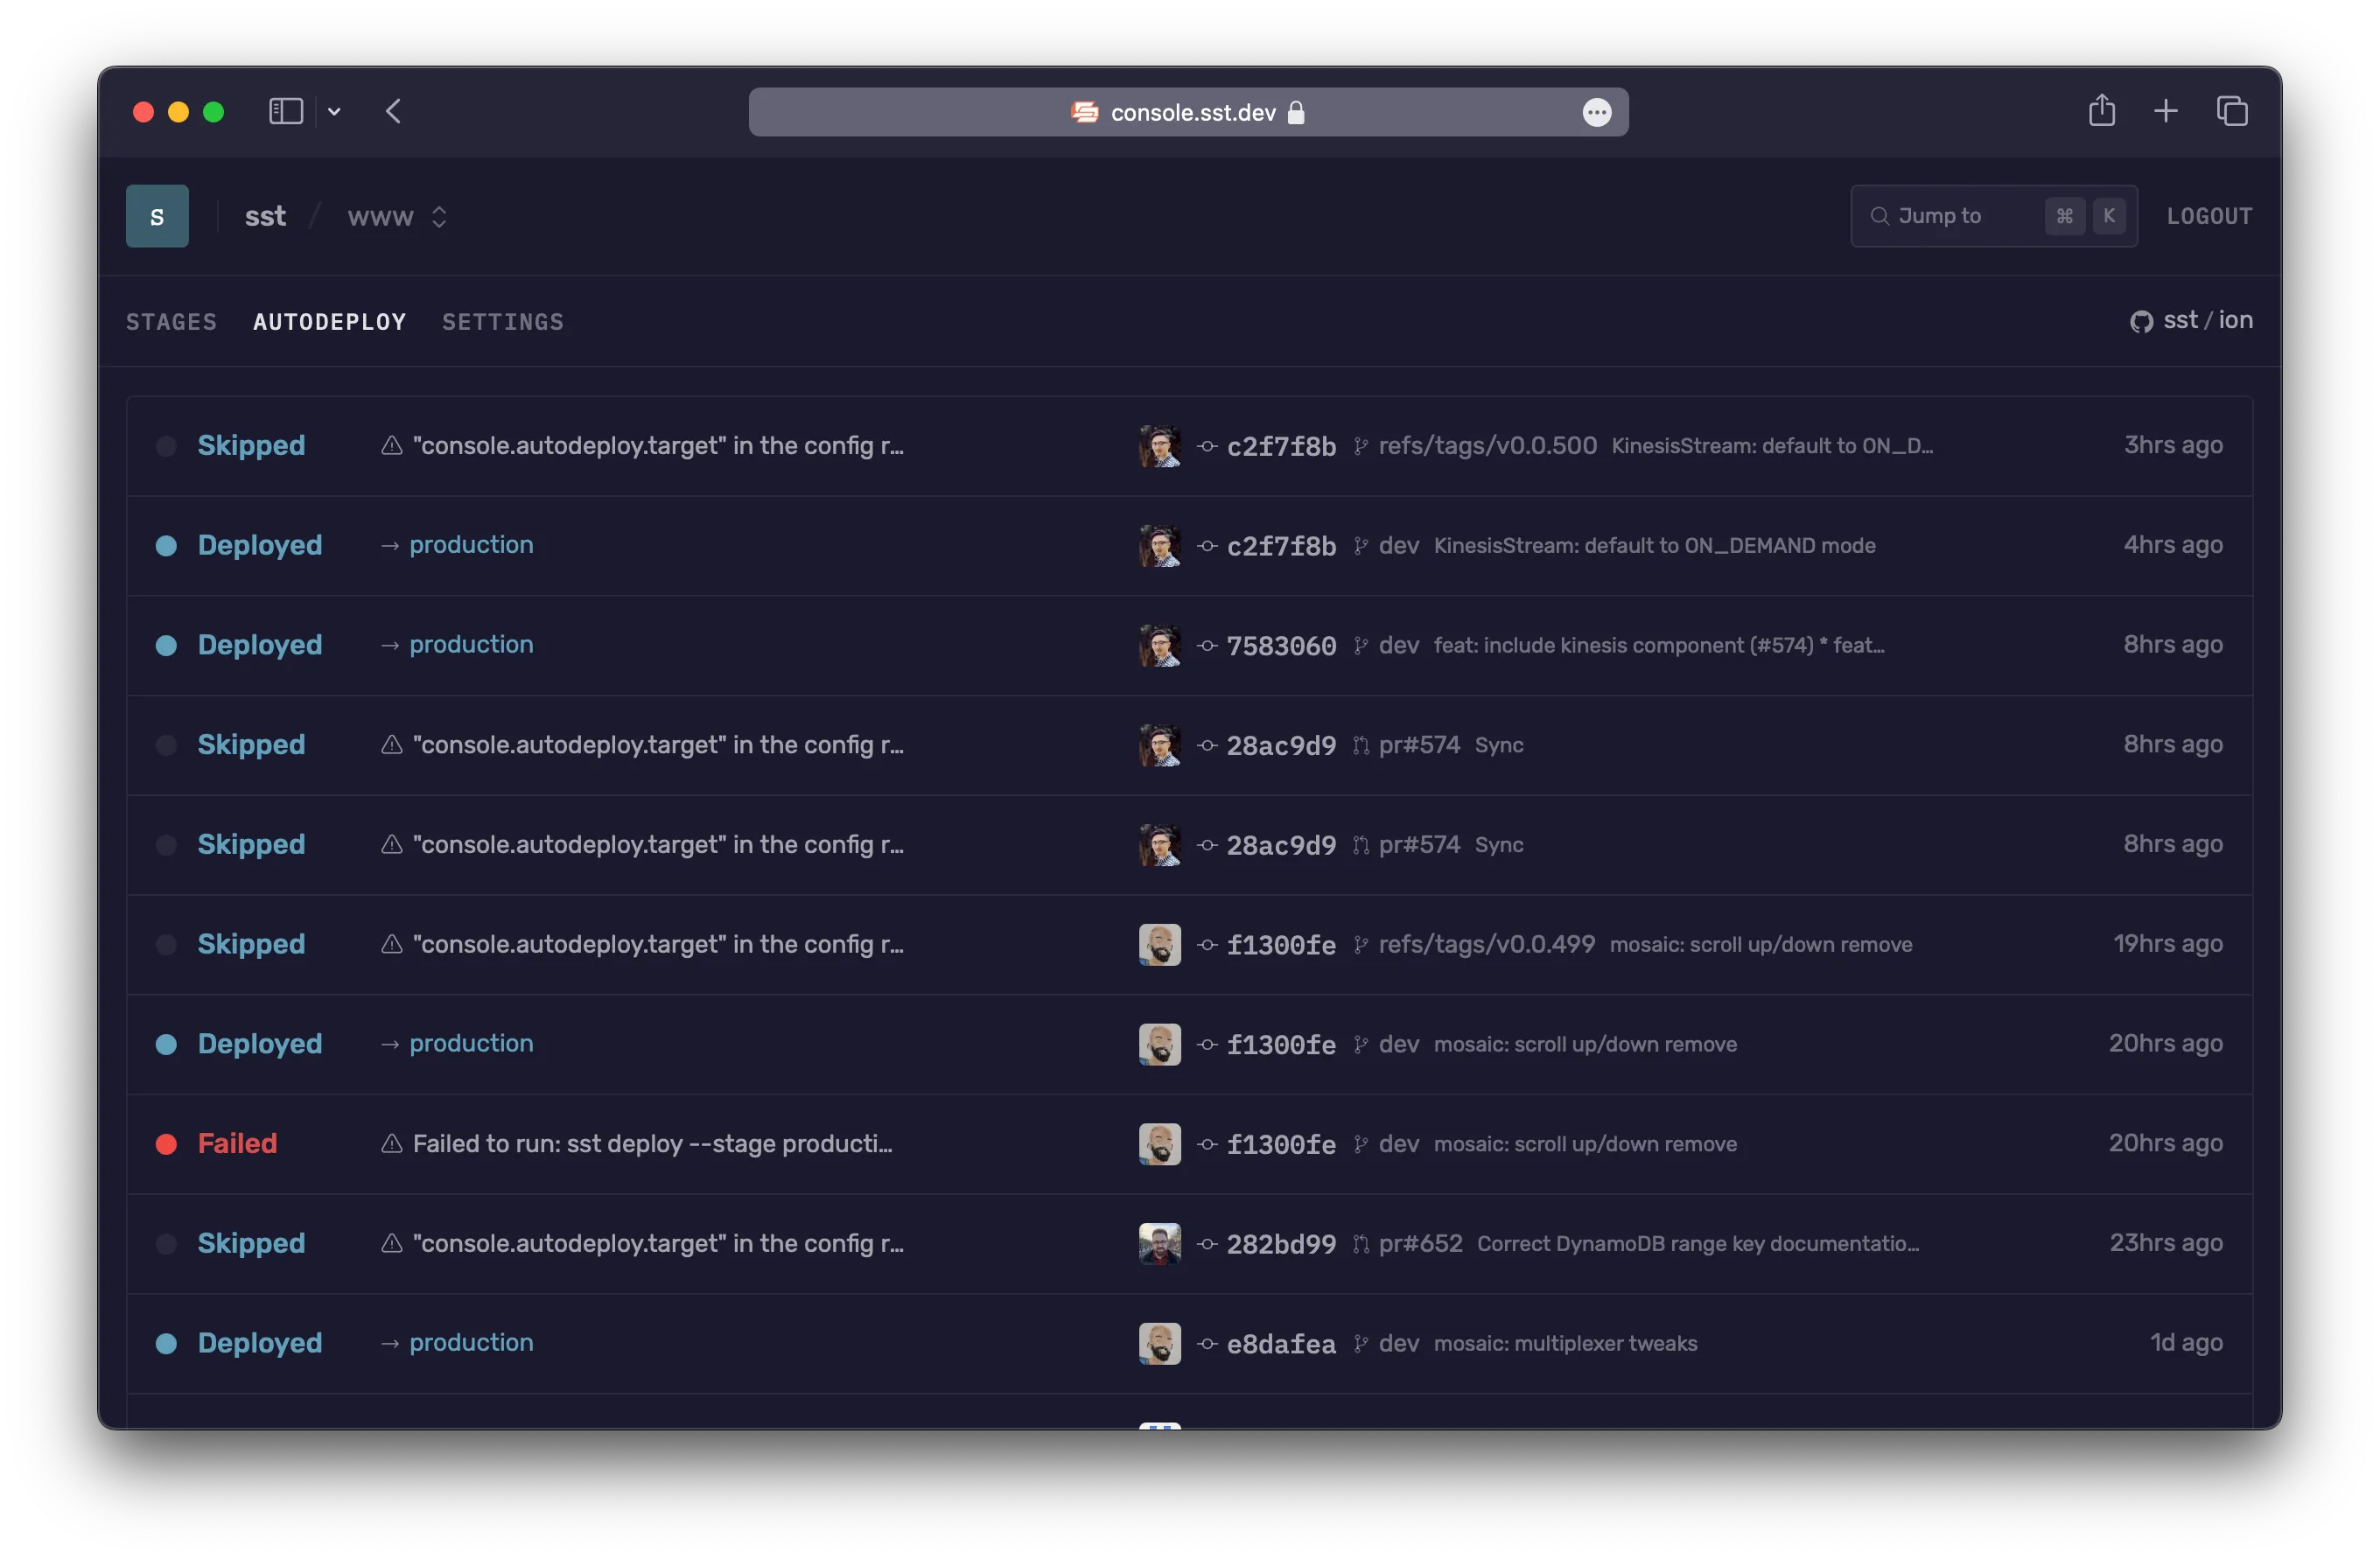
As a next step, you can setup the SST Console to git push to deploy your app and view logs from it.

You can create a free account and connect it to your AWS account.