Prisma with Amazon RDS and SST
We are going to use Prisma and SST to deploy an Amazon Postgres RDS database and connect to it from an Express app in a container.
Before you get started, make sure to configure your AWS credentials.
Examples
We also have a few other Prisma and Postgres examples that you can refer to.
1. Create a project
Let’s start by creating a Node.js app.
mkdir aws-prisma && cd aws-prismanpm init -yWe’ll install Prisma, TypeScript, and Express.
npm install prisma typescript ts-node @types/node --save-devnpm install expressLet’s initialize TypeScript and Prisma.
npx tsc --initnpx prisma initThis will create a prisma directory with a schema.prisma.
Init Express
Create your Express app by adding an index.mjs to the root.
import express from "express";
const PORT = 80;
const app = express();
app.get("/", (req, res) => {  res.send("Hello World!")});
app.listen(PORT, () => {  console.log(`Server is running on http://localhost:${PORT}`);});
Init SST
Now let’s initialize SST in our app.
npx sst@latest initnpm installSelect the defaults and pick AWS. This’ll create a sst.config.ts file in your project root.
2. Add a Postgres db
Let’s add a Postgres database using Amazon RDS. This needs a VPC.
async run() {  const vpc = new sst.aws.Vpc("MyVpc", { bastion: true });  const rds = new sst.aws.Postgres("MyPostgres", { vpc });
  const DATABASE_URL = $interpolate`postgresql://${rds.username}:${rds.password}@${rds.host}:${rds.port}/${rds.database}`;},
The bastion option will let us connect to the VPC from our local machine.
We are also building the DATABASE_URL variable using the outputs from our RDS database. We’ll use this later.
Start Prisma Studio
When you run SST in dev it can start other dev processes for you. In this case we want to start Prisma Studio. Add this below the DATABASE_URL variable.
new sst.x.DevCommand("Prisma", { environment: { DATABASE_URL }, dev: { autostart: false, command: "npx prisma studio", },});This will run the given command in dev.
3. Add a Cluster
To deploy our Express app, let’s add an AWS Fargate container with Amazon ECS. Add this at the end of your sst.config.ts.
const cluster = new sst.aws.Cluster("MyCluster", { vpc });
new sst.aws.Service("MyService", {  cluster,  link: [rds],  environment: { DATABASE_URL },  loadBalancer: {    ports: [{ listen: "80/http" }],  },  dev: {    command: "node --watch index.mjs",  },});
This uses the same VPC, and adds an ECS Cluster, with a Fargate service in it.
The dev.command tells SST to instead run our Express app locally in dev mode.
Install a tunnel
Since our database cluster is in a VPC, we’ll need a tunnel to connect to it from our local machine.
sudo npx sst tunnel installThis needs sudo to create a network interface on your machine. You’ll only need to do this once on your machine.
Start dev mode
Start your app in dev mode. This will take a few minutes.
npx sst devIt’ll deploy your app, start a tunnel in the Tunnel tab, run your Express app locally in the MyServiceDev tab, and have your Prisma Studio in the Studio tab.
We are setting Prisma Studio to not auto-start since it pops up a browser window. You can start it by clicking on it and hitting Enter.
4. Create a schema
Let’s create a simple schema. Add this to your schema.prisma.
model User { id Int @id @default(autoincrement()) name String? email String @unique}Generate a migration
We’ll now generate a migration for this schema and apply it. In a separate terminal run:
npx sst shell --target Prisma -- npx prisma migrate dev --name initWe are wrapping the prisma migrate dev --name init command in sst shell --target Prisma because we want this command to have access to the DATABASE_URL defined in our sst.config.ts.
The Prisma target is coming from the new sst.x.DevCommand("Prisma") component defined above.
This needs the tunnel to connect to the database. So you should have sst dev in a separate terminal.
npx sst tunnelAlternatively, you can just run the tunnel using the above command.
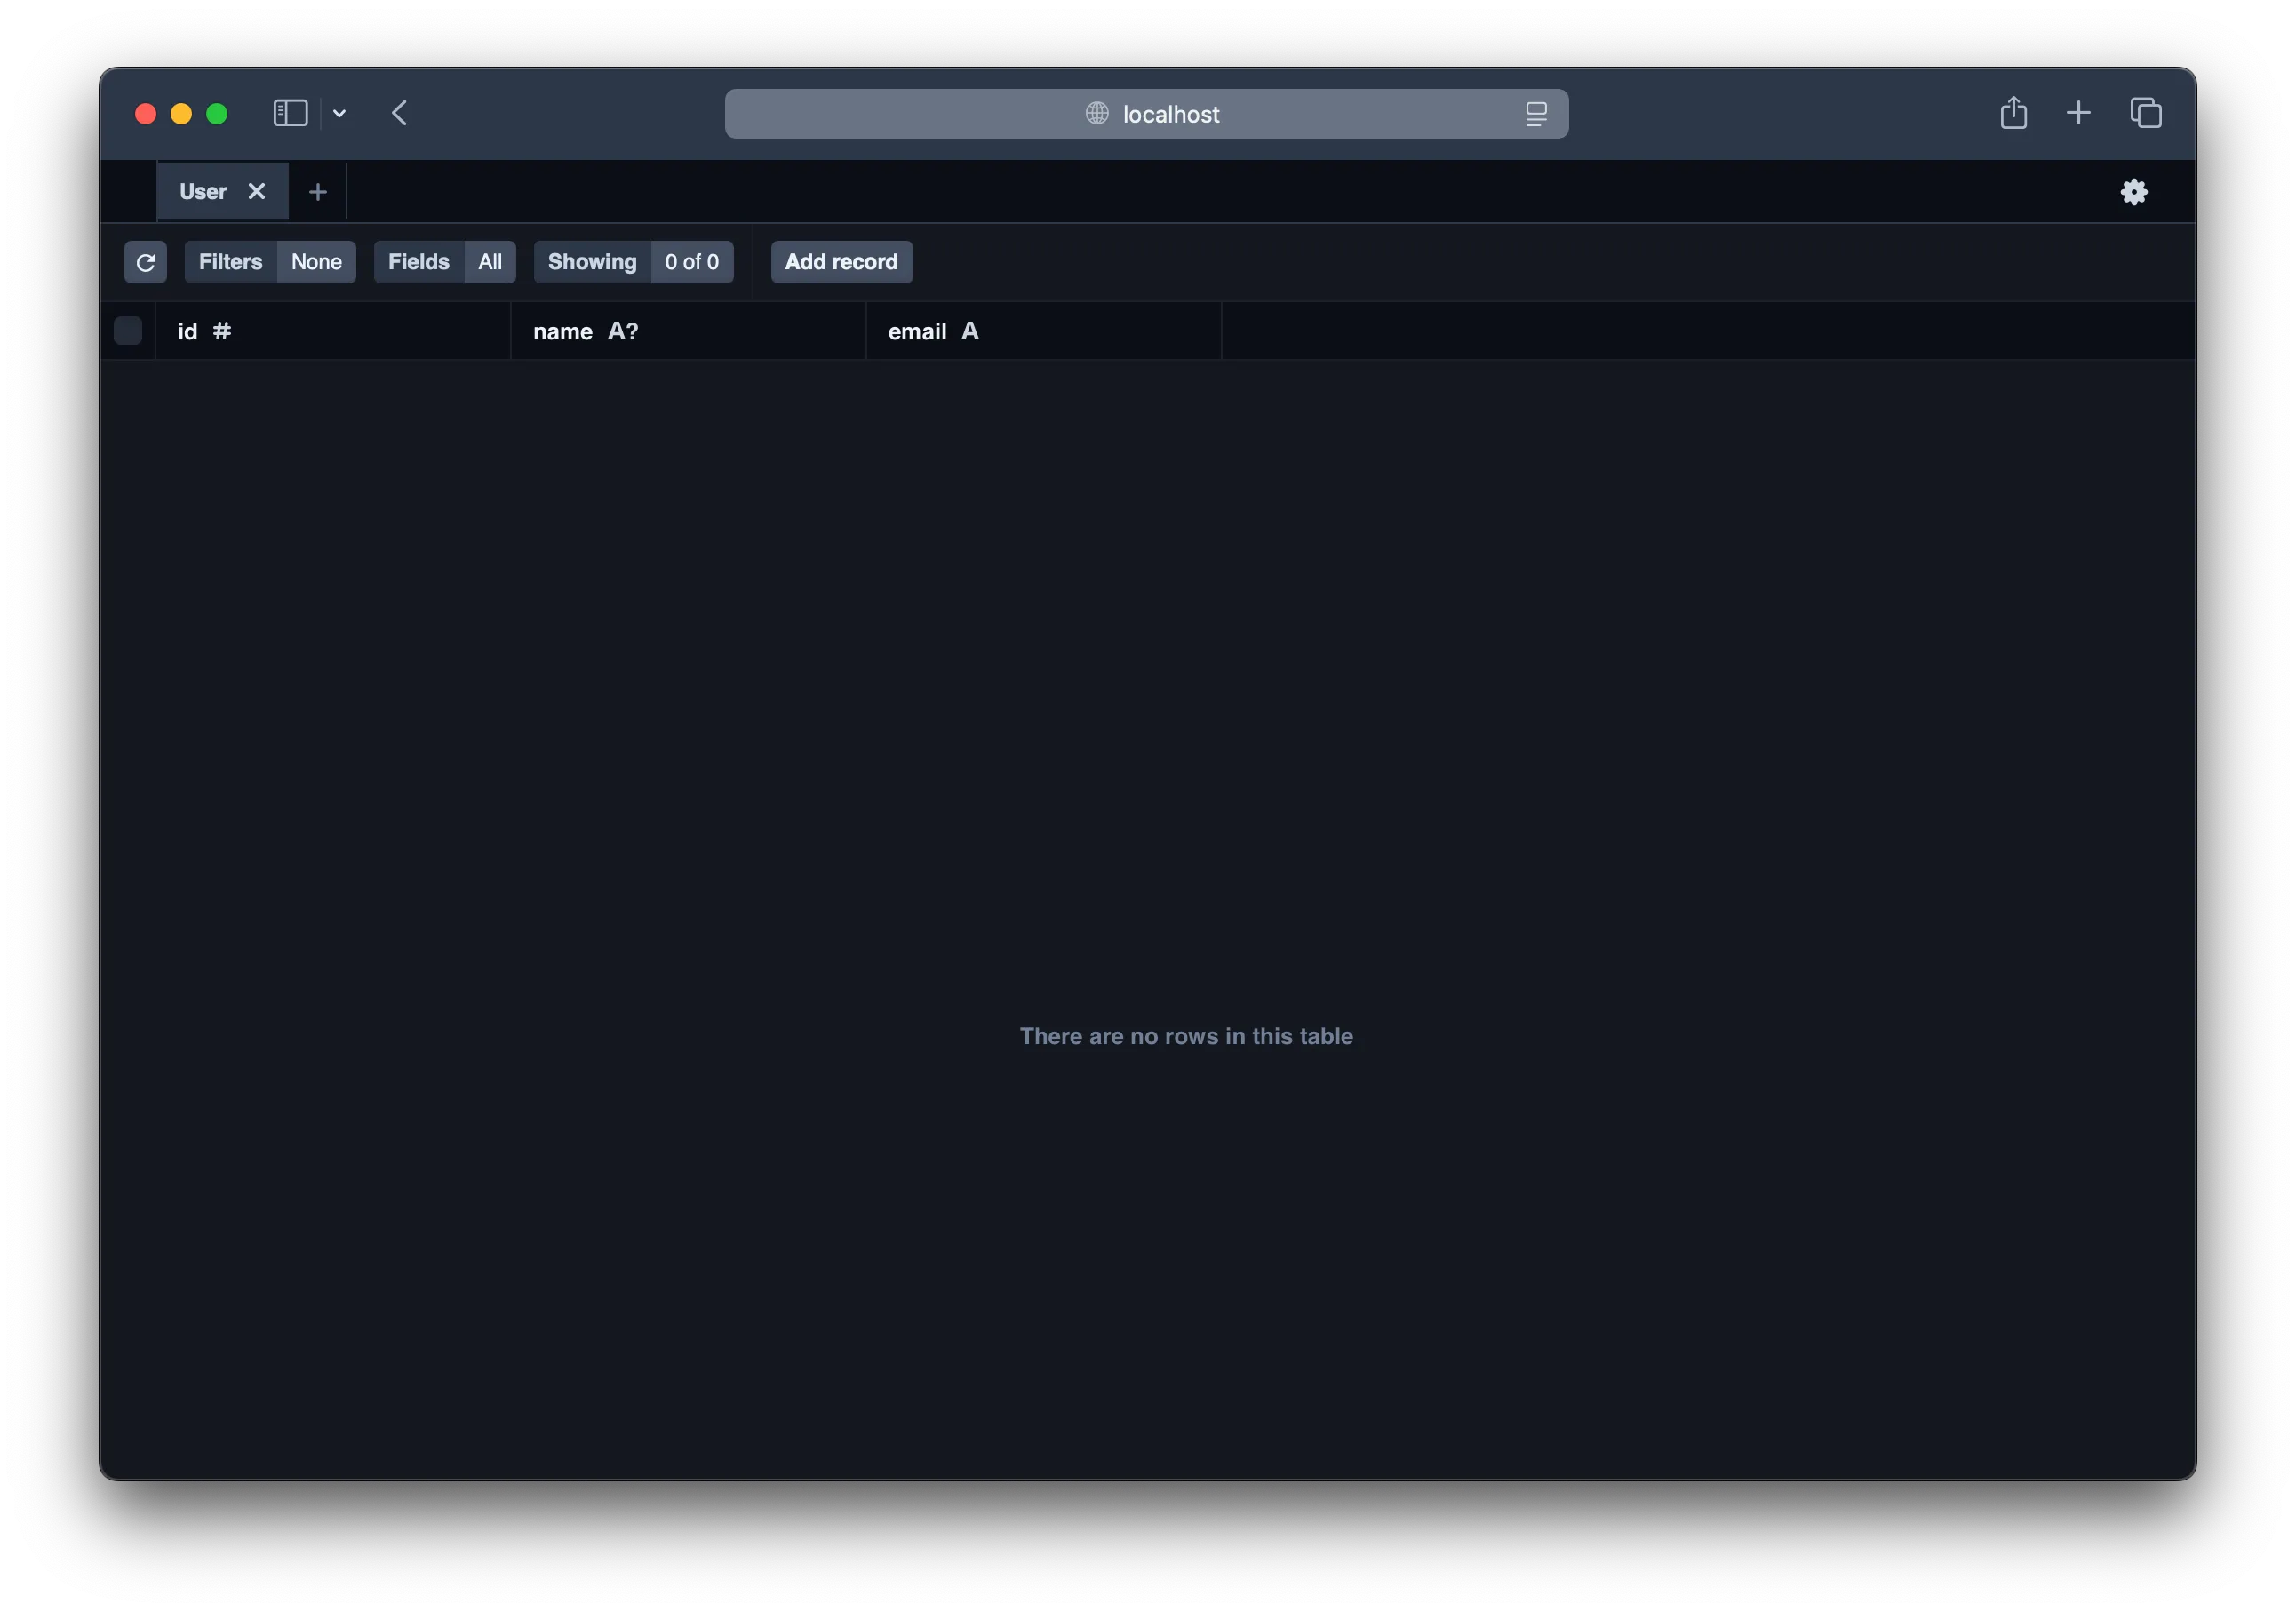
Prisma Studio
To see our schema in action we can open the Prisma Studio. Head over to the Studio tab in your sst dev session and hit enter to start it.
5. Query the database
Running the migrate dev command also installs the Prisma Client in our project. So let’s use that to query our database.
Replace the / route in your index.mjs with.
import { PrismaClient } from '@prisma/client';
const prisma = new PrismaClient();
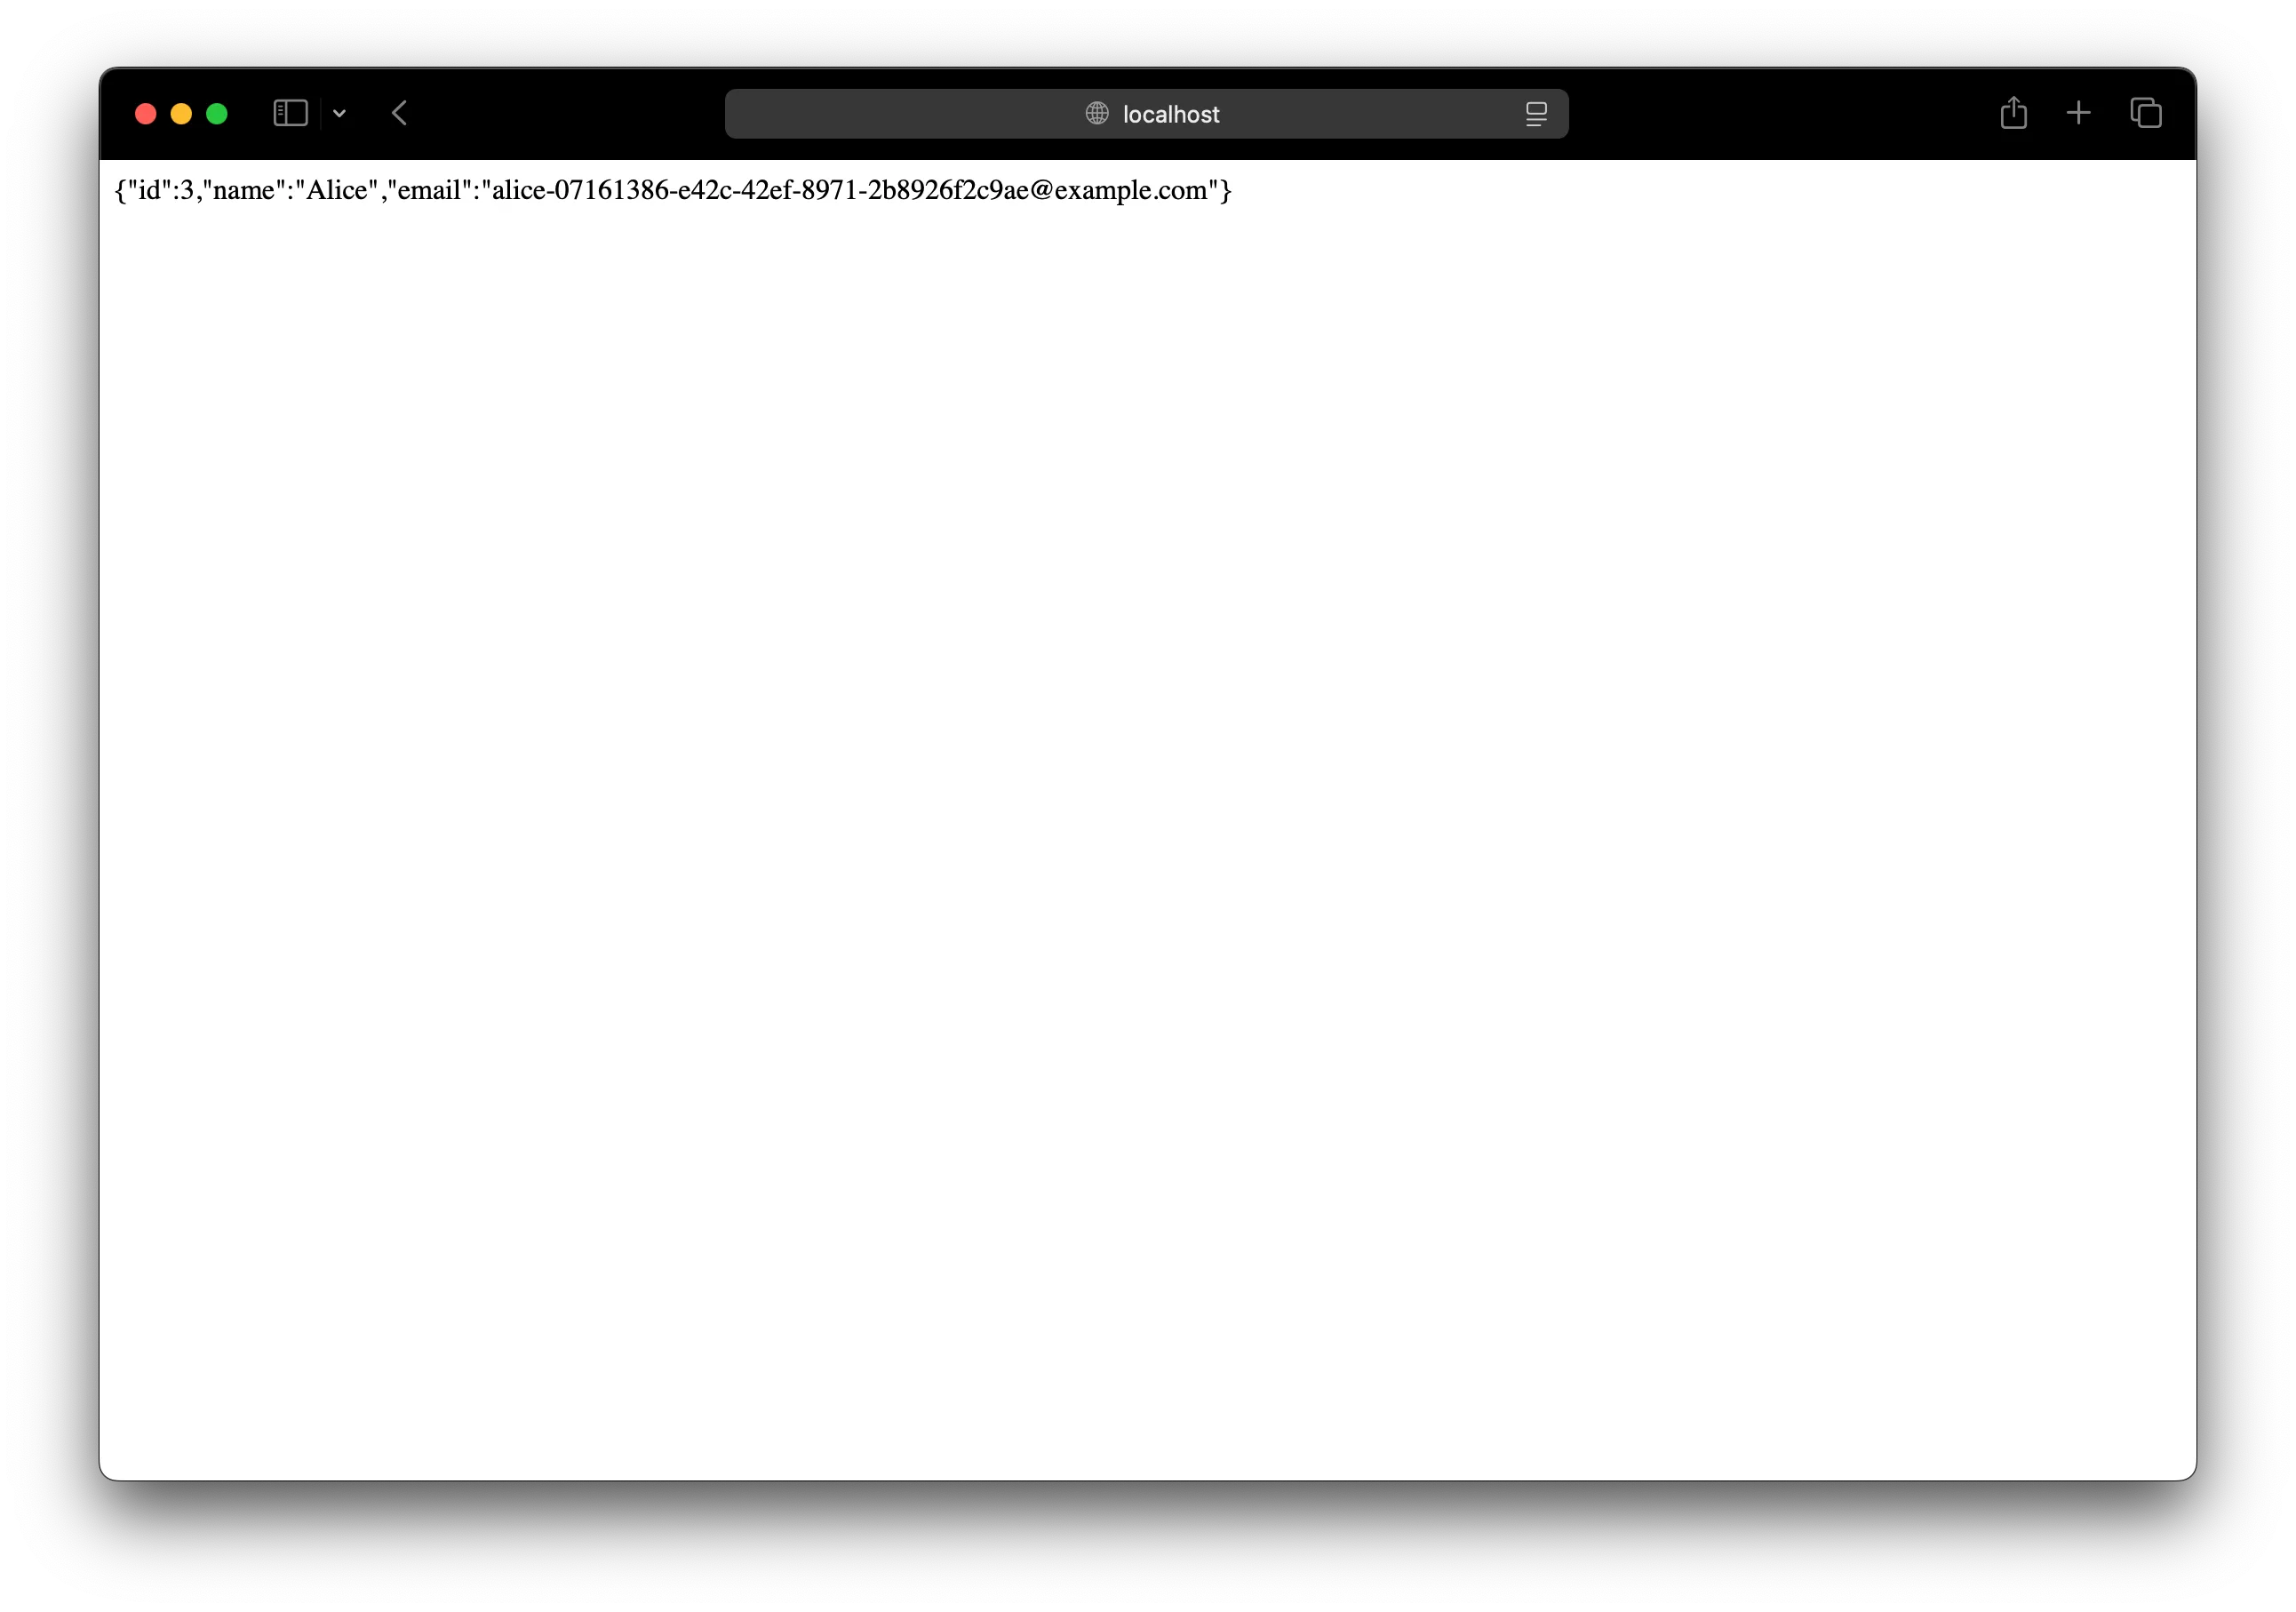
app.get("/", async (_req, res) => { const user = await prisma.user.create({ data: { name: "Alice", email: `alice-${crypto.randomUUID()}@example.com` }, }); res.send(JSON.stringify(user));});Test your app
Let’s head over to http://localhost:80 in your browser and it’ll show you the new user that was created.
You should see this in the Prisma Studio as well.
5. Deploy your app
To deploy our app we’ll first add a Dockerfile.
FROM node:18-bullseye-slim
WORKDIR /app/
COPY package.json index.mjs prisma /app/RUN npm install
RUN npx prisma generate
ENTRYPOINT ["node", "index.mjs"]
This just builds our Express app in a Docker image and runs the prisma generate command.
Let’s also add a .dockerignore file in the root.
node_modulesNow to build our Docker image and deploy we run:
npx sst deploy --stage productionYou can use any stage name here but it’s good to create a new stage for production. This’ll give the URL of your Express app deployed as a Fargate service.
✓ Complete MyService: http://jayair-MyServiceLoadBala-592628062.us-east-1.elb.amazonaws.comConnect the console
As a next step, you can setup the SST Console to git push to deploy your app and monitor it for any issues.
You can create a free account and connect it to your AWS account.