Realtime apps in AWS with SST
We are going to use SST to build and deploy a realtime chat app on AWS.
Before you get started, make sure to configure your AWS credentials.
1. Create a project
Let’s start by creating a Node.js app.
npx create-next-app@latest my-realtime-appcd my-realtime-appInit SST
Now let’s initialize SST in our app.
npx sst@latest initnpm installSelect the defaults and pick AWS. This’ll create a sst.config.ts file in your project root.
Start dev mode
Run the following to start dev mode. This’ll start SST and your Next.js app.
npx sst devOnce complete, click on MyWeb in the sidebar and open your Next.js app in your browser.
2. Add Realtime
Let’s add the Realtime component and link it to the Next.js app. Update your sst.config.ts.
async run() {  const realtime = new sst.aws.Realtime("MyRealtime", {    authorizer: "authorizer.handler",  });
  new sst.aws.Nextjs("MyWeb", {    link: [realtime],  });},
This component allows us to set up topics that can be subscribed to. The authorizer function can be used control who has access to these.
Add an authorizer
Add the following to a new authorizer.ts file in your project root.
import { Resource } from "sst";import { realtime } from "sst/aws/realtime";
export const handler = realtime.authorizer(async (token) => {  const prefix = `${Resource.App.name}/${Resource.App.stage}`;
  const isValid = token === "PLACEHOLDER_TOKEN";
  return isValid    ? {      publish: [`${prefix}/*`],      subscribe: [`${prefix}/*`],    }    : {      publish: [],      subscribe: [],    };});
Here we are saying that a user with a valid token has access to publish and subscribe to any topic namespaced user the app and stage name.
In production, we would validate the given token against our database or auth provider.
3. Create the chat UI
Now let’s create a chat interface in our app. Create a new component in components/chat.tsx with the following.
"use client";
import mqtt from "mqtt";import { useState, useEffect } from "react";import styles from "./chat.module.css";
export default function Chat(  { topic, endpoint, authorizer }: { topic: string, endpoint: string, authorizer: string }) {  const [messages, setMessages] = useState<string[]>([]);  const [connection, setConnection] = useState<mqtt.MqttClient | null>(null);
  return (    <div className={styles.chat}>      {connection && messages.length > 0 &&        <div className={styles.messages}>          {messages.map((msg, i) => (            <div key={i}>{JSON.parse(msg).message}</div>          ))}        </div>      }      <form        className={styles.form}        onSubmit={async (e) => {          e.preventDefault();
          const input = (e.target as HTMLFormElement).message;
          connection!.publish(            topic,            JSON.stringify({ message: input.value }),            { qos: 1 }          );          input.value = "";        }}      >        <input          required          autoFocus          type="text"          name="message"          placeholder={            connection ? "Ready! Say hello..." : "Connecting..."          }        />        <button type="submit" disabled={connection === null}>Send</button>      </form>    </div>  );}
Here we are going to publish a message that’s submitted to the given topic. We’ll create the realtime connection below.
Add some styles.
.chat {  gap: 1rem;  width: 30rem;  display: flex;  padding: 1rem;  flex-direction: column;  border-radius: var(--border-radius);  background-color: rgba(var(--callout-rgb), 0.5);  border: 1px solid rgba(var(--callout-border-rgb), 0.3);}
.messages {  padding-bottom: 0.125rem;  border-bottom: 1px solid rgba(var(--callout-border-rgb), 0.3);}.messages > div {  line-height: 1.1;  padding-bottom: 0.625rem;}
.form {  display: flex;  gap: 0.625rem;}.form input {  flex: 1;  font-size: 0.875rem;  padding: 0.5rem 0.75rem;  border-radius: calc(1rem - var(--border-radius));  border: 1px solid rgba(var(--callout-border-rgb), 1);}.form button {  font-weight: 500;  font-size: 0.875rem;  padding: 0.5rem 0.75rem;  border-radius: calc(1rem - var(--border-radius));  background: linear-gradient(    to bottom right,    rgba(var(--tile-start-rgb), 1),    rgba(var(--tile-end-rgb), 1)  );  border: 1px solid rgba(var(--callout-border-rgb), 1);}.form button:active:enabled {  background: linear-gradient(    to top left,    rgba(var(--tile-start-rgb), 1),    rgba(var(--tile-end-rgb), 1)  );}
Install the npm package.
npm install mqttAdd to the page
Let’s use the component in our page. Replace the Home component in app/page.tsx.
import { Resource } from "sst";import Chat from "@/components/chat";
const topic = "sst-chat";
export default function Home() {  return (    <main className={styles.main}>
      <div className={styles.center}>        <Image          className={styles.logo}          src="/next.svg"          alt="Next.js Logo"          width={180}          height={37}          priority        />      </div>
      <div>        <Chat          endpoint={Resource.MyRealtime.endpoint}          authorizer={Resource.MyRealtime.authorizer}          topic={`${Resource.App.name}/${Resource.App.stage}/${topic}`}        />      </div>
</main> );}Here we are going to publish and subscribe to a topic called sst-chat, namespaced under the name of the app and the stage our app is deployed to.
4. Create a connection
When our chat component loads, it’ll create a new connection to our realtime service. Add the following below the imports in components/chat.tsx.
function createConnection(endpoint: string, authorizer: string) { return mqtt.connect(`wss://${endpoint}/mqtt?x-amz-customauthorizer-name=${authorizer}`, { protocolVersion: 5, manualConnect: true, username: "", // Must be empty for the authorizer password: "PLACEHOLDER_TOKEN", // Passed as the token to the authorizer clientId: `client_${window.crypto.randomUUID()}`, });}We are using a placeholder token here. In production this might be a user’s session token.
Now let’s subscribe to it and save the messages we receive. Add this to the Chat component.
useEffect(() => {  const connection = createConnection(endpoint, authorizer);
  connection.on("connect", async () => {    try {      await connection.subscribeAsync(topic, { qos: 1 });      setConnection(connection);    } catch (e) { }  });  connection.on("message", (_fullTopic, payload) => {    const message = new TextDecoder("utf8").decode(new Uint8Array(payload));    setMessages((prev) => [...prev, message]);  });  connection.on("error", console.error);
  connection.connect();
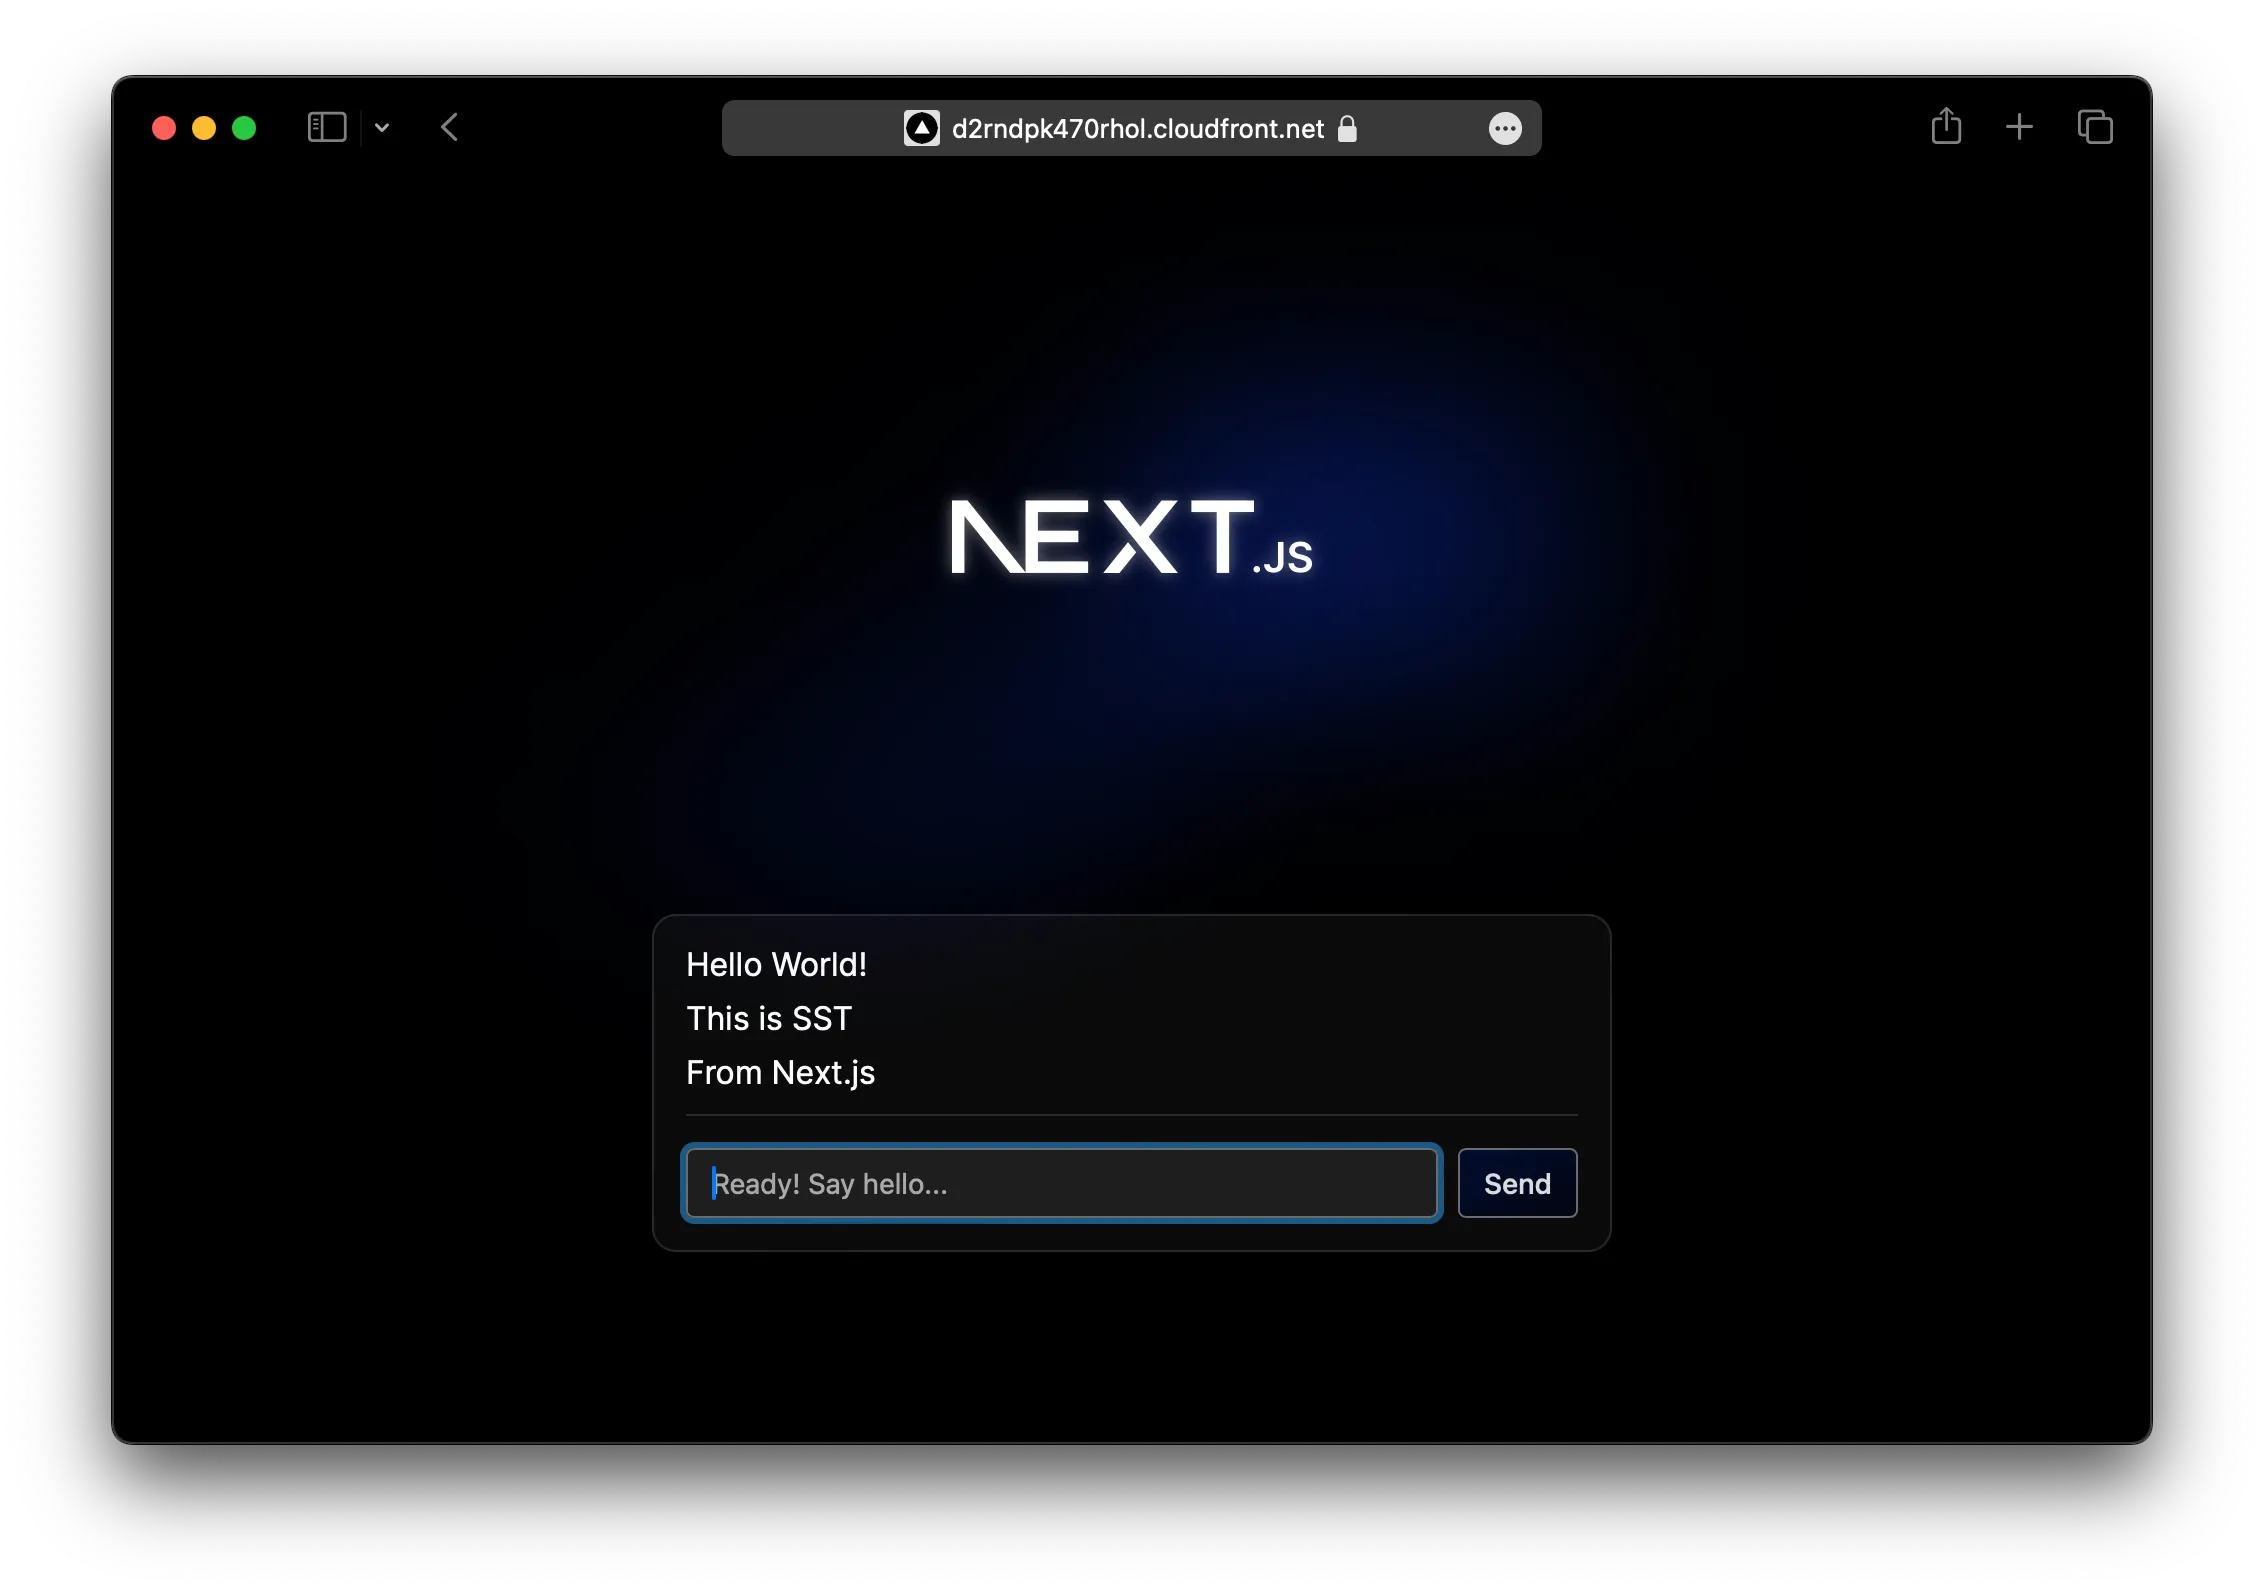
return () => { connection.end(); setConnection(null); };}, [topic, endpoint, authorizer]);Head over to the local Next.js app in your browser, http://localhost:3000 and try sending a message, you should see it appear right away. You can also open a new browser window and see them appear in both places.
5. Deploy your app
Now let’s deploy your app to AWS.
npx sst deploy --stage productionYou can use any stage name here but it’s good to create a new stage for production.
Congrats! Your app should now be live!

Next you can:
- Let users create chat rooms
- Save them to a database
- Only show messages from the right chat rooms
This’ll help you build realtime apps for production.
Connect the console
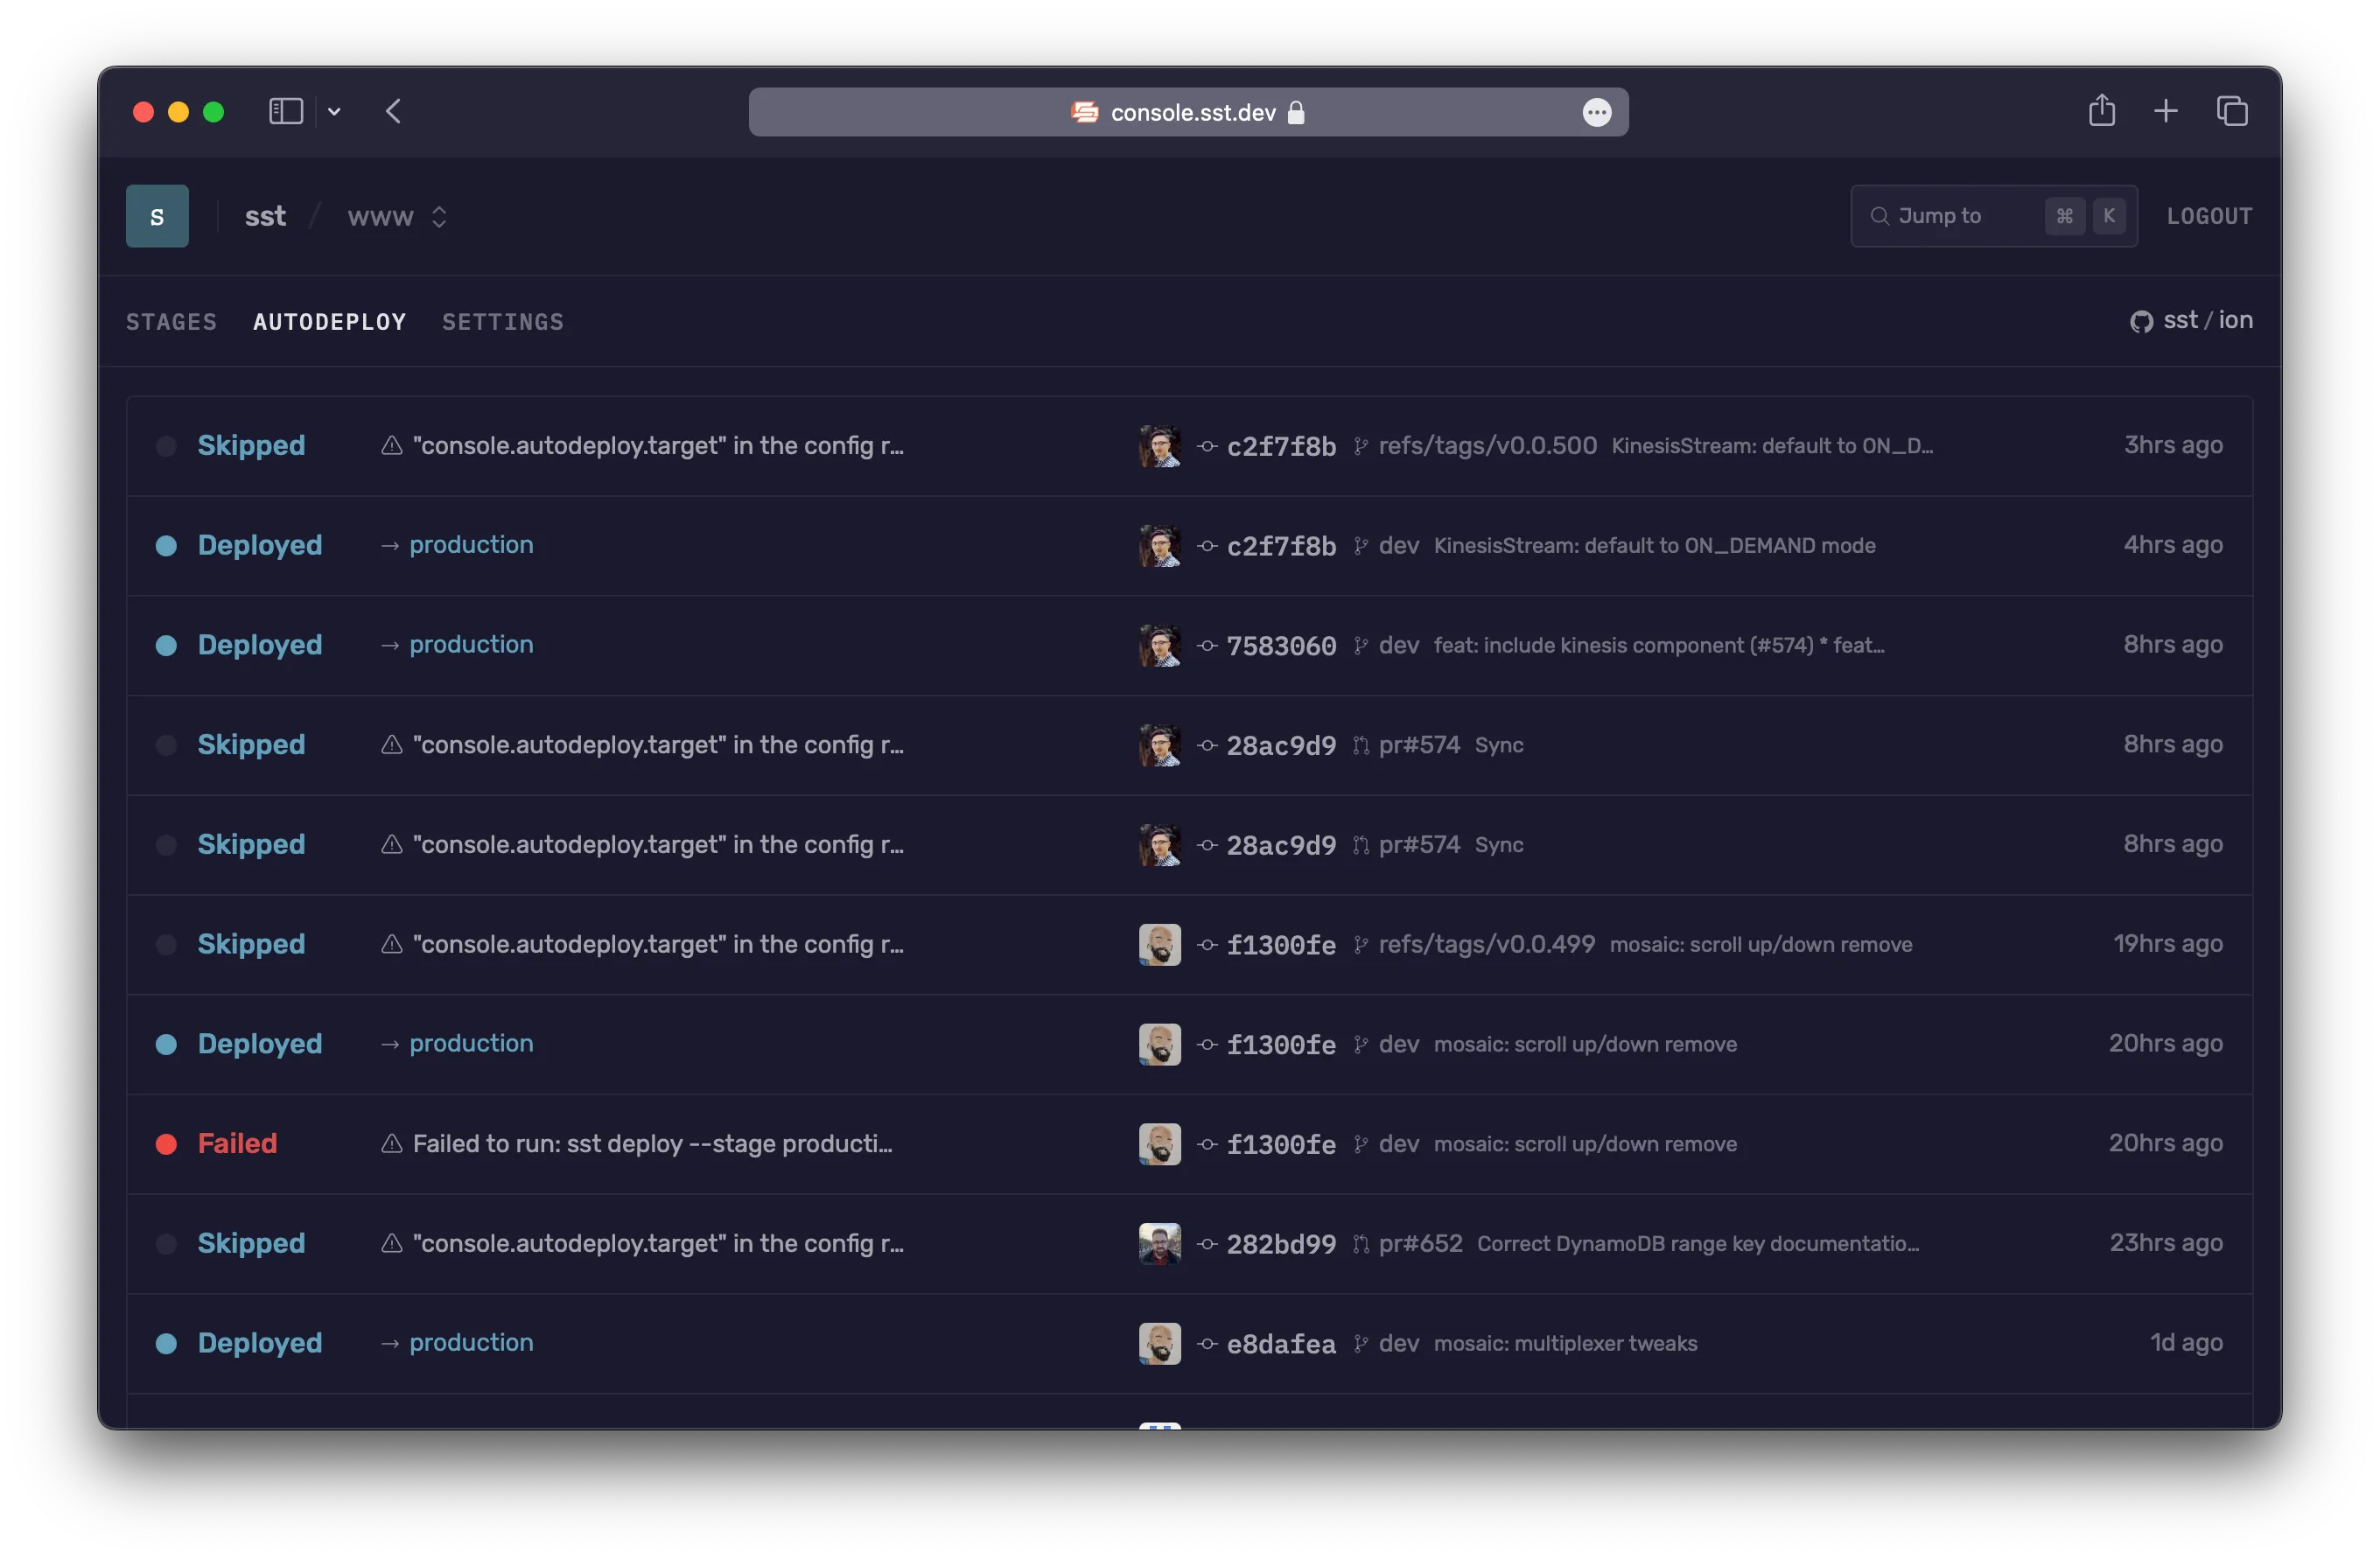
As a next step, you can setup the SST Console to git push to deploy your app and monitor it for any issues.

You can create a free account and connect it to your AWS account.