SolidStart on AWS with SST
There are two ways to deploy SolidStart apps to AWS with SST.
We’ll use both to build a couple of simple apps below.
Examples
We also have a few other SolidStart examples that you can refer to.
Serverless
We are going to create a SolidStart app, add an S3 Bucket for file uploads, and deploy it using the SolidStart component.
Before you get started, make sure to configure your AWS credentials.
1. Create a project
Let’s start by creating our project.
npm init solid@latest aws-solid-startcd aws-solid-startWe are picking the SolidStart, basic, and TypeScript options.
Init SST
Now let’s initialize SST in our app.
npx sst@latest initnpm installSelect the defaults and pick AWS. This’ll create a sst.config.ts file in your project root.
It’ll also ask you to update your app.config.ts with something like this.
export default defineConfig({ server: { preset: "aws-lambda", awsLambda: { streaming: true, }, },});Start dev mode
Run the following to start dev mode. This’ll start SST and your SolidStart app.
npx sst devOnce complete, click on MyWeb in the sidebar and open your SolidStart app in your browser.
2. Add an S3 Bucket
Let’s allow public access to our S3 Bucket for file uploads. Update your sst.config.ts.
const bucket = new sst.aws.Bucket("MyBucket", { access: "public"});Add this above the SolidStart component.
Link the bucket
Now, link the bucket to our SolidStart app.
new sst.aws.SolidStart("MyWeb", { link: [bucket],});3. Generate a pre-signed URL
When our app loads, we’ll generate a pre-signed URL for the file upload and use it in our form. Add this below the imports in src/routes/index.tsx.
async function presignedUrl() {  "use server";  const command = new PutObjectCommand({    Key: crypto.randomUUID(),    Bucket: Resource.MyBucket.name,  });  return await getSignedUrl(new S3Client({}), command);}
export const route = { load: () => presignedUrl(),};Add the relevant imports.
import { Resource } from "sst";import { createAsync } from "@solidjs/router";import { getSignedUrl } from "@aws-sdk/s3-request-presigner";import { S3Client, PutObjectCommand } from "@aws-sdk/client-s3";And install the npm packages.
npm install @solidjs/router @aws-sdk/client-s3 @aws-sdk/s3-request-presigner4. Create an upload form
Add a form to upload files to the presigned URL. Replace the Home component in src/routes/index.tsx with:
export default function Home() { const url = createAsync(() => presignedUrl());
return ( <main> <h1>Hello world!</h1> <form onSubmit={async (e) => { e.preventDefault();
const file = (e.target as HTMLFormElement).file.files?.[0]!;
const image = await fetch(url() as string, { body: file, method: "PUT", headers: { "Content-Type": file.type, "Content-Disposition": `attachment; filename="${file.name}"`, }, });
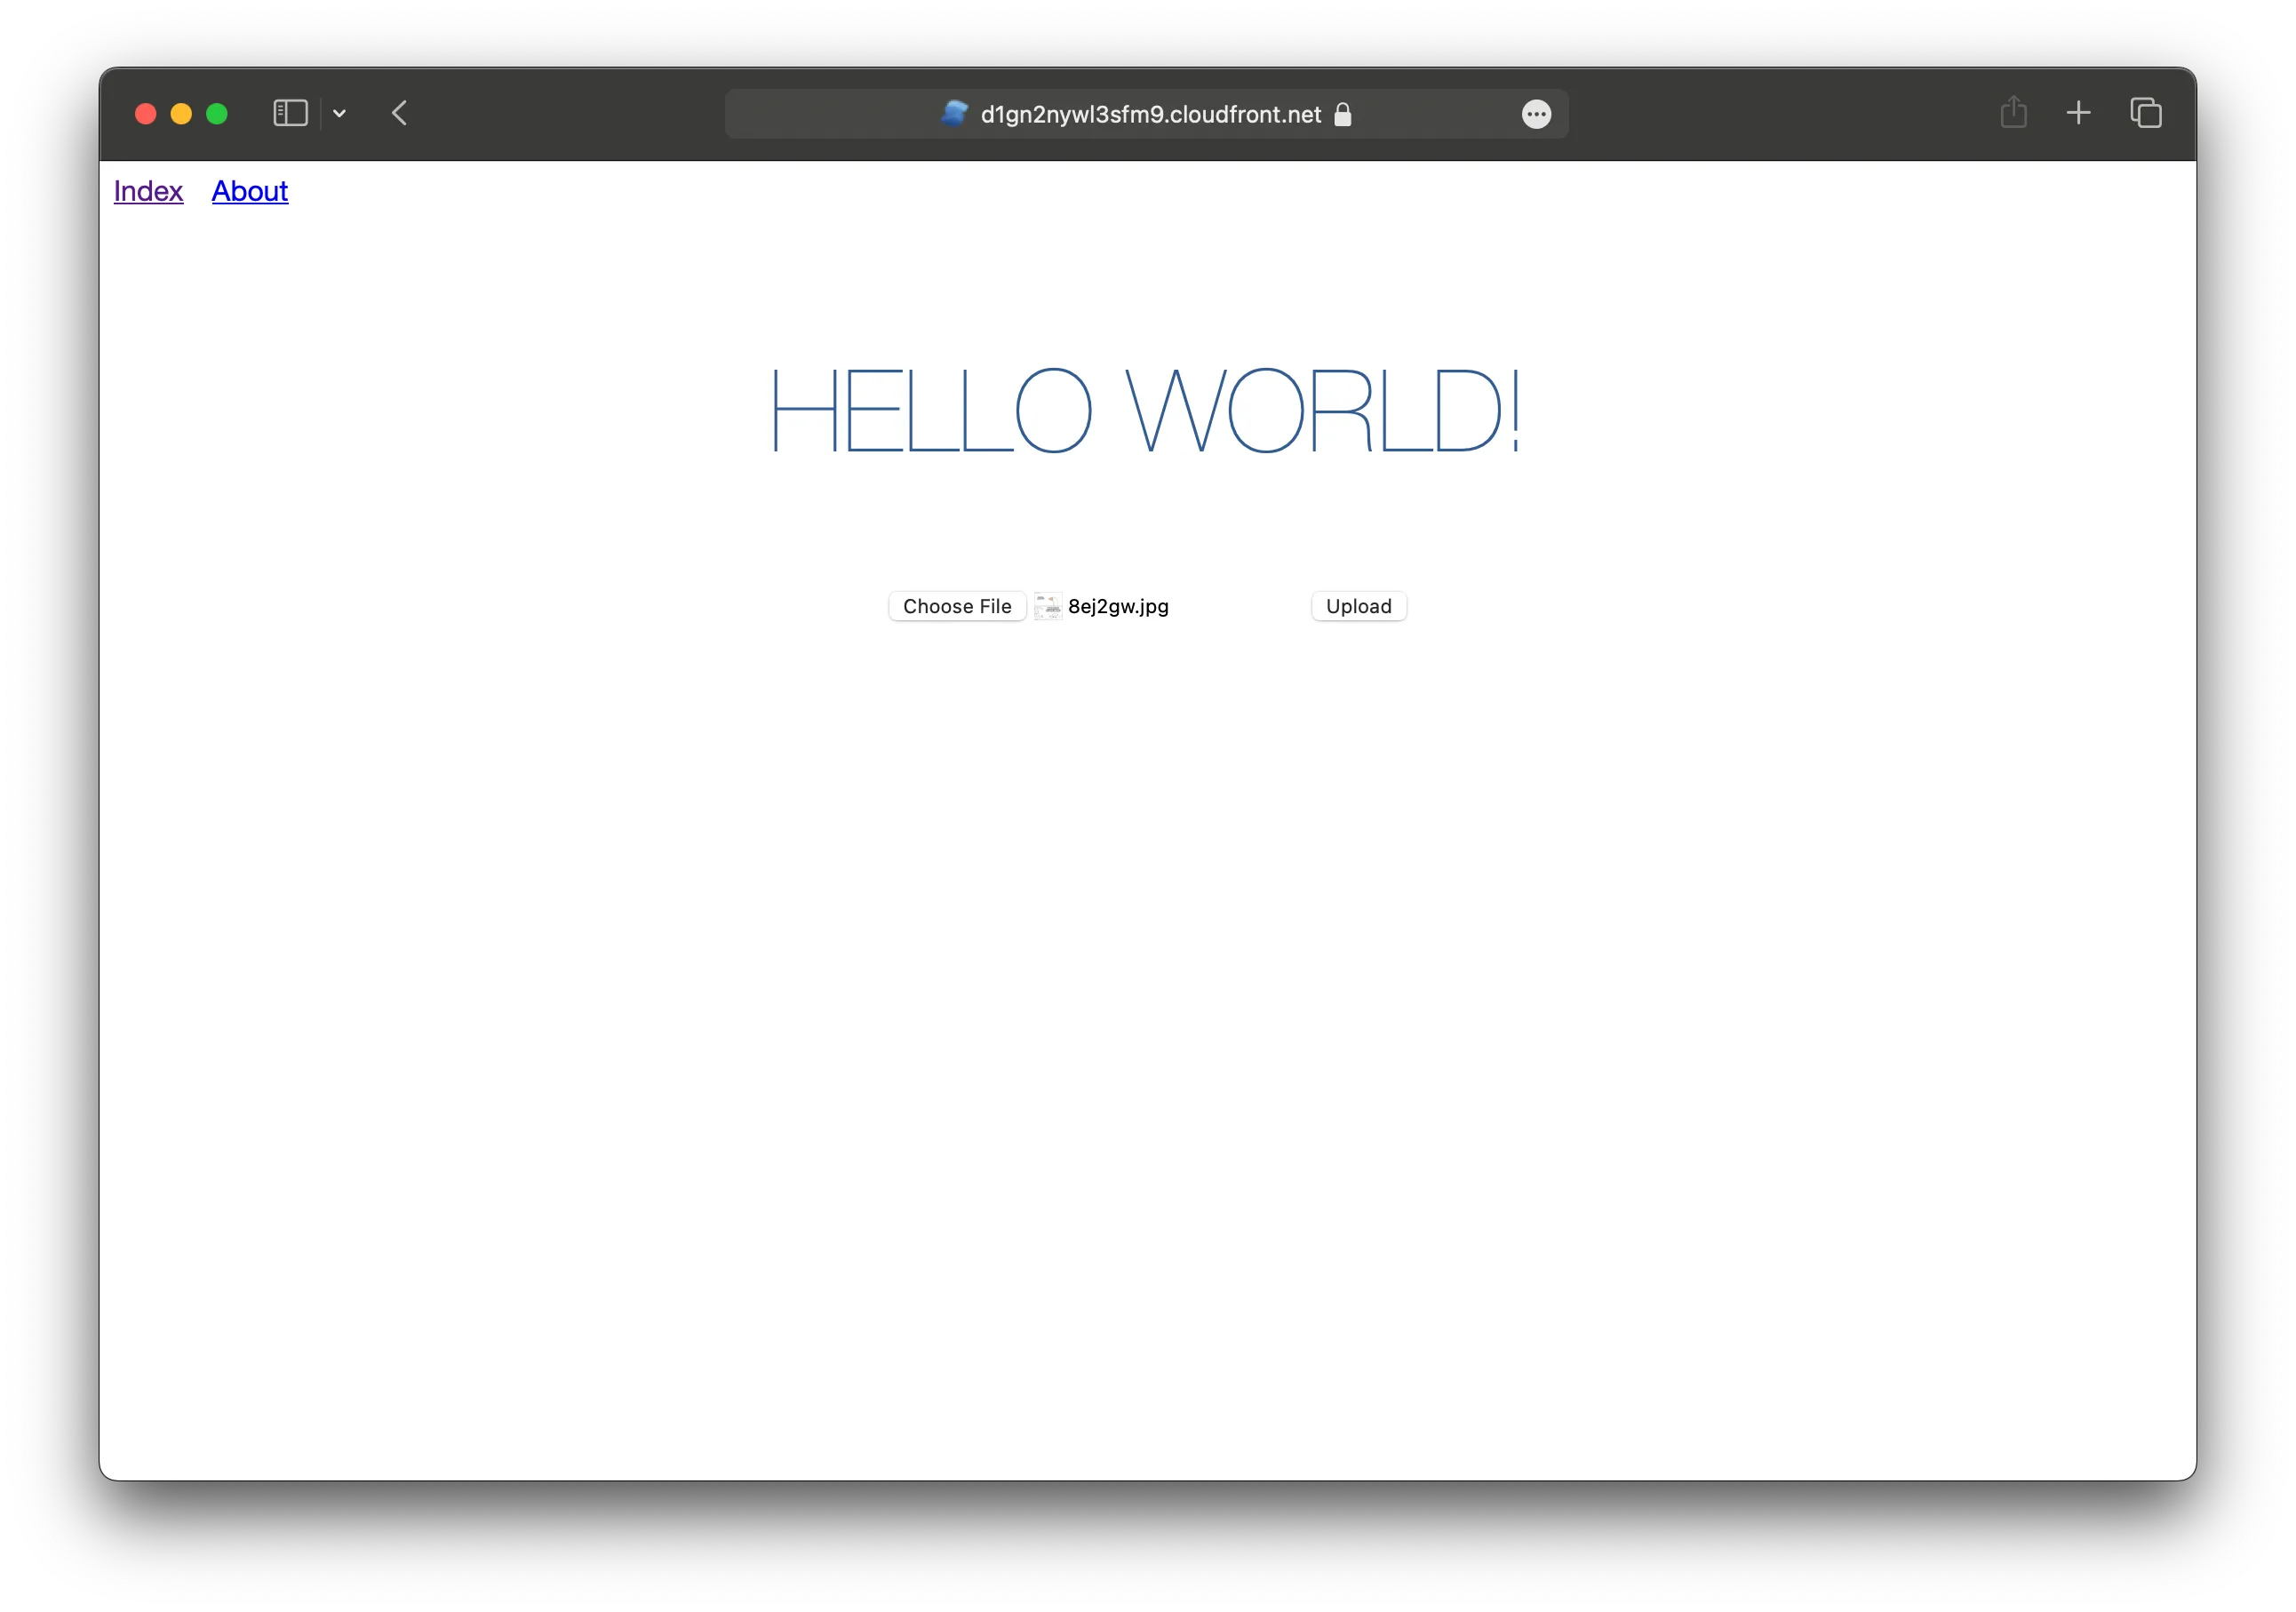
window.location.href = image.url.split("?")[0]; }} > <input name="file" type="file" accept="image/png, image/jpeg" /> <button type="submit">Upload</button> </form> </main> );}Head over to the local app in your browser, http://localhost:3000 and try uploading an image. You should see it upload and then download the image.
5. Deploy your app
Now let’s deploy your app to AWS.
npx sst deploy --stage productionYou can use any stage name here but it’s good to create a new stage for production.
Congrats! Your site should now be live!
Containers
We are going to build a hit counter SolidStart app with Redis. We’ll deploy it to AWS in a container using the Cluster component.
Before you get started, make sure to configure your AWS credentials.
1. Create a project
Let’s start by creating our project.
npm init solid@latest aws-solid-containercd aws-solid-containerWe are picking the SolidStart, basic, and TypeScript options.
Init SST
Now let’s initialize SST in our app.
npx sst@latest initnpm installSelect the defaults and pick AWS. This’ll create a sst.config.ts file in your project root.
It’ll also ask you to update your app.config.ts. Instead we’ll use the default Node preset.
import { defineConfig } from "@solidjs/start/config";
export default defineConfig({});
2. Add a Cluster
To deploy our SolidStart app in a container, we’ll use AWS Fargate with Amazon ECS. Replace the run function in your sst.config.ts.
async run() {  const vpc = new sst.aws.Vpc("MyVpc", { bastion: true });  const cluster = new sst.aws.Cluster("MyCluster", { vpc });
  new sst.aws.Service("MyService", {    cluster,    loadBalancer: {      ports: [{ listen: "80/http", forward: "3000/http" }],    },    dev: {      command: "npm run dev",    },  });}
This creates a VPC with a bastion host, an ECS Cluster, and adds a Fargate service to it.
The dev.command tells SST to instead run our SolidStart app locally in dev mode.
3. Add Redis
Let’s add an Amazon ElastiCache Redis cluster. Add this below the Vpc component in your sst.config.ts.
const redis = new sst.aws.Redis("MyRedis", { vpc });This shares the same VPC as our ECS cluster.
Link Redis
Now, link the Redis cluster to the container.
new sst.aws.Service("MyService", { // ... link: [redis],});This will allow us to reference the Redis cluster in our SolidStart app.
Install a tunnel
Since our Redis cluster is in a VPC, we’ll need a tunnel to connect to it from our local machine.
sudo npx sst tunnel installThis needs sudo to create a network interface on your machine. You’ll only need to do this once on your machine.
Start dev mode
Start your app in dev mode.
npx sst devThis will deploy your app, start a tunnel in the Tunnel tab, and run your SolidStart app locally in the MyServiceDev tab.
4. Connect to Redis
We want the / route to increment a counter in our Redis cluster. Let’s start by installing the packages we’ll use.
npm install ioredis @solidjs/routerWe’ll increment the counter when the route loads. Replace your src/routes/index.tsx with:
import { Resource } from "sst";import { Cluster } from "ioredis";import { createAsync, cache } from "@solidjs/router";
const getCounter = cache(async () => {  "use server";  const redis = new Cluster(    [{ host: Resource.MyRedis.host, port: Resource.MyRedis.port }],    {      dnsLookup: (address, callback) => callback(null, address),      redisOptions: {        tls: {},        username: Resource.MyRedis.username,        password: Resource.MyRedis.password,      },    }  );
  return await redis.incr("counter");}, "counter");
export const route = { load: () => getCounter(),};Let’s update our component to show the counter. Add this to your src/routes/index.tsx.
export default function Page() {  const counter = createAsync(() => getCounter());
  return <h1>Hit counter: {counter()}</h1>;}
Test your app
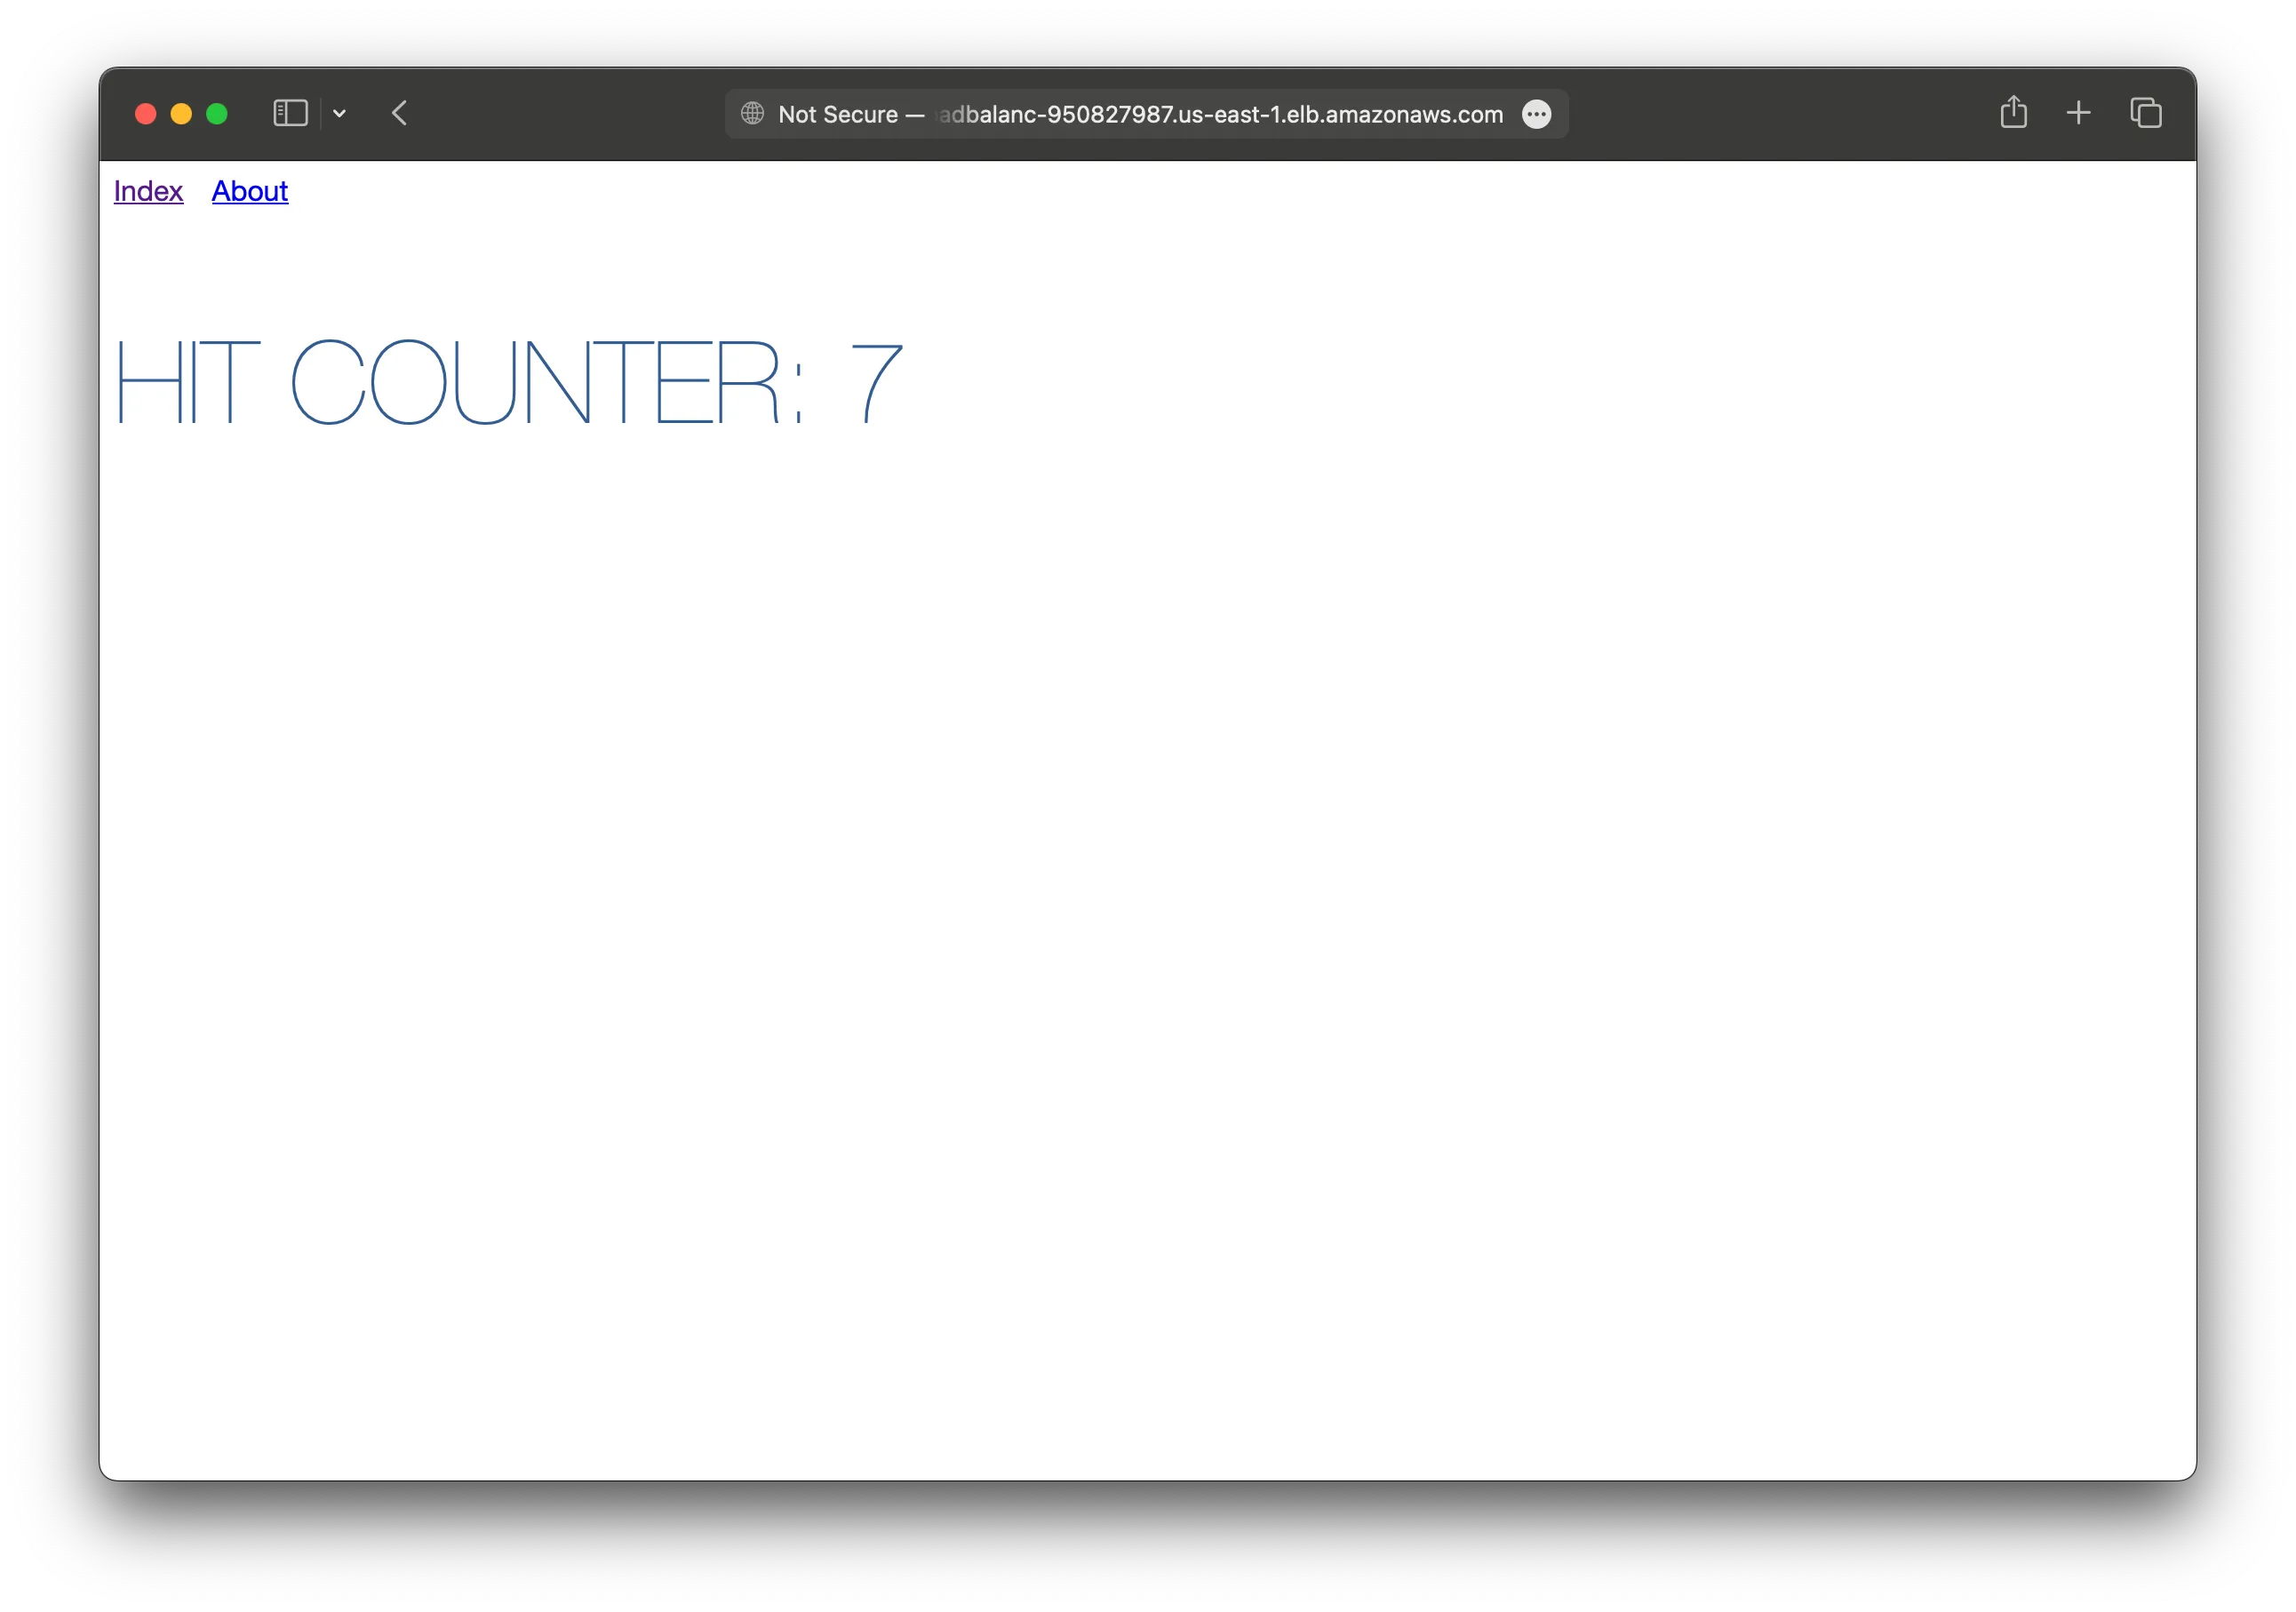
Let’s head over to http://localhost:3000 in your browser and it’ll show the current hit counter.
You should see it increment every time you refresh the page.
5. Deploy your app
To deploy our app we’ll add a Dockerfile.
View Dockerfile
FROM node:lts AS base
WORKDIR /src
# BuildFROM base as build
COPY --link package.json package-lock.json ./RUN npm install
COPY --link . .
RUN npm run build
# RunFROM base
ENV PORT=3000ENV NODE_ENV=production
COPY --from=build /src/.output /src/.output
CMD [ "node", ".output/server/index.mjs" ]Let’s also add a .dockerignore file in the root.
node_modulesNow to build our Docker image and deploy we run:
npx sst deploy --stage productionYou can use any stage name here but it’s good to create a new stage for production.
Congrats! Your app should now be live!
Connect the console
As a next step, you can setup the SST Console to git push to deploy your app and monitor it for any issues.
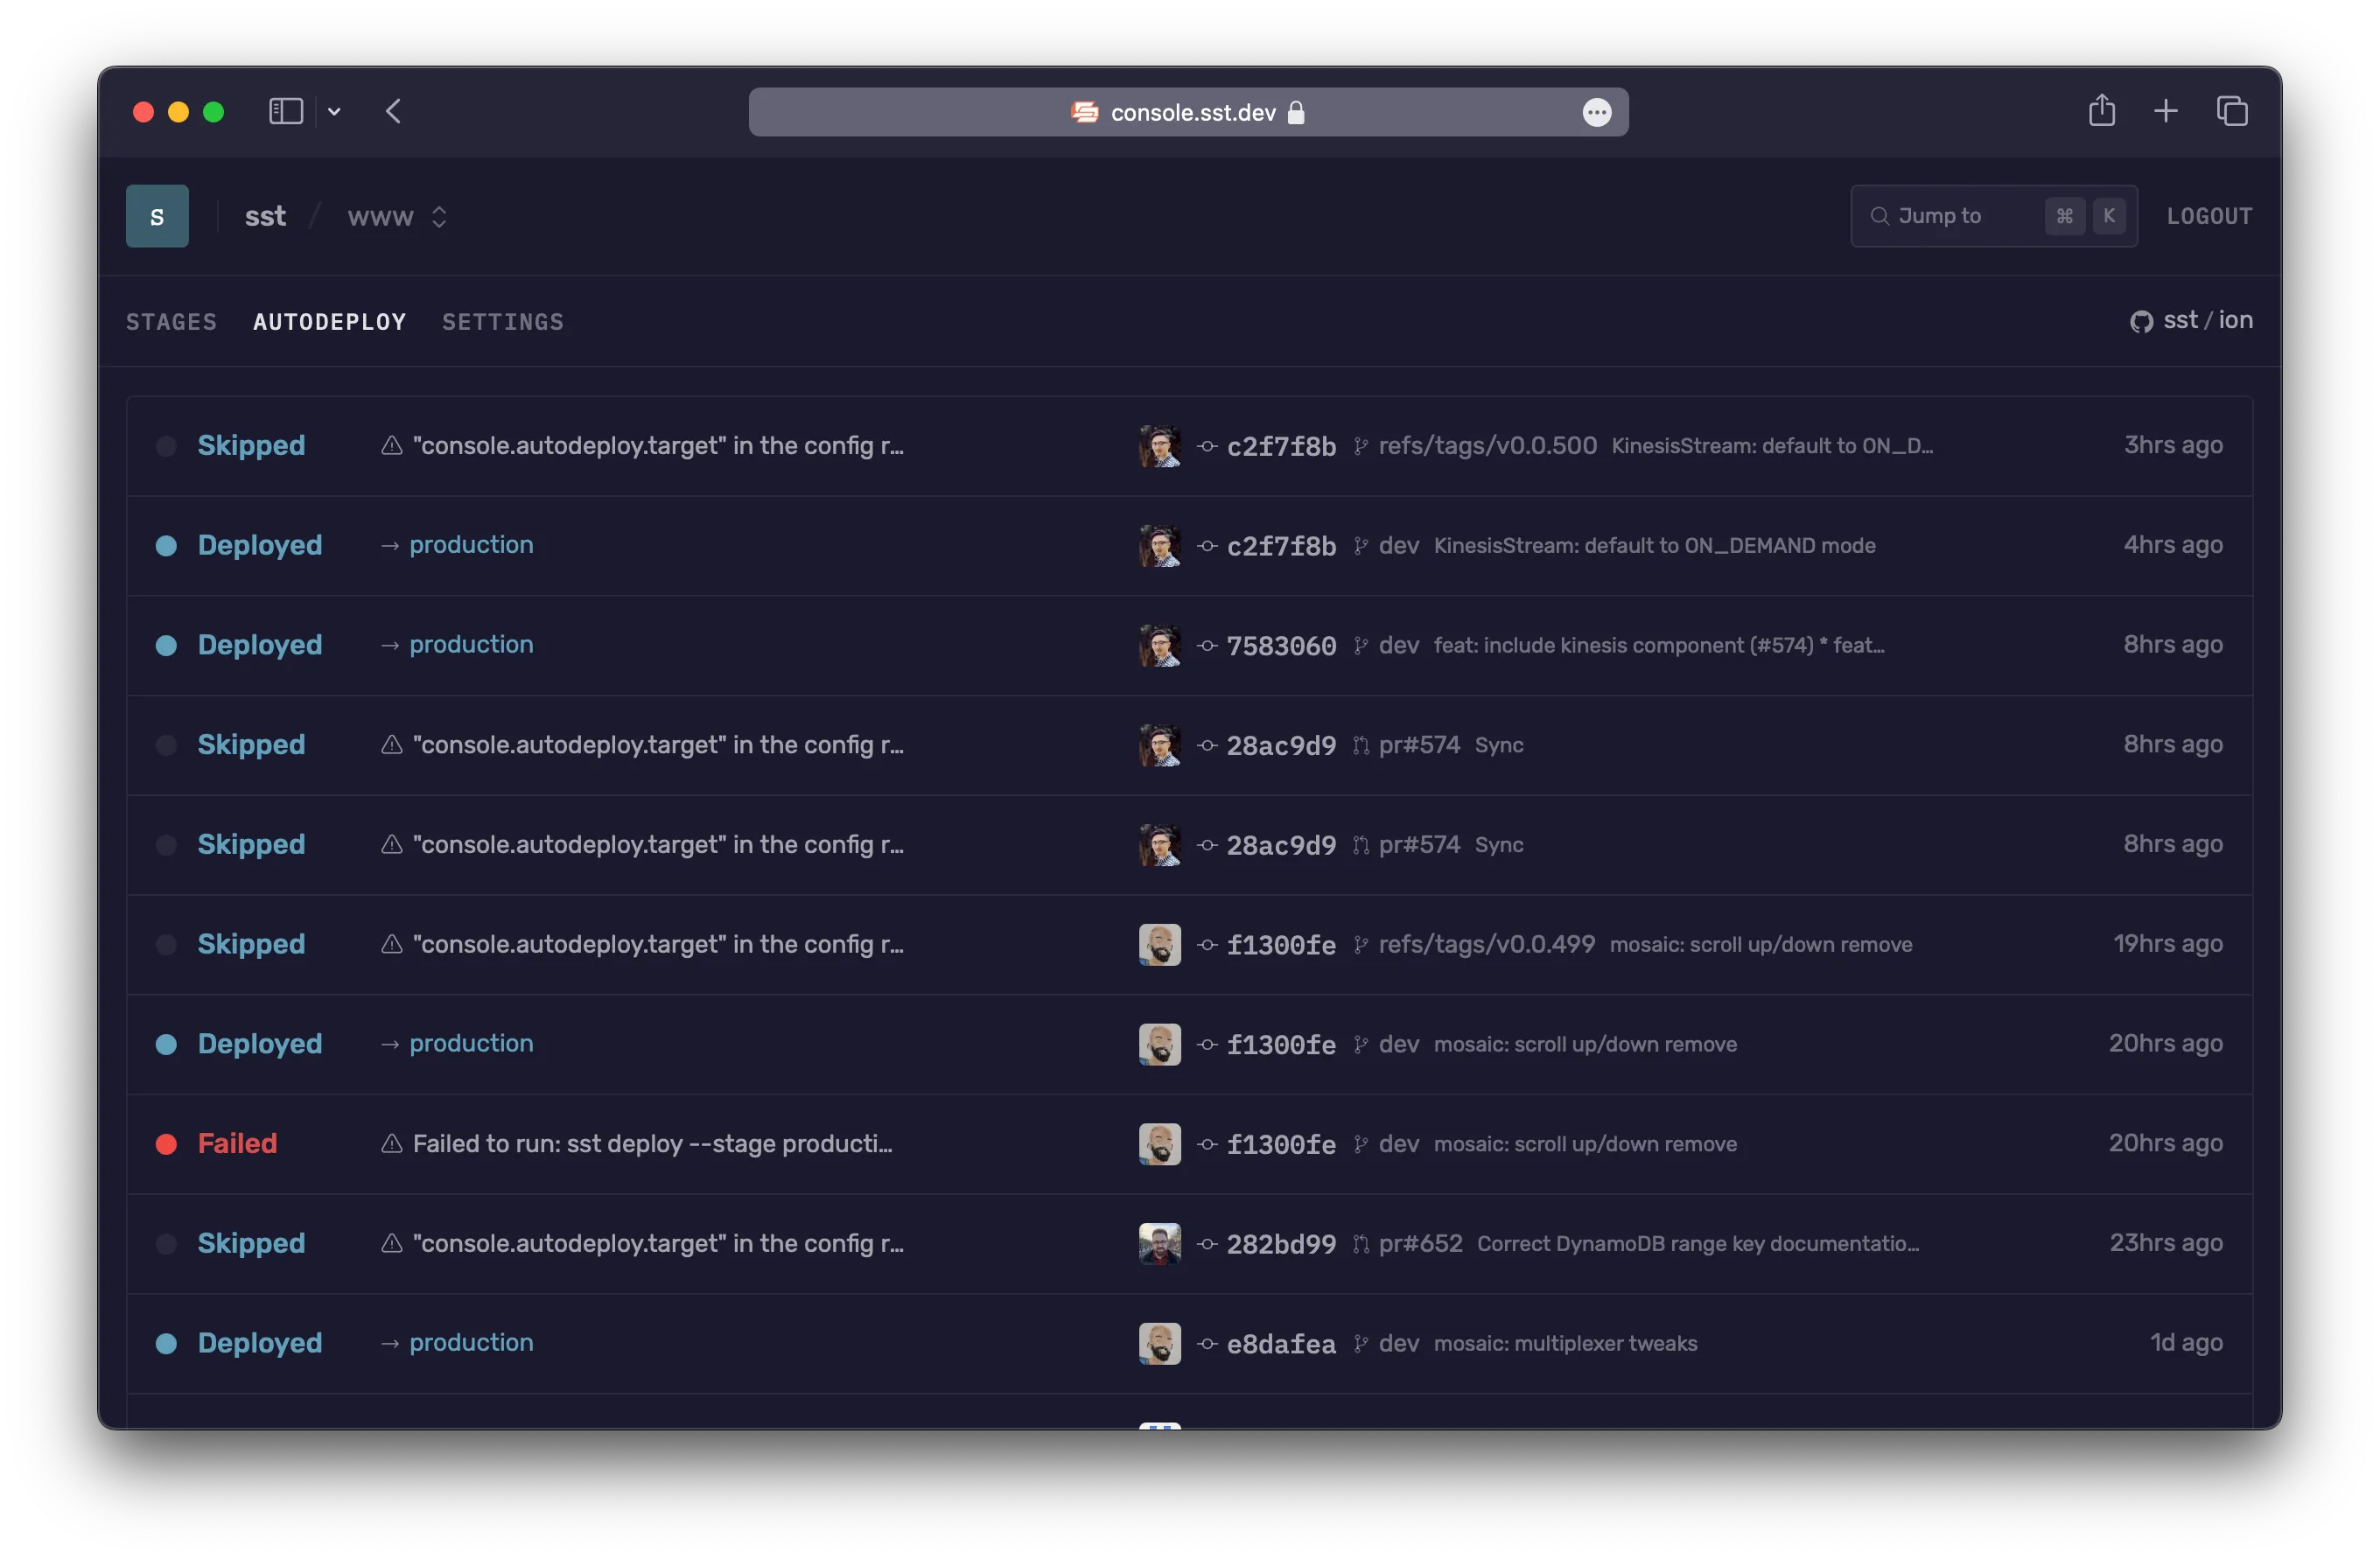
You can create a free account and connect it to your AWS account.