tRPC on AWS with SST
We are going to build a serverless tRPC API, a simple client, and deploy it to AWS using SST.
Before you get started, make sure to configure your AWS credentials.
1. Create a project
Let’s start by creating our app.
mkdir my-trpc-app && cd my-trpc-appnpm init -yInit SST
Now let’s initialize SST in our app.
npx sst@latest initnpm installSelect the defaults and pick AWS. This’ll create a sst.config.ts file in your project root.
2. Add the API
Let’s add two Lambda functions; one for our tRPC server and one that’ll be our client. Update your sst.config.ts.
async run() {  const trpc = new sst.aws.Function("Trpc", {    url: true,    handler: "index.handler",  });
  const client = new sst.aws.Function("Client", {    url: true,    link: [trpc],    handler: "client.handler",  });
  return {    api: trpc.url,    client: client.url,  };}
We are linking the server to our client. This will allow us to access the URL of the server in our client.
Start dev mode
Start your app in dev mode. This runs your functions Live.
npx sst devThis will give you two URLs.
+ Complete api: https://gyrork2ll35rsuml2yr4lifuqu0tsjft.lambda-url.us-east-1.on.aws client: https://3x4y4kg5zv77jeroxsrnjzde3q0tgxib.lambda-url.us-east-1.on.aws3. Create the server
Let’s create our tRPC server. Add the following to index.ts.
const t = initTRPC  .context<CreateAWSLambdaContextOptions<APIGatewayProxyEvent | APIGatewayProxyEventV2>>()  .create();
const router = t.router({  greet: t.procedure    .input(z.object({ name: z.string() }))    .query(({ input }) => {      return `Hello ${input.name}!`;    }),});
export type Router = typeof router;
export const handler = awsLambdaRequestHandler({  router: router,  createContext: (opts) => opts,});
We are creating a simple method called greet that takes a string as an input.
Add the imports.
import { z } from "zod";import { awsLambdaRequestHandler, CreateAWSLambdaContextOptions} from "@trpc/server/adapters/aws-lambda";import { initTRPC } from "@trpc/server";import { APIGatewayProxyEvent, APIGatewayProxyEventV2 } from "aws-lambda";And install the npm packages.
npm install zod @trpc/server@next4. Add the client
Now we’ll connect to our server in our client. Add the following to client.ts.
const client = createTRPCClient<Router>({  links: [    httpBatchLink({      url: Resource.Trpc.url,    }),  ],});
export async function handler() { return { statusCode: 200, body: await client.greet.query({ name: "Patrick Star" }), };}Add the relevant imports. Notice we are importing the types for our API.
import { Resource } from "sst";import type { Router } from "./index";import { createTRPCClient, httpBatchLink } from "@trpc/client";Install the client npm package.
npm install @trpc/client@nextTest your app
To test our app, hit the client URL.
curl https://3x4y4kg5zv77jeroxsrnjzde3q0tgxib.lambda-url.us-east-1.on.awsThis will print out Hello Patrick Star!.
5. Deploy your app
Now let’s deploy your app.
npx sst deploy --stage productionYou can use any stage name here but it’s good to create a new stage for production.
Connect the console
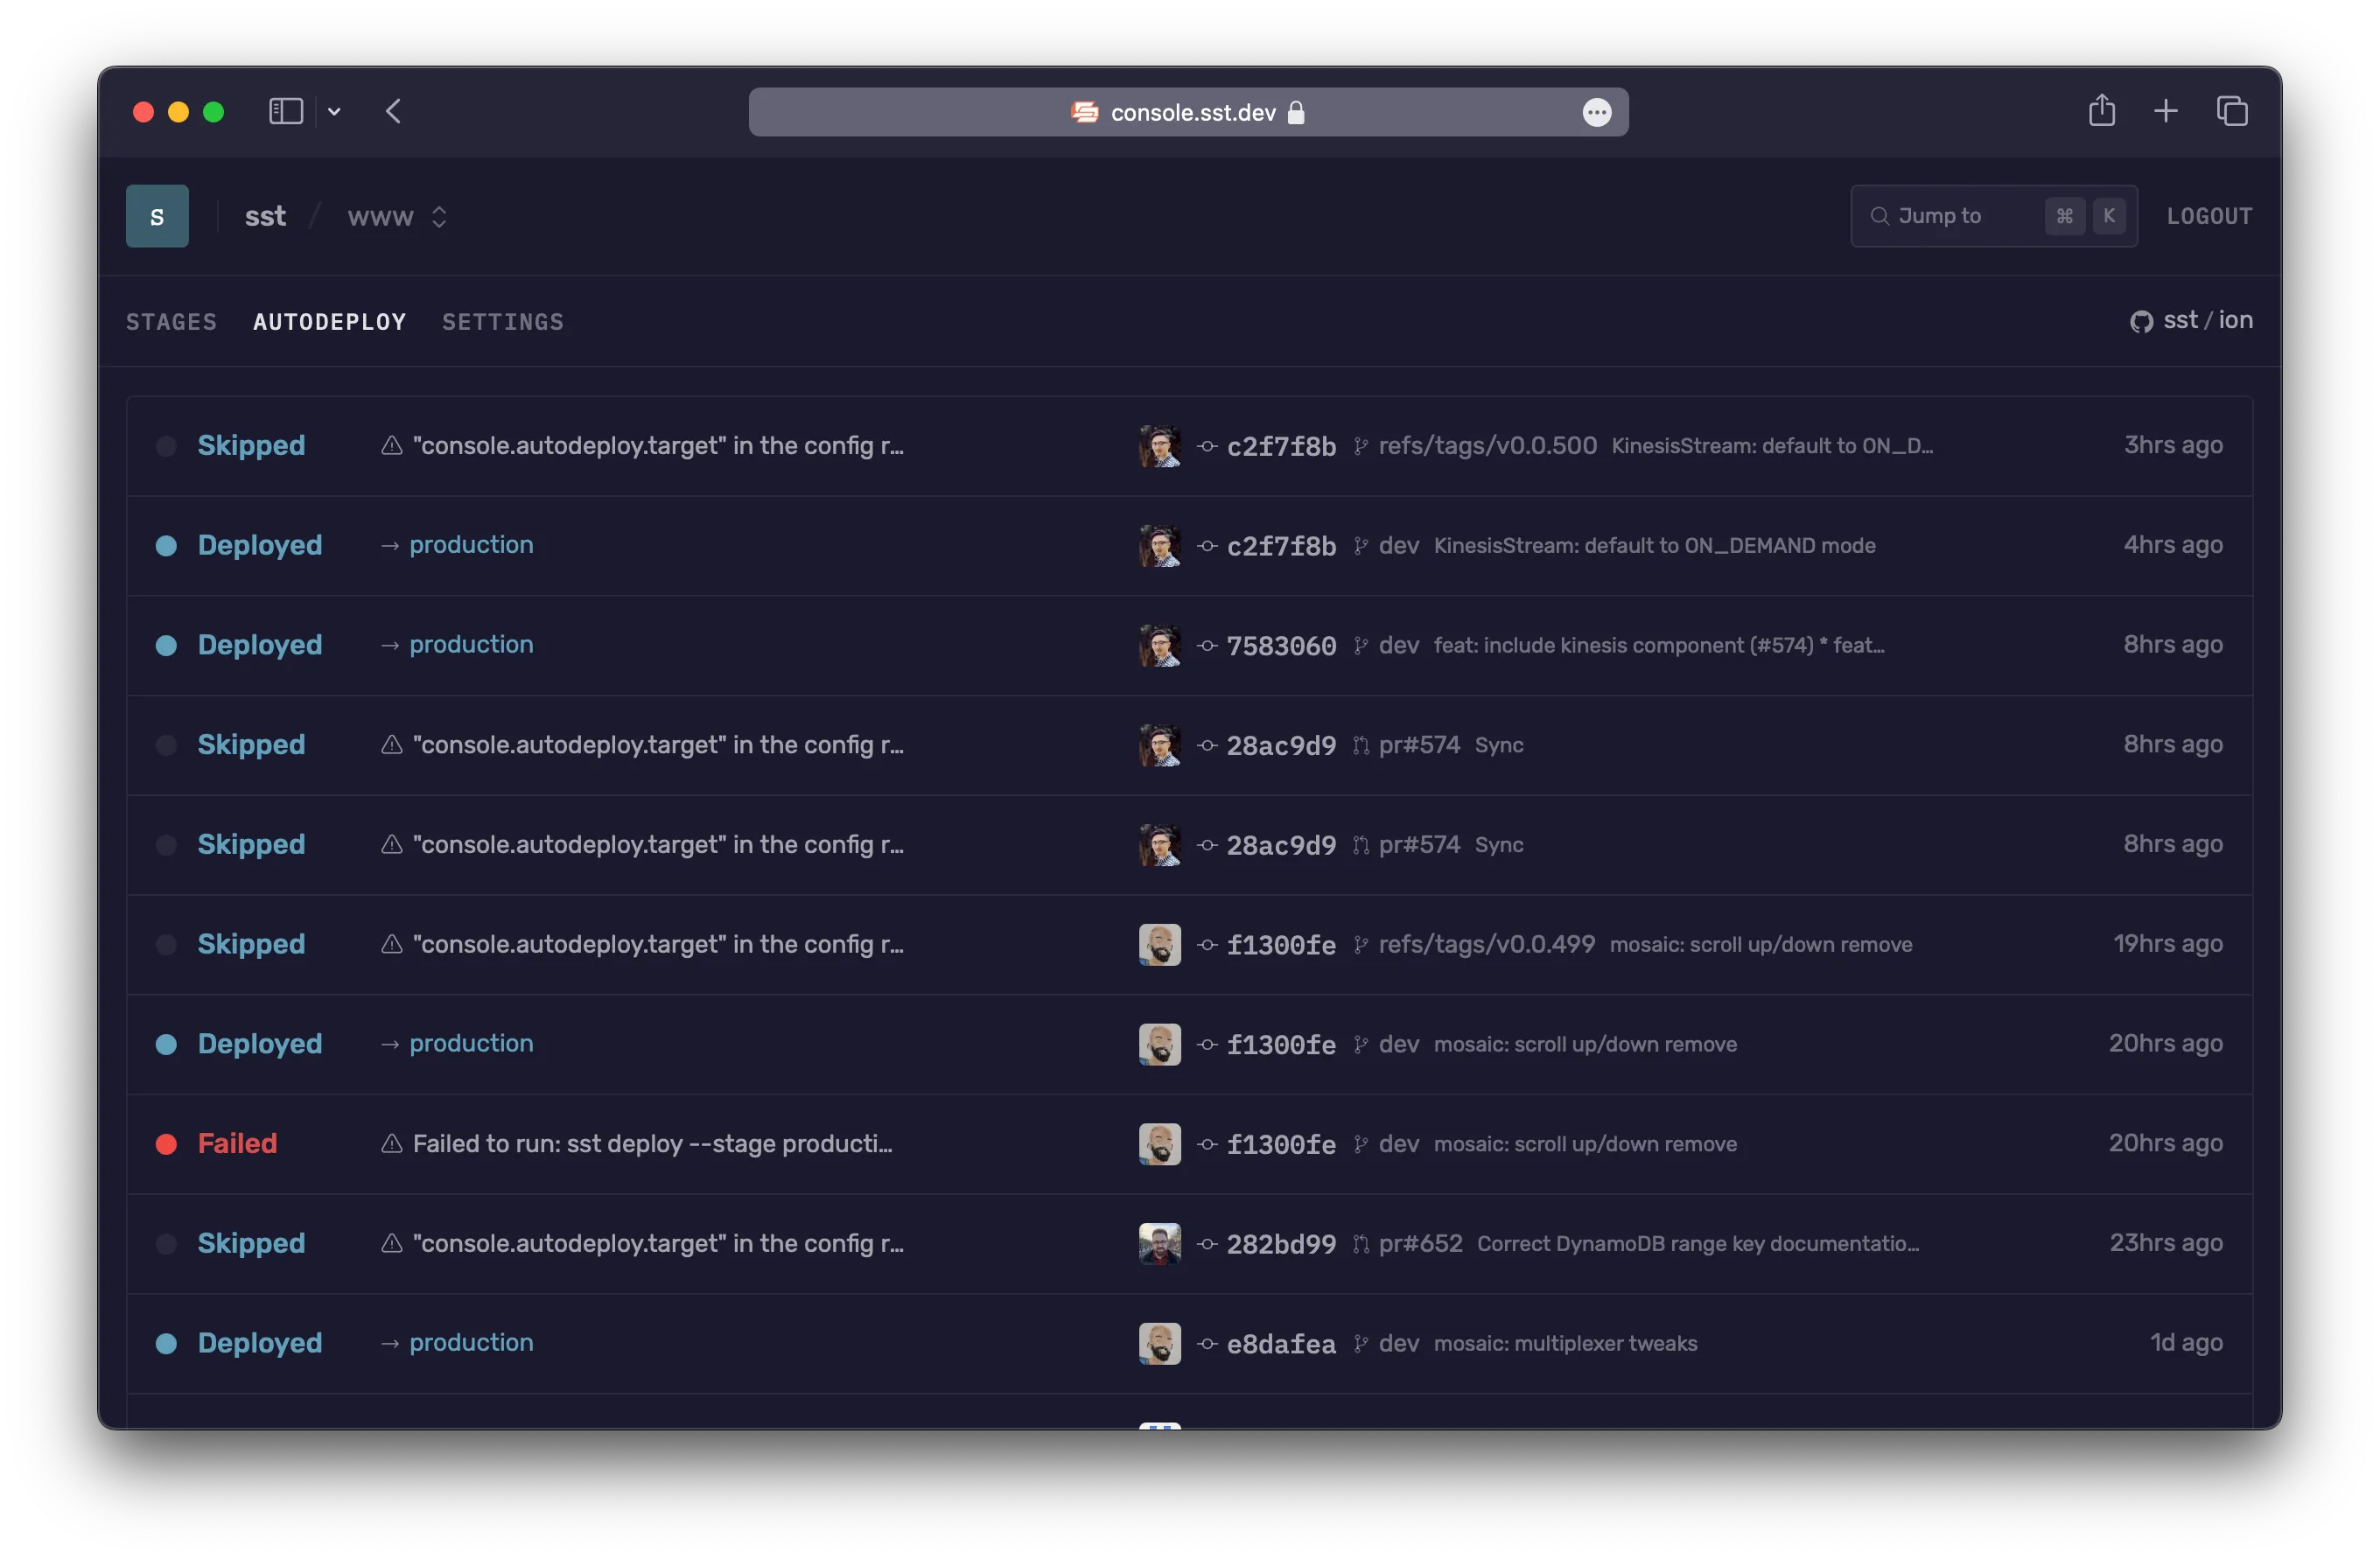
As a next step, you can setup the SST Console to git push to deploy your app and monitor it for any issues.

You can create a free account and connect it to your AWS account.