Create a Hello World API
With our newly created SST app, we are ready to deploy a simple Hello World API. Let’s rename some of the files from our template.
Rename the Template
 Replace our
 infra/api.ts with the following.
import { bucket } from "./storage";

export const api = new sst.aws.ApiGatewayV2("Api");

api.route("GET /", {
  link: [bucket],
  handler: "packages/functions/src/api.handler",
});
Here we are creating a simple API with one route, GET /. When this API is invoked, the function called handler in packages/functions/src/api.ts will be executed.
We are also linking an S3 Bucket to our API. This allows the functions in our API to access the bucket. We’ll be using this bucket later to handle file uploads. For now let’s quickly rename it.
 Replace our
 infra/storage.ts with.
// Create an S3 bucket
export const bucket = new sst.aws.Bucket("Uploads");
Also let’s rename how this bucket is accessed in our app code. We’ll go into detail about this in the coming chapters.
 Rename
 Resource.MyBucket.name line in packages/functions/src/api.ts.
body: `${Example.hello()} Linked to ${Resource.Uploads.name}.`,
Given that we’ve renamed a few components, let’s also make the change in our config.
 Replace the
 run function in sst.config.ts.
async run() {
  await import("./infra/storage");
  await import("./infra/api");
},
Let’s go ahead and deploy this.
Start Your Dev Environment
We’ll do this by starting up our local development environment. SST’s dev environment runs your functions Live. It allows you to work on your serverless apps live.
 Start your dev environment.
$ npx sst dev
Running sst dev will take a minute or two to deploy your app and bootstrap your account for SST.
SST 0.1.17  ready!

➜  App:        notes
   Stage:      jayair
   Console:    https://console.sst.dev/local/notes/jayair

   ...

+  Complete
   Api: https://5bv7x0iuga.execute-api.us-east-1.amazonaws.com
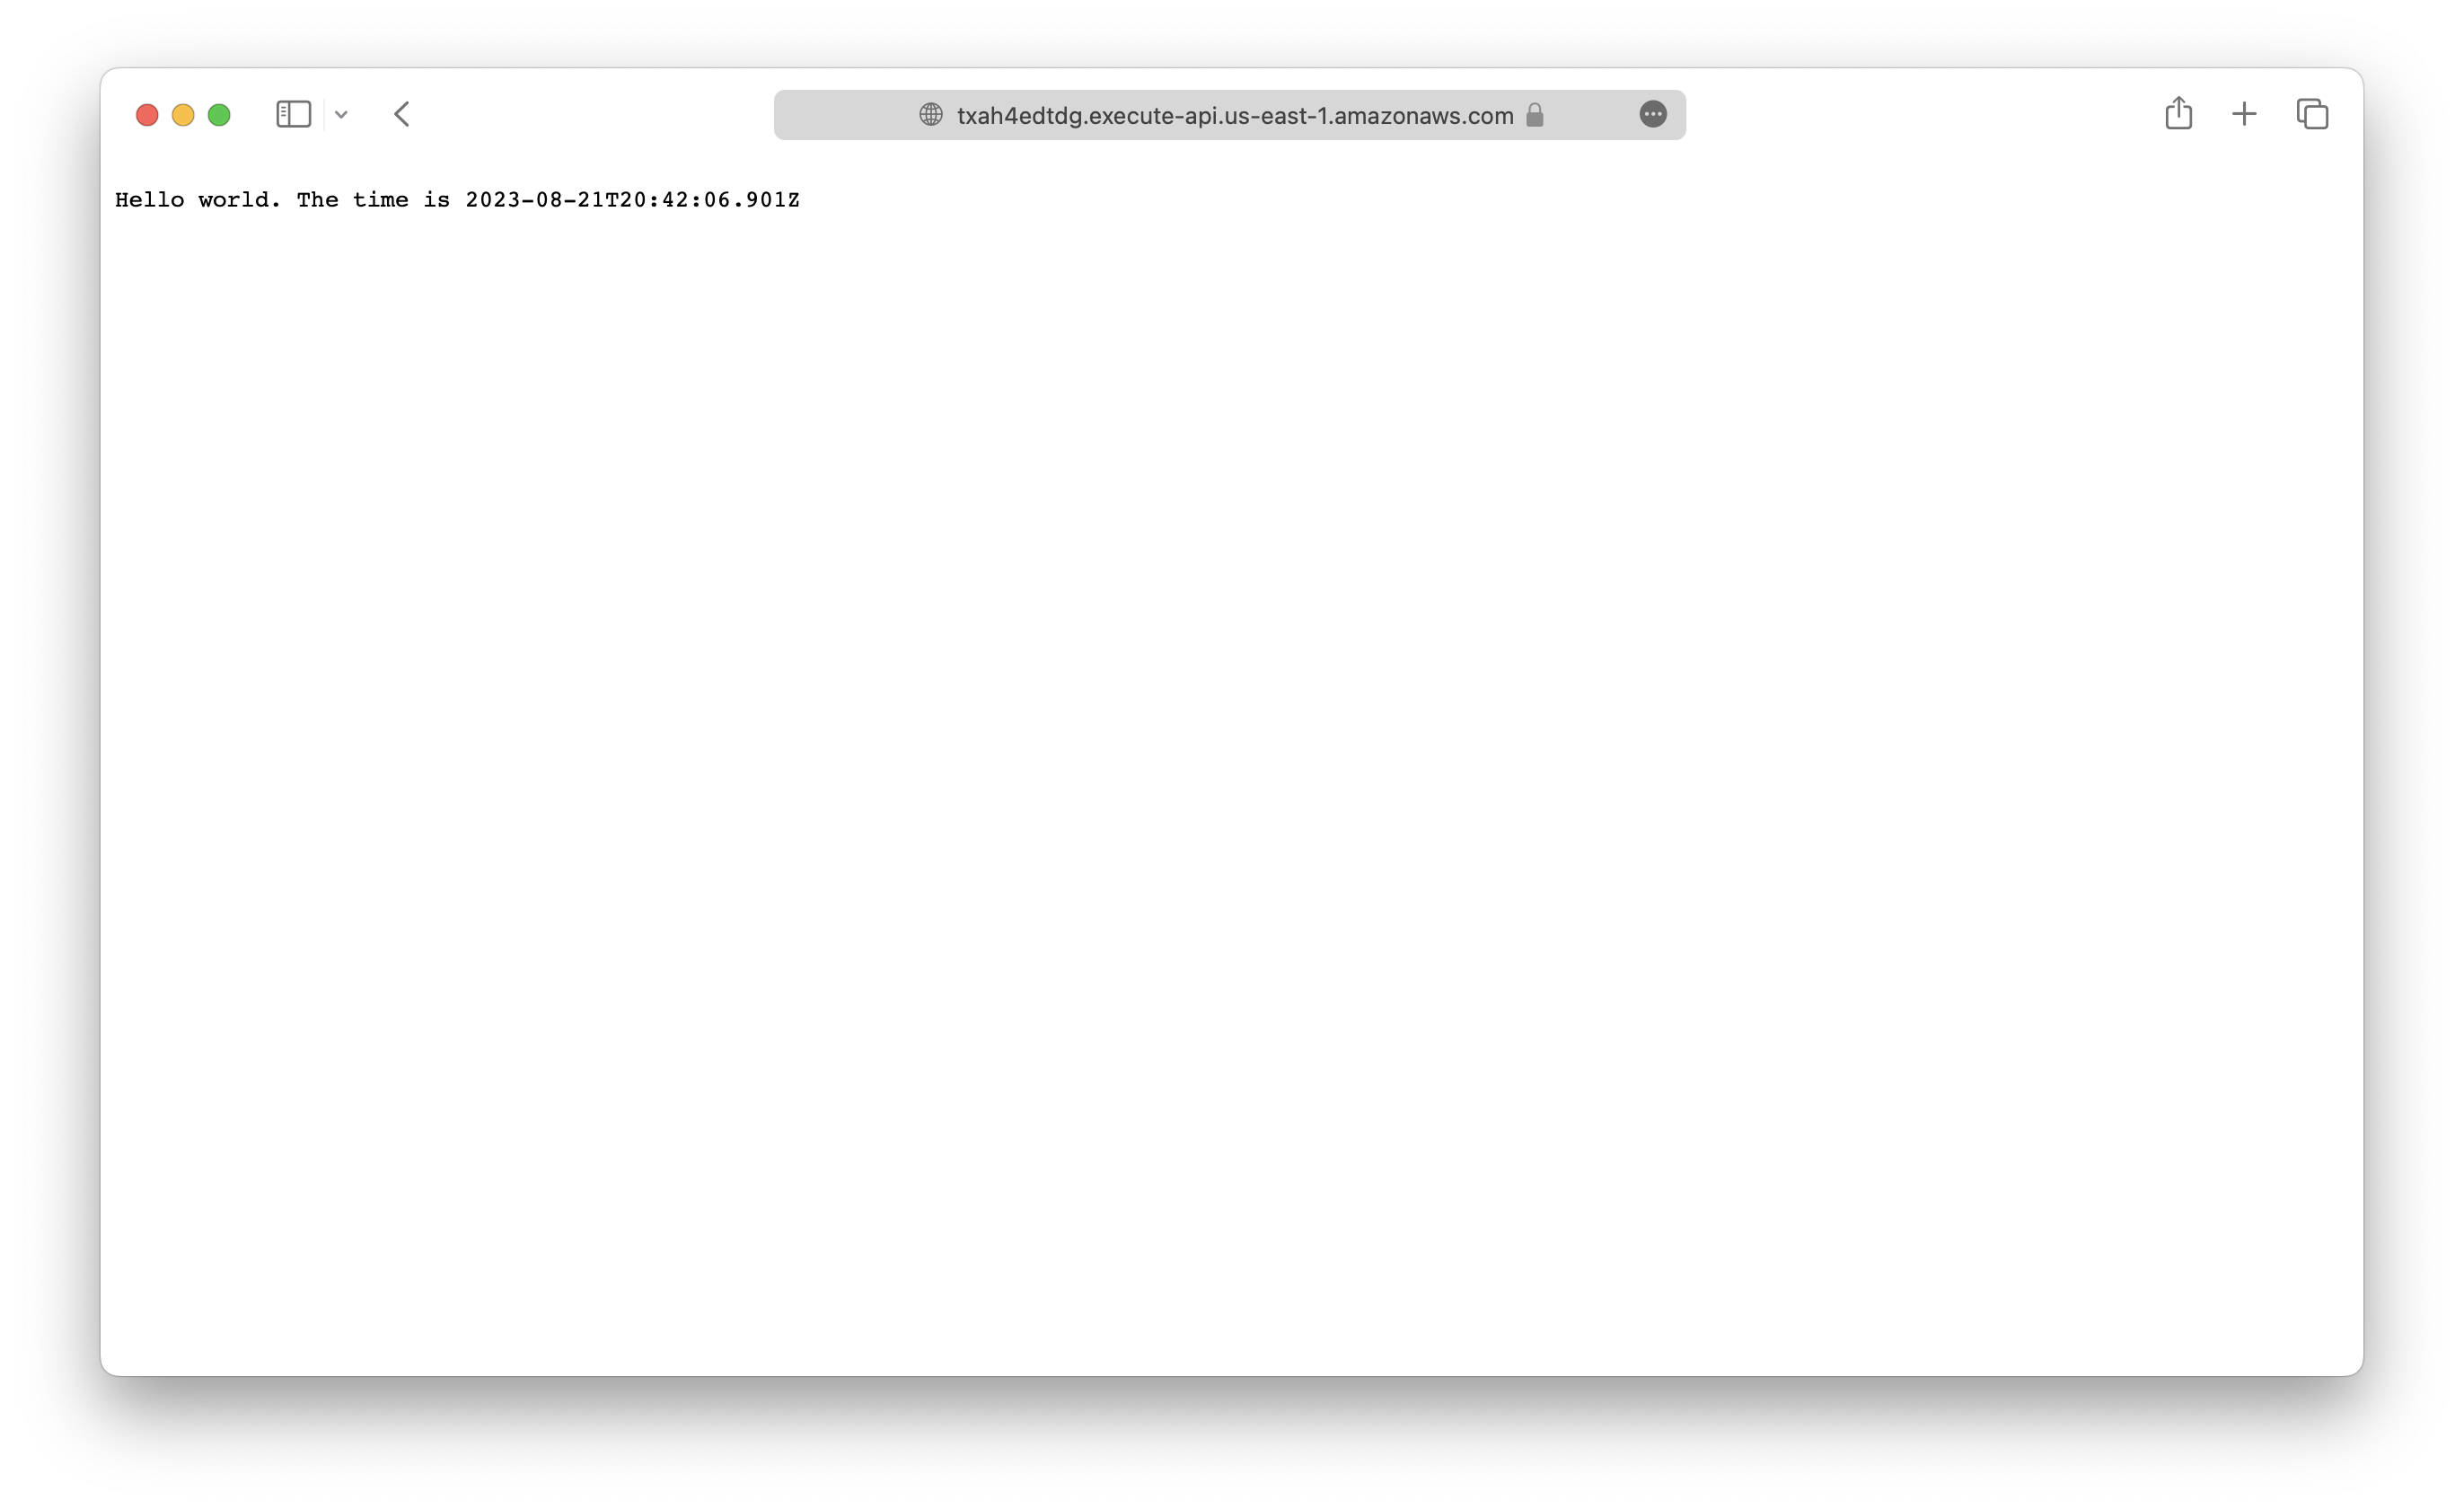
The Api is the API we just created. Let’s test our endpoint. If you open the endpoint URL in your browser, you should see Hello World! being printed out.

You’ll notice its also printing out the name of the bucket that it’s linked to.
Deploying to Prod
To deploy our API to prod, we’ll need to stop our local development environment and run the following.
$ npx sst deploy --stage production
We don’t have to do this right now. We’ll be doing it later once we are done working on our app.
The idea here is that we are able to work on separate environments. So when we are working in our personal stage (jayair), it doesn’t break the API for our users in production. The environment (or stage) names in this case are just strings and have no special significance. We could’ve called them development and prod instead.
We are however creating completely new apps when we deploy to a different environment. This is another advantage of the SST workflow. The infrastructure as code idea makes it easy to replicate to new environments. And the pay per use model of serverless means that we are not charged for these new environments unless we actually use them.
Commit the Changes
As we work through the guide we’ll save our changes.
 Commit what we have and push our changes to GitHub.
$ git add .
$ git commit -m "Initial commit"
$ git push
Now we are ready to create the backend for our notes app.
For help and discussion
Comments on this chapter