


How to create a Next.js app with serverless
In this example we will look at how to deploy a full-stack Next.js app to your AWS account with OpenNext and the NextjsSite construct.
Requirements
- Node.js 16 or later
- We’ll be using TypeScript
- An AWS account with the AWS CLI configured locally
Create a Next.js app
 Let’s start by creating a Next.js app. We’ll just go with the defaults.
$ npx create-next-app@latest
Initialize SST in your app
Initialize SST in your Next.js app by running this in the root.
$ npx create-sst@latest
$ npm install
This will detect that you are trying to configure a Next.js app. It’ll add a sst.config.ts and a couple of packages to your package.json.
import { SSTConfig } from "sst";
import { NextjsSite } from "sst/constructs";

export default {
  config(_input) {
    return {
      name: "quickstart-nextjs",
      region: "us-east-1",
    };
  },
  stacks(app) {
    app.stack(function Site({ stack }) {
      const site = new NextjsSite(stack, "site");

      stack.addOutputs({
        SiteUrl: site.url,
      });
    });
  },
} satisfies SSTConfig;
The stacks code describes the infrastructure of your serverless app. SST uses AWS CDK.
You are ready to deploy your Next.js app at this point! But for the purpose of this example, we’ll go a bit further and add a file uploads feature to our app.
Start the dev environment
Let’s start our SST dev environment.
$ npx sst dev
SST features a Live Lambda Development environment that allows you to work on your serverless apps live. This will ask you to start your Next.js dev environment as well.
Start Next.js locally in a separate terminal.
$ npm run dev
This will run sst bind next dev. More on bind later.
Create our infrastructure
To support file uploads in our app, we need an S3 bucket. Let’s add that.
Add the table
Add the following above our NextjsSite definition in the sst.config.ts.
const bucket = new Bucket(stack, "public");
Here we are using the Bucket construct to create an S3 bucket.
Add it to the imports.
- import { NextjsSite } from "sst/constructs";
+ import { Bucket, NextjsSite } from "sst/constructs";
Bind it to our app
We want our Next.js app to be able to access our bucket.
Add this to our Next.js definition in the sst.config.ts.
- const site = new NextjsSite(stack, "site");
+ const site = new NextjsSite(stack, "site", {
+   bind: [bucket],
+ });
We’ll see what bind does below.
Support file uploads
Now to let our users upload files in our Next.js app we need to start by generating a presigned URL. This is a temporary URL that our frontend can make a request to upload files.
Generate a presigned URL
Add this to pages/index.ts above the Home component.
export async function getServerSideProps() {
  const command = new PutObjectCommand({
    ACL: "public-read",
    Key: crypto.randomUUID(),
    Bucket: Bucket.public.bucketName,
  });
  const url = await getSignedUrl(new S3Client({}), command);

  return { props: { url } };
}
This generates a presigned URL when our app loads. Note how we can access our S3 bucket in a typesafe way — Bucket.public.bucketName. You can learn more about Resource Binding over on our docs.
We need to install a couple of packages.
$ npm install @aws-sdk/client-s3 @aws-sdk/s3-request-presigner
And add these to the imports.
import crypto from "crypto";
import { Bucket } from "sst/node/bucket";
import { getSignedUrl } from "@aws-sdk/s3-request-presigner";
import { S3Client, PutObjectCommand } from "@aws-sdk/client-s3";
Add an upload form
Now let’s add the form.
Replace the Home component in pages/index.tsx with.
export default function Home({ url }: { url: string }) {
  return (
    <main>
      <form
        onSubmit={async (e) => {
          e.preventDefault();

          const file = (e.target as HTMLFormElement).file.files?.[0]!;

          const image = await fetch(url, {
            body: file,
            method: "PUT",
            headers: {
              "Content-Type": file.type,
              "Content-Disposition": `attachment; filename="${file.name}"`,
            },
          });

          window.location.href = image.url.split("?")[0];
        }}
      >
        <input name="file" type="file" accept="image/png, image/jpeg" />
        <button type="submit" className={inter.className}>
          Upload
        </button>
      </form>
    </main>
  );
}
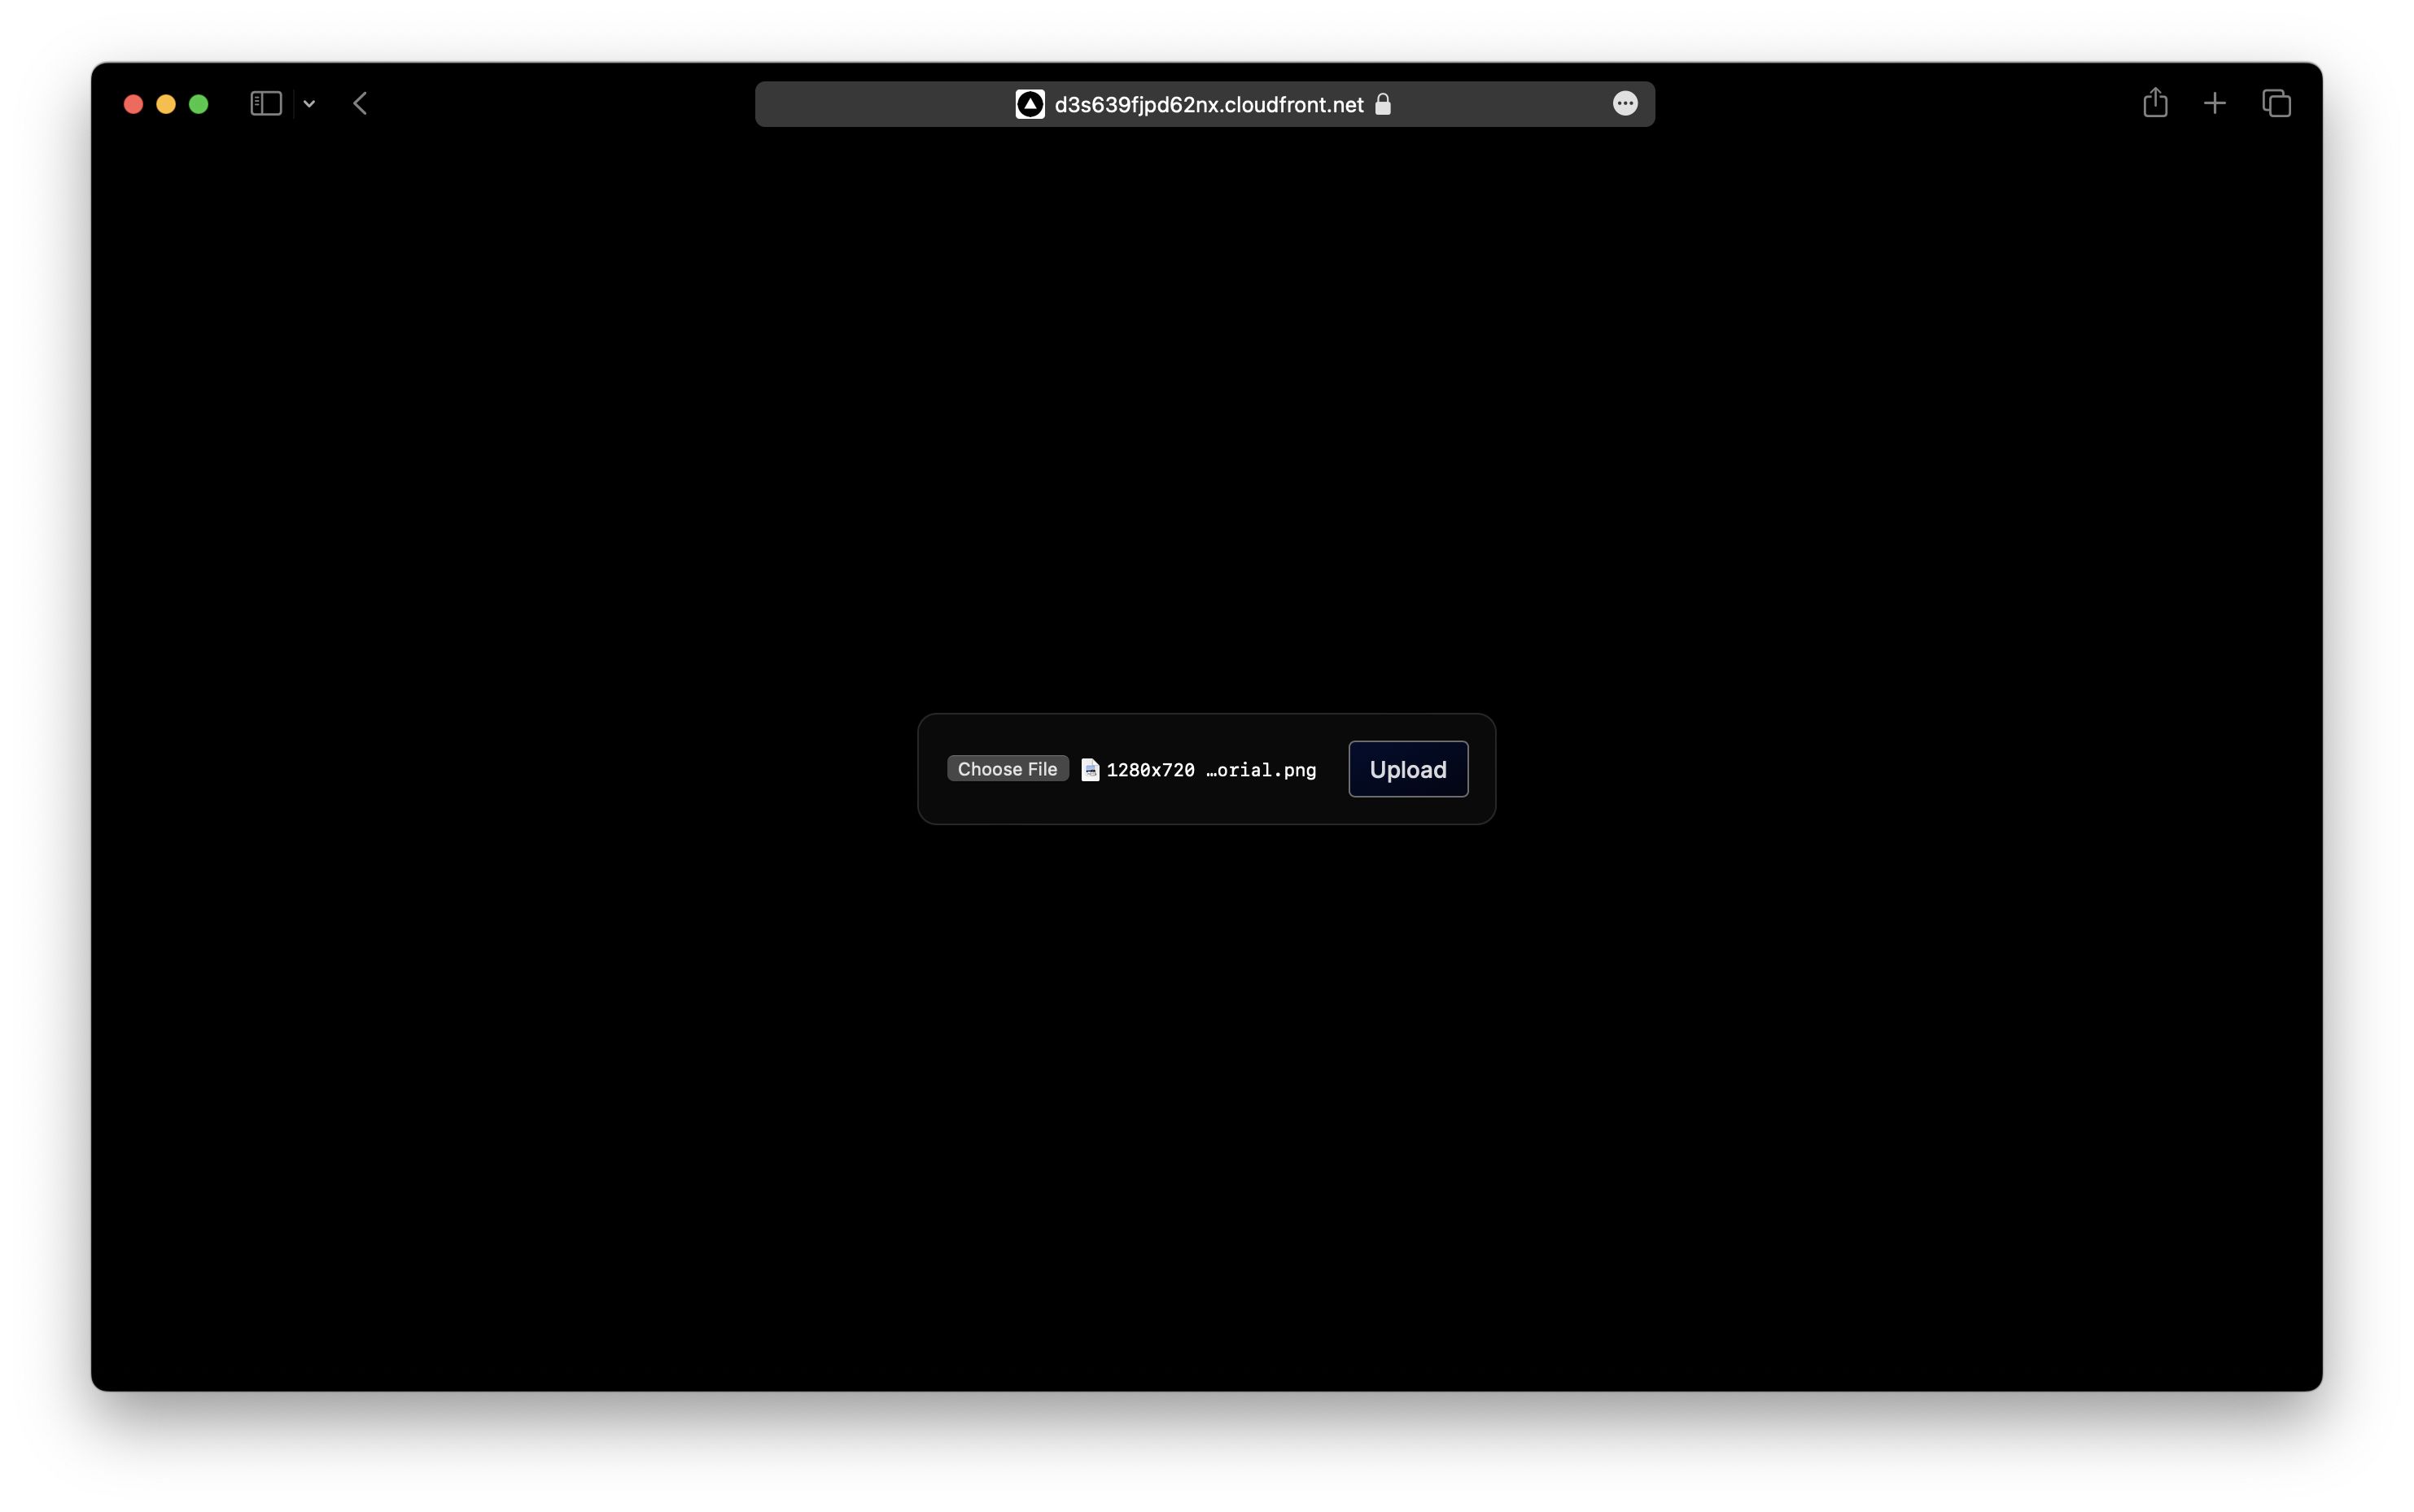
Test your app
Now if you flip over to your browser, you should be able to upload an image and it’ll redirect to it!
Deploy to AWS
To wrap things up we’ll deploy our app to prod.
$ npx sst deploy --stage prod
This allows us to separate our environments, so when we are working in our local environment, it doesn’t break the app for our users. You can stop the npm run dev command that we had previously run.
Once deployed, you should see your app’s URL.
SiteUrl: https://dq1n2yr6krqwr.cloudfront.net
If you head over to the URL in your browser, you should see your new Next.js app in action!
We can add a custom domain to our app but we’ll leave that as an exercise for later.
Cleaning up
Finally, you can remove the resources created in this example using the following commands.
$ npx sst remove
$ npx sst remove --stage prod
Comparisons
In this example we looked at how to use SST to deploy a Next.js app to AWS. But there are a few different ways to deploy Next.js apps. Let’s look at how they all compare.
-
Vercel is the most popular way to deploy Next.js apps. It’s the most expensive and isn’t open source.
-
Amplify in many ways is AWS’s version of Vercel. It’s cheaper and deploys to your AWS account. But their implementation is incomplete and not on par with Vercel. And because they are not open source, you’ll need to file a support ticket to get your issues fixed.
-
Serverless Next.js (sls-next) Component is open source and deploys to your AWS account. But this project is not being maintained anymore.
-
SST is completely open source and deploys directly to your AWS account. It uses OpenNext — an open-source serverless adapter for Next.js. The OpenNext project is a community effort to reverse engineer Vercel’s implementation and make it available to everybody.
We hope this example has helped you deploy your Next.js apps to AWS. And given you an overview of all the deployment options out there.
Example repo for reference
github.com/sst/sst/tree/master/examples/quickstart-nextjsFor help and discussion
Comments on this exampleMore Examples
APIs
-
REST API
Building a simple REST API.
-
WebSocket API
Building a simple WebSocket API.
-
Go REST API
Building a REST API with Golang.
-
Custom Domains
Using a custom domain in an API.
Web Apps
Mobile Apps
GraphQL
Databases
-
DynamoDB
Using DynamoDB in a serverless API.
-
MongoDB Atlas
Using MongoDB Atlas in a serverless API.
-
PostgreSQL
Using PostgreSQL and Aurora in a serverless API.
-
CRUD DynamoDB
Building a CRUD API with DynamoDB.
-
PlanetScale
Using PlanetScale in a serverless API.
Authentication
Using SST Auth
-
Facebook Auth
Adding Facebook auth to a full-stack serverless app.
-
Google Auth
Adding Google auth to a full-stack serverless app.
Using Cognito Identity Pools
-
Cognito IAM
Authenticating with Cognito User Pool and Identity Pool.
-
Facebook Auth
Authenticating a serverless API with Facebook.
-
Twitter Auth
Authenticating a serverless API with Twitter.
-
Auth0 IAM
Authenticating a serverless API with Auth0.
Using Cognito User Pools
-
Cognito JWT
Adding JWT authentication with Cognito.
-
Auth0 JWT
Adding JWT authentication with Auth0.
-
Google Auth
Authenticating a full-stack serverless app with Google.
-
GitHub Auth
Authenticating a full-stack serverless app with GitHub.
-
Facebook Auth
Authenticating a full-stack serverless app with Facebook.
Async Tasks
-
Cron
A simple serverless Cron job.
-
Queues
A simple queue system with SQS.
-
Pub/Sub
A simple pub/sub system with SNS.
-
Resize Images
Automatically resize images uploaded to S3.
-
Kinesis data streams
A simple Kinesis Data Stream system.
-
EventBus
A simple EventBridge system with EventBus.
Editors
-
Debug With VS Code
Using VS Code to debug serverless apps.
-
Debug With WebStorm
Using WebStorm to debug serverless apps.
-
Debug With IntelliJ
Using IntelliJ IDEA to debug serverless apps.
Monitoring
Miscellaneous
-
Lambda Layers
Using the @sparticuz/chromium layer to take screenshots.
-
Middy Validator
Use Middy to validate API request and responses.