Angular on AWS with SST
We are going to create an Angular 18 SPA, add an S3 Bucket for file uploads, and deploy it to AWS using SST.
Before you get started, make sure to configure your AWS credentials.
1. Create a project
Let’s start by creating our project.
npm install -g @angular/cling new aws-angularcd aws-angularWe are picking CSS for styles, and not using SSR.
Init SST
Now let’s initialize SST in our app.
npx sst@latest initThis’ll create a sst.config.ts file in your project root.
2. Add an S3 Bucket
Let’s allow public access to our S3 Bucket for file uploads. Update your sst.config.ts.
const bucket = new sst.aws.Bucket("MyBucket", { access: "public"});Add this above the StaticSite component.
We are going to upload a file to this bucket using a pre-signed URL. This’ll let us upload it directly to our bucket.
3. Add an API
Let’s create a simple API to generate that URL. Add this below the Bucket component.
const pre = new sst.aws.Function("MyFunction", { url: true, link: [bucket], handler: "functions/presigned.handler",});We are linking our bucket to this function.
Pass the API URL
Now, pass the API URL to our Angular app. Add this below the build prop in our StaticSite component.
environment: { NG_APP_PRESIGNED_API: pre.url}To load this in our Angular app, we’ll use the @ngx-env/builder package.
ng add @ngx-env/builderStart dev mode
Run the following to start dev mode. This’ll start SST and your Angular app.
npx sst devOnce complete, click on MyWeb in the sidebar and go to your Angular app in your browser. Typically on http://localhost:4200.
3. Create an upload form
Let’s create a component to do the file upload. Add the following to src/app/file-upload.component.ts.
import { Component, inject } from '@angular/core';import { HttpClient } from '@angular/common/http';import { FormsModule } from '@angular/forms';
@Component({  selector: 'app-file-upload',  standalone: true,  imports: [FormsModule],  template: `    <form (ngSubmit)="onSubmit($event)">      <input type="file" name="file">      <button type="submit">Upload</button>    </form>  `,})export class FileUploadComponent {  private http = inject(HttpClient);
  presignedApi = import.meta.env['NG_APP_PRESIGNED_API'];
  async onSubmit(event: Event): Promise<void> {    const file = (event.target as HTMLFormElement)['file'].files?.[0]!;
    this.http.get(this.presignedApi, { responseType: 'text' }).subscribe({      next: async (url: string) => {        const image = await fetch(url, {          body: file,          method: "PUT",          headers: {            "Content-Type": file.type,            "Content-Disposition": `attachment; filename="${file.name}"`,          },        });
        window.location.href = image.url.split("?")[0];      },    });  }}
This is getting the pre-signed API URL from the environment. Making a request to it to get the pre-signed URL and then uploading our file to it.
Let’s add some styles below the template prop.
styles: [` form { color: white; padding: 2rem; display: flex; align-items: center; justify-content: space-between; background-color: #23262d; background-image: none; background-size: 400%; border-radius: 0.6rem; background-position: 100%; box-shadow: 0 4px 6px -1px rgba(0, 0, 0, 0.1), 0 2px 4px -2px rgba(0, 0, 0, 0.1); } button { appearance: none; border: 0; font-weight: 500; border-radius: 5px; font-size: 0.875rem; padding: 0.5rem 0.75rem; background-color: white; color: black; } button:active:enabled { background-color: #EEE; }`]To make HTTP fetch requests we need to add the provider to our Angular app config. Add the following to the providers list in src/app/app.config.ts.
provideHttpClient(withFetch())And import it at the top.
import { provideHttpClient, withFetch } from '@angular/common/http';Let’s add this to our app. Replace the src/app/app.component.ts file with.
import { Component } from '@angular/core';import { RouterOutlet } from '@angular/router';import { FileUploadComponent } from './file-upload.component';
@Component({  selector: 'app-root',  standalone: true,  imports: [RouterOutlet, FileUploadComponent],  template: `    <main>      <app-file-upload></app-file-upload>    </main>    <router-outlet></router-outlet>  `,  styles: [`    main {      margin: auto;      padding: 1.5rem;      max-width: 60ch;    }  `],})export class AppComponent { }
4. Generate a pre-signed URL
Let’s implement the API that generates the pre-signed URL. Create a functions/presigned.ts file with the following.
import { Resource } from "sst";import { getSignedUrl } from "@aws-sdk/s3-request-presigner";import { S3Client, PutObjectCommand } from "@aws-sdk/client-s3";
export async function handler() {  const command = new PutObjectCommand({    Key: crypto.randomUUID(),    Bucket: Resource.MyBucket.name,  });
return { statusCode: 200, body: await getSignedUrl(new S3Client({}), command), };}And install the npm packages.
npm install @aws-sdk/client-s3 @aws-sdk/s3-request-presignerHead over to the local Angular app in your browser, http://localhost:4200 and try uploading an image. You should see it upload and then download the image.
5. Deploy your app
Now let’s deploy your app to AWS.
npx sst deploy --stage productionYou can use any stage name here but it’s good to create a new stage for production.
Connect the console
As a next step, you can setup the SST Console to git push to deploy your app and monitor it for any issues.
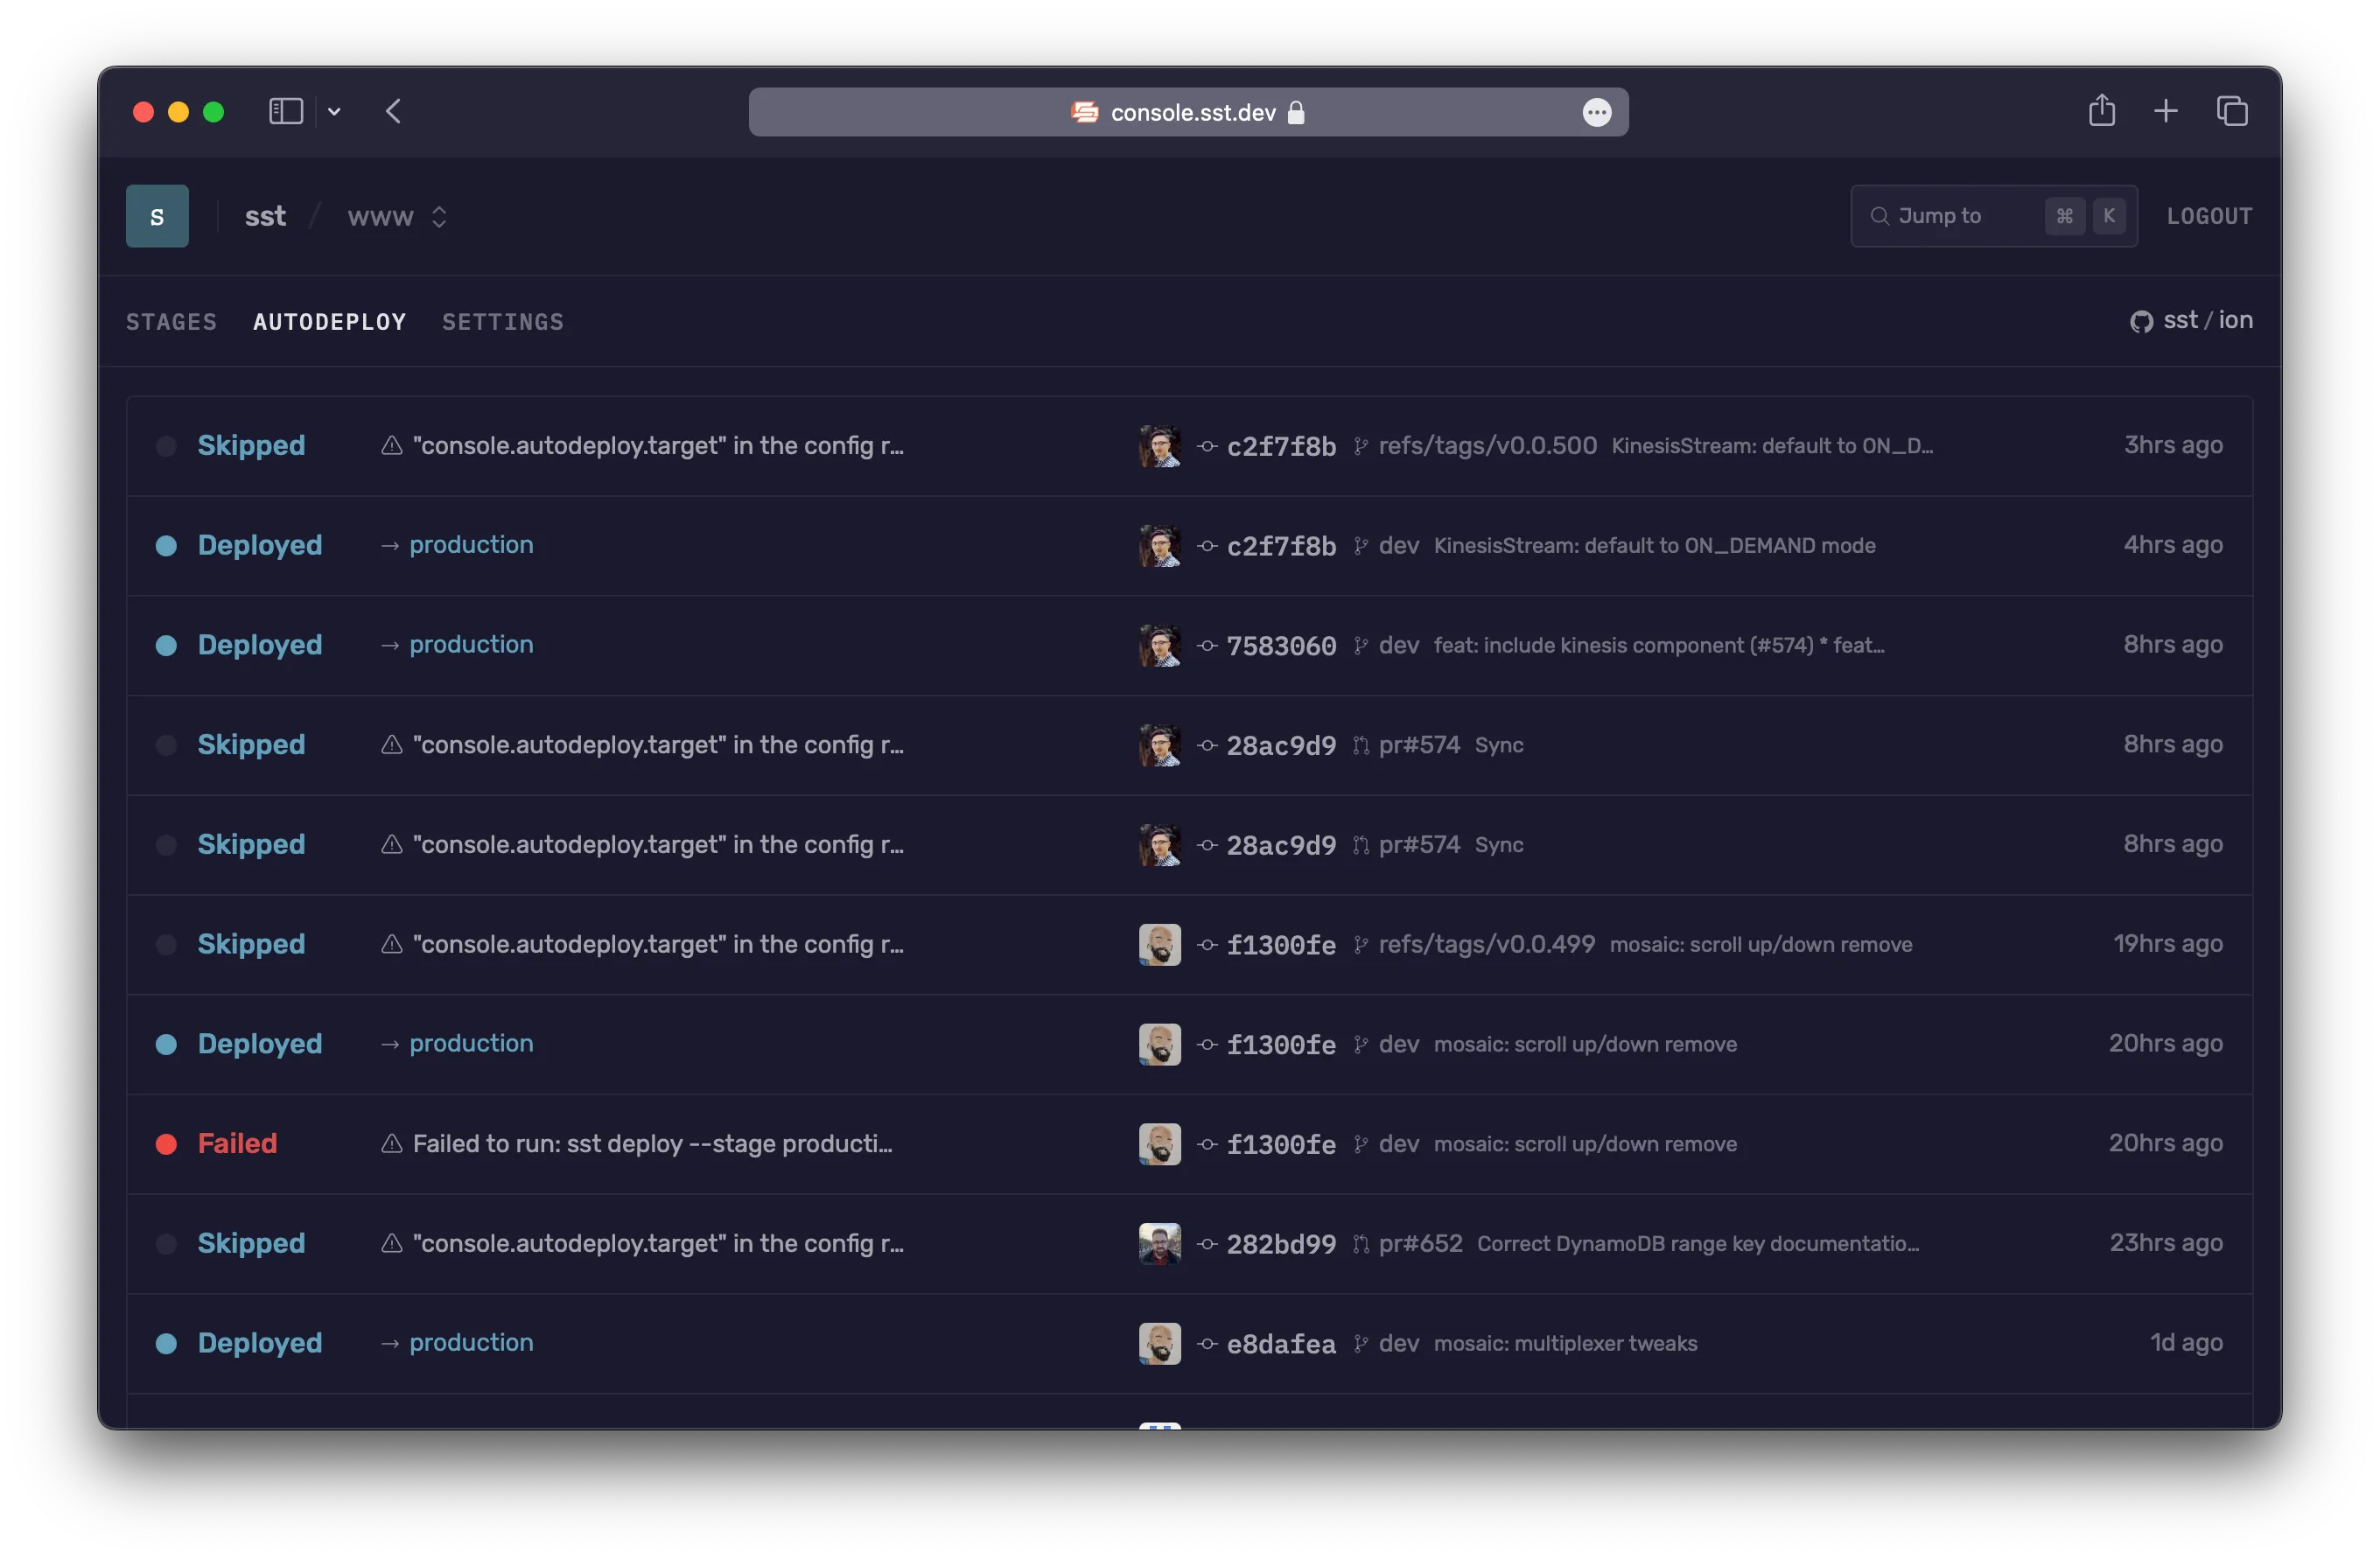
You can create a free account and connect it to your AWS account.