Remix on AWS with SST
There are two ways to deploy a Remix app to AWS with SST.
We’ll use both to build a couple of simple apps below.
Examples
We also have a few other Remix examples that you can refer to.
Serverless
We are going to create a Remix app, add an S3 Bucket for file uploads, and deploy it to using the Remix component.
Before you get started, make sure to configure your AWS credentials.
1. Create a project
Let’s start by creating our project.
npx create-remix@latest aws-remixcd aws-remixWe are picking all the default options.
Init SST
Now let’s initialize SST in our app.
npx sst@latest initnpm installSelect the defaults and pick AWS. This’ll create a sst.config.ts file in your project root.
Start dev mode
Run the following to start dev mode. This’ll start SST and your Remix app.
npx sst devOnce complete, click on MyWeb in the sidebar and open your Remix app in your browser.
2. Add an S3 Bucket
Let’s allow public access to our S3 Bucket for file uploads. Update your sst.config.ts.
const bucket = new sst.aws.Bucket("MyBucket", { access: "public"});Add this above the Remix component.
Link the bucket
Now, link the bucket to our Remix app.
new sst.aws.Remix("MyWeb", { link: [bucket],});3. Create an upload form
Add the upload form client in app/routes/_index.tsx. Replace the Index component with:
export default function Index() {  const data = useLoaderData<typeof loader>();  return (    <div className="flex h-screen items-center justify-center">      <div className="flex flex-col items-center gap-8">        <h1 className="leading text-2xl font-bold text-gray-800 dark:text-gray-100">          Welcome to Remix        </h1>        <form          className="flex flex-row gap-4"          onSubmit={async (e) => {            e.preventDefault();
            const file = (e.target as HTMLFormElement).file.files?.[0]!;
            const image = await fetch(data.url, {              body: file,              method: "PUT",              headers: {                "Content-Type": file.type,                "Content-Disposition": `attachment; filename="${file.name}"`,              },            });
            window.location.href = image.url.split("?")[0];          }}        >          <input            name="file"            type="file"            accept="image/png, image/jpeg"            className="block w-full text-sm text-slate-500              file:mr-4 file:py-2 file:px-4              file:rounded-full file:border-0              file:text-sm file:font-semibold              file:bg-violet-50 file:text-violet-700              hover:file:bg-violet-100" />          <button className="bg-violet-500 hover:bg-violet-700 text-white text-sm            font-semibold py-2 px-4 rounded-full">            Upload          </button>        </form>      </div>    </div>  );}
4. Generate a pre-signed URL
When our app loads, we’ll generate a pre-signed URL for the file upload and use it in the form.
Add this above the Index component in app/routes/_index.tsx.
export async function loader() {  const command = new PutObjectCommand({    Key: crypto.randomUUID(),    Bucket: Resource.MyBucket.name,  });  const url = await getSignedUrl(new S3Client({}), command);
return { url };}Add the relevant imports.
import { Resource } from "sst";import { useLoaderData } from "@remix-run/react";import { getSignedUrl } from "@aws-sdk/s3-request-presigner";import { S3Client, PutObjectCommand } from "@aws-sdk/client-s3";And install the npm packages.
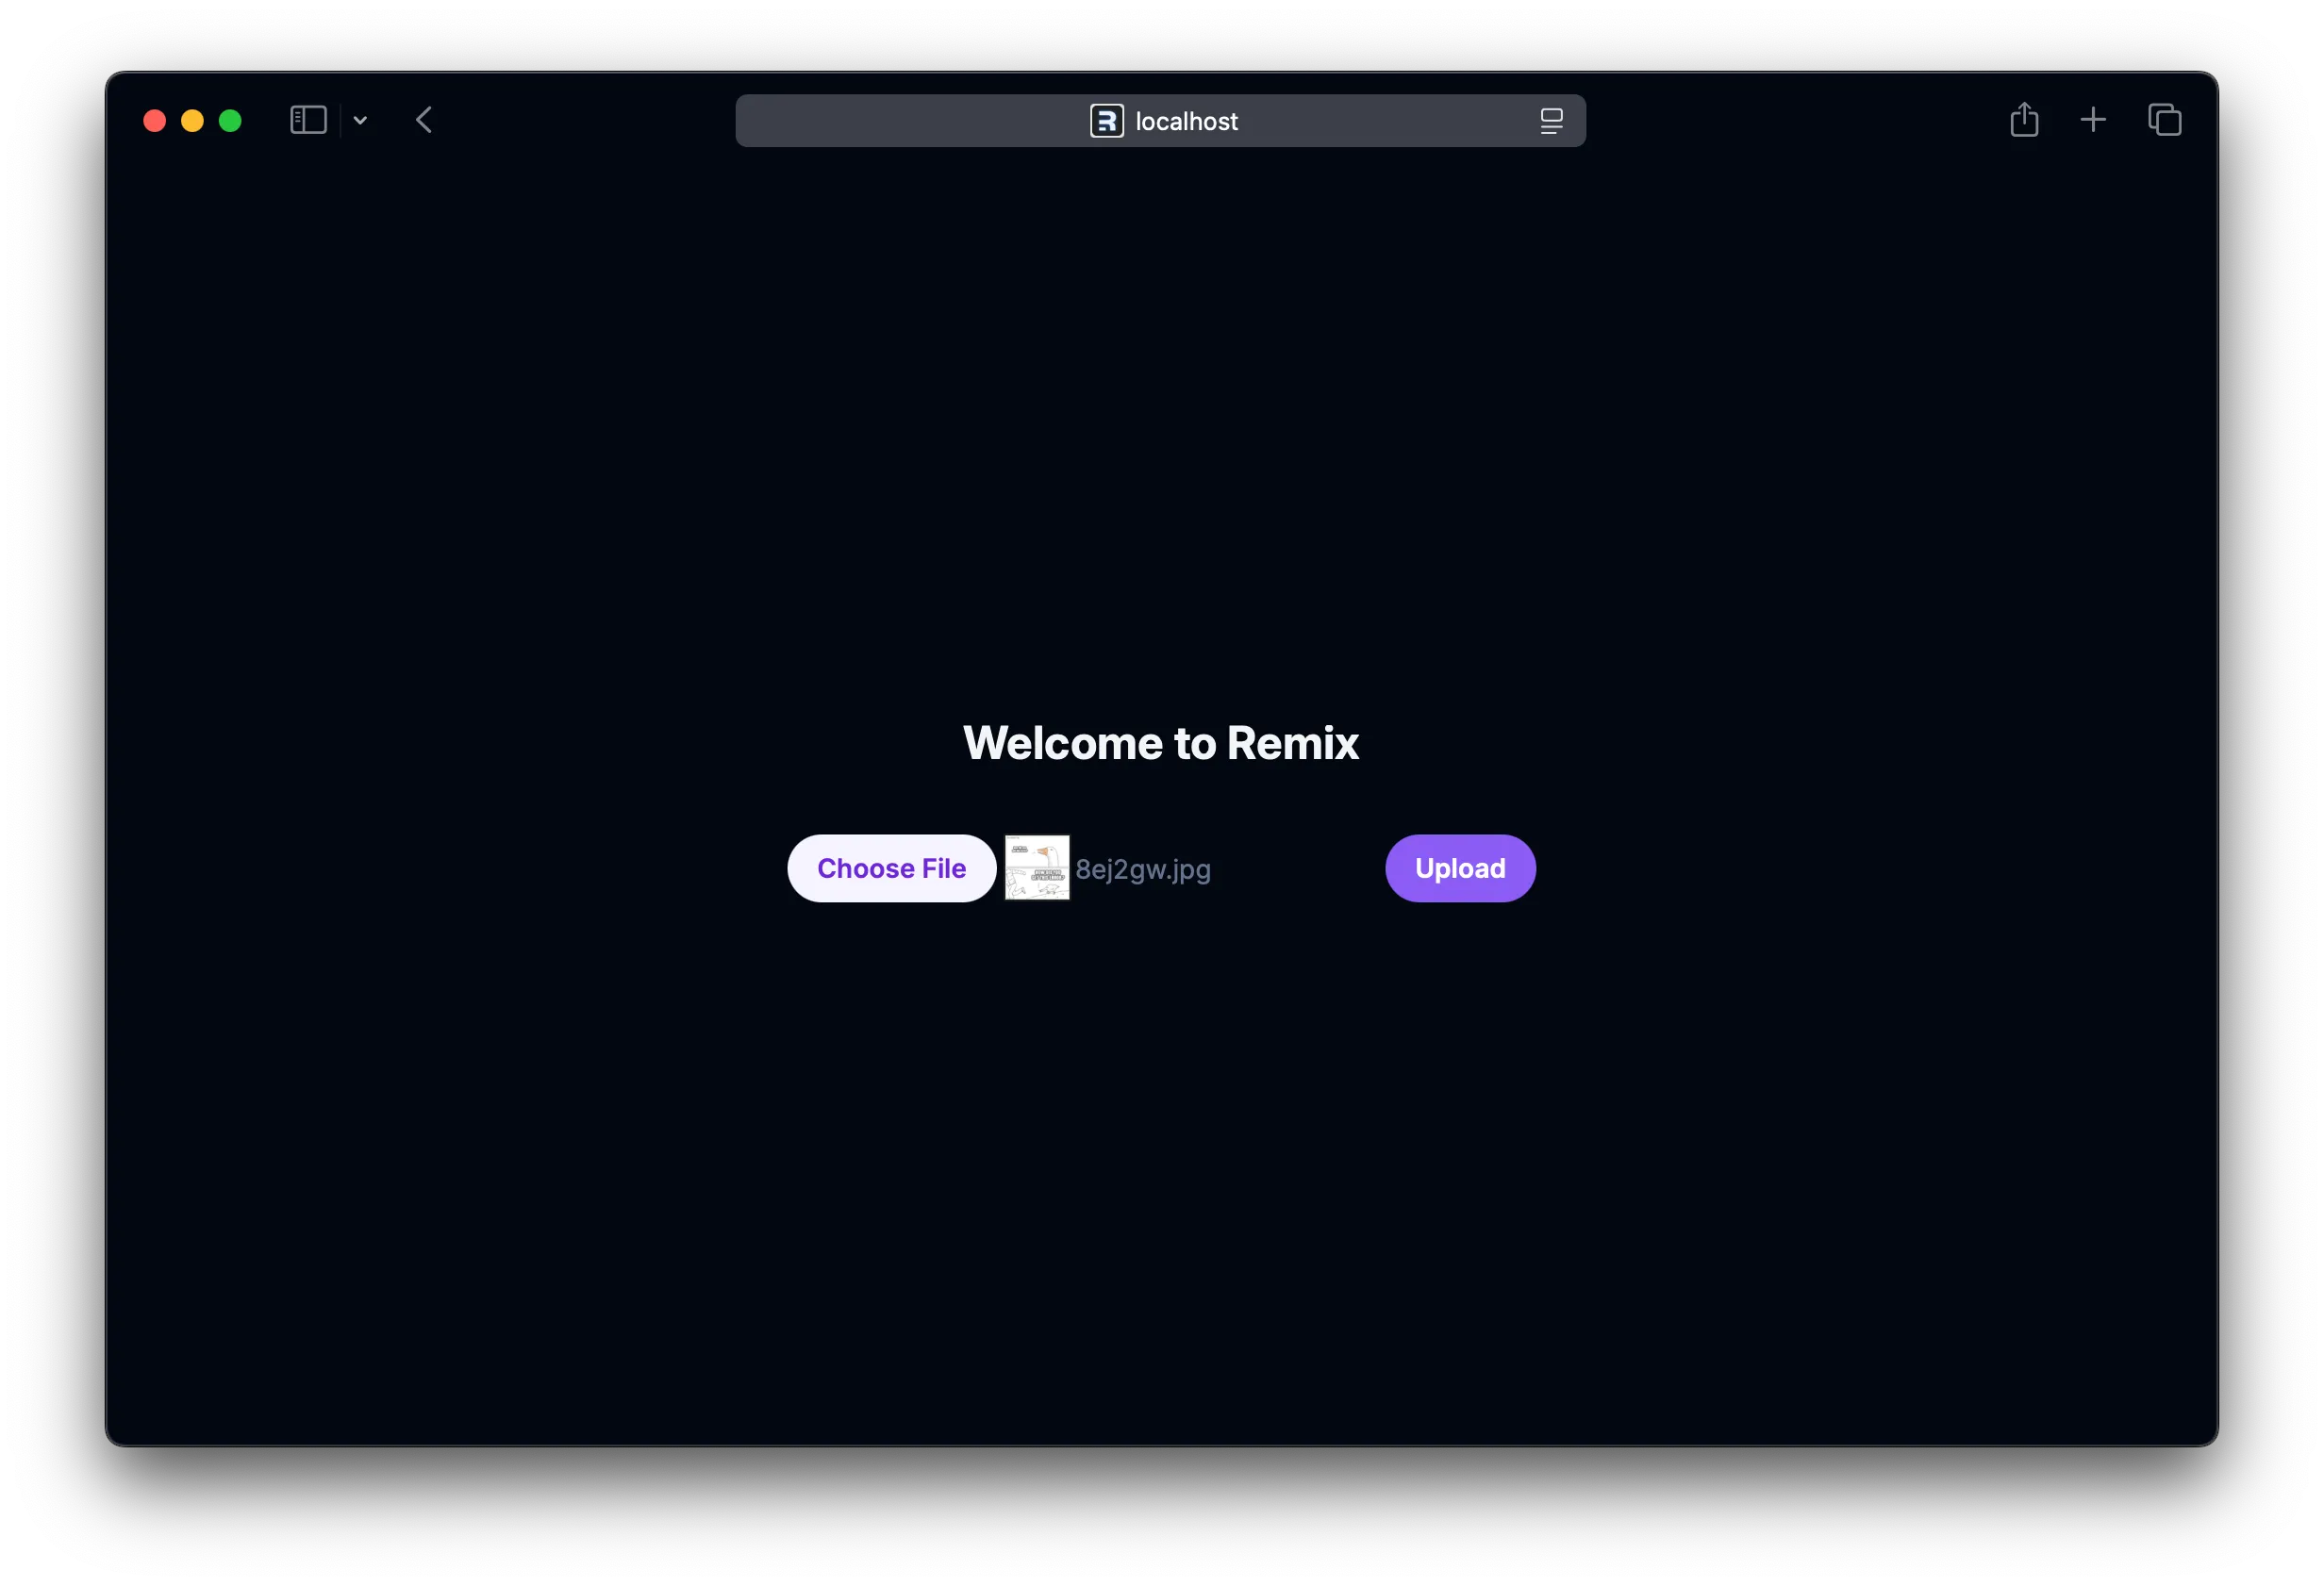
npm install @aws-sdk/client-s3 @aws-sdk/s3-request-presignerHead over to the local Remix app in your browser, http://localhost:5173 and try uploading an image. You should see it upload and then download the image.

5. Deploy your app
Now let’s deploy your app to AWS.
npx sst deploy --stage productionYou can use any stage name here but it’s good to create a new stage for production.
Congrats! Your site should now be live!
Containers
We are going to create a Remix app, add an S3 Bucket for file uploads, and deploy it in a container with the Cluster component.
Before you get started, make sure to configure your AWS credentials.
1. Create a project
Let’s start by creating our app.
npx create-remix@latest aws-remix-containercd aws-remix-containerWe are picking all the default options.
Init SST
Now let’s initialize SST in our app.
npx sst@latest initSelect the defaults and pick AWS. This’ll create a sst.config.ts file in your project root.
2. Add a Service
To deploy our Remix app in a container, we’ll use AWS Fargate with Amazon ECS. Replace the run function in your sst.config.ts.
async run() {  const vpc = new sst.aws.Vpc("MyVpc");  const cluster = new sst.aws.Cluster("MyCluster", { vpc });
  new sst.aws.Service("MyService", {    cluster,    loadBalancer: {      ports: [{ listen: "80/http", forward: "3000/http" }],    },    dev: {      command: "npm run dev",    },  });}
This creates a VPC, and an ECS Cluster with a Fargate service in it.
The dev.command tells SST to instead run our Remix app locally in dev mode.
Start dev mode
Run the following to start dev mode. This’ll start SST and your Remix app.
npx sst devOnce complete, click on MyService in the sidebar and open your Remix app in your browser.
3. Add an S3 Bucket
Let’s allow public access to our S3 Bucket for file uploads. Update your sst.config.ts.
const bucket = new sst.aws.Bucket("MyBucket", { access: "public"});Add this below the Vpc component.
Link the bucket
Now, link the bucket to the container.
new sst.aws.Service("MyService", { // ... link: [bucket],});This will allow us to reference the bucket in our Remix app.
4. Create an upload form
Add the upload form client in app/routes/_index.tsx. Replace the Index component with:
export default function Index() {  const data = useLoaderData<typeof loader>();  return (    <div className="flex h-screen items-center justify-center">      <div className="flex flex-col items-center gap-8">        <h1 className="leading text-2xl font-bold text-gray-800 dark:text-gray-100">          Welcome to Remix        </h1>        <form          className="flex flex-row gap-4"          onSubmit={async (e) => {            e.preventDefault();
            const file = (e.target as HTMLFormElement).file.files?.[0]!;
            const image = await fetch(data.url, {              body: file,              method: "PUT",              headers: {                "Content-Type": file.type,                "Content-Disposition": `attachment; filename="${file.name}"`,              },            });
            window.location.href = image.url.split("?")[0];          }}        >          <input            name="file"            type="file"            accept="image/png, image/jpeg"            className="block w-full text-sm text-slate-500              file:mr-4 file:py-2 file:px-4              file:rounded-full file:border-0              file:text-sm file:font-semibold              file:bg-violet-50 file:text-violet-700              hover:file:bg-violet-100" />          <button className="bg-violet-500 hover:bg-violet-700 text-white text-sm            font-semibold py-2 px-4 rounded-full">            Upload          </button>        </form>      </div>    </div>  );}
5. Generate a pre-signed URL
When our app loads, we’ll generate a pre-signed URL for the file upload and use it in the form.
Add this above the Index component in app/routes/_index.tsx.
export async function loader() {  const command = new PutObjectCommand({    Key: crypto.randomUUID(),    Bucket: Resource.MyBucket.name,  });  const url = await getSignedUrl(new S3Client({}), command);
return { url };}Add the relevant imports.
import { Resource } from "sst";import { useLoaderData } from "@remix-run/react";import { getSignedUrl } from "@aws-sdk/s3-request-presigner";import { S3Client, PutObjectCommand } from "@aws-sdk/client-s3";And install the npm packages.
npm install @aws-sdk/client-s3 @aws-sdk/s3-request-presignerHead over to the local Remix app in your browser, http://localhost:5173 and try uploading an image. You should see it upload and then download the image.

6. Deploy your app
To deploy our app we’ll add a Dockerfile.
FROM node:lts-alpine as baseENV NODE_ENV production
# Stage 1: Install all node_modules, including dev dependenciesFROM base as depsWORKDIR /myappADD package.json ./RUN npm install --include=dev
# Stage 2: Setup production node_modulesFROM base as production-depsWORKDIR /myappCOPY --from=deps /myapp/node_modules /myapp/node_modulesADD package.json ./RUN npm prune --omit=dev
# Stage 3: Build the appFROM base as buildWORKDIR /myappCOPY --from=deps /myapp/node_modules /myapp/node_modulesADD . .RUN npm run build
# Stage 4: Build the production imageFROM baseWORKDIR /myappCOPY --from=production-deps /myapp/node_modules /myapp/node_modulesCOPY --from=build /myapp/build /myapp/buildCOPY --from=build /myapp/public /myapp/publicADD . .
CMD ["npm", "start"]
This builds our Remix app in a Docker image.
Let’s also add a .dockerignore file in the root.
node_modules.cachebuildpublic/buildNow to build our Docker image and deploy we run:
npx sst deploy --stage productionYou can use any stage name here but it’s good to create a new stage for production.
Congrats! Your app should now be live!
Connect the console
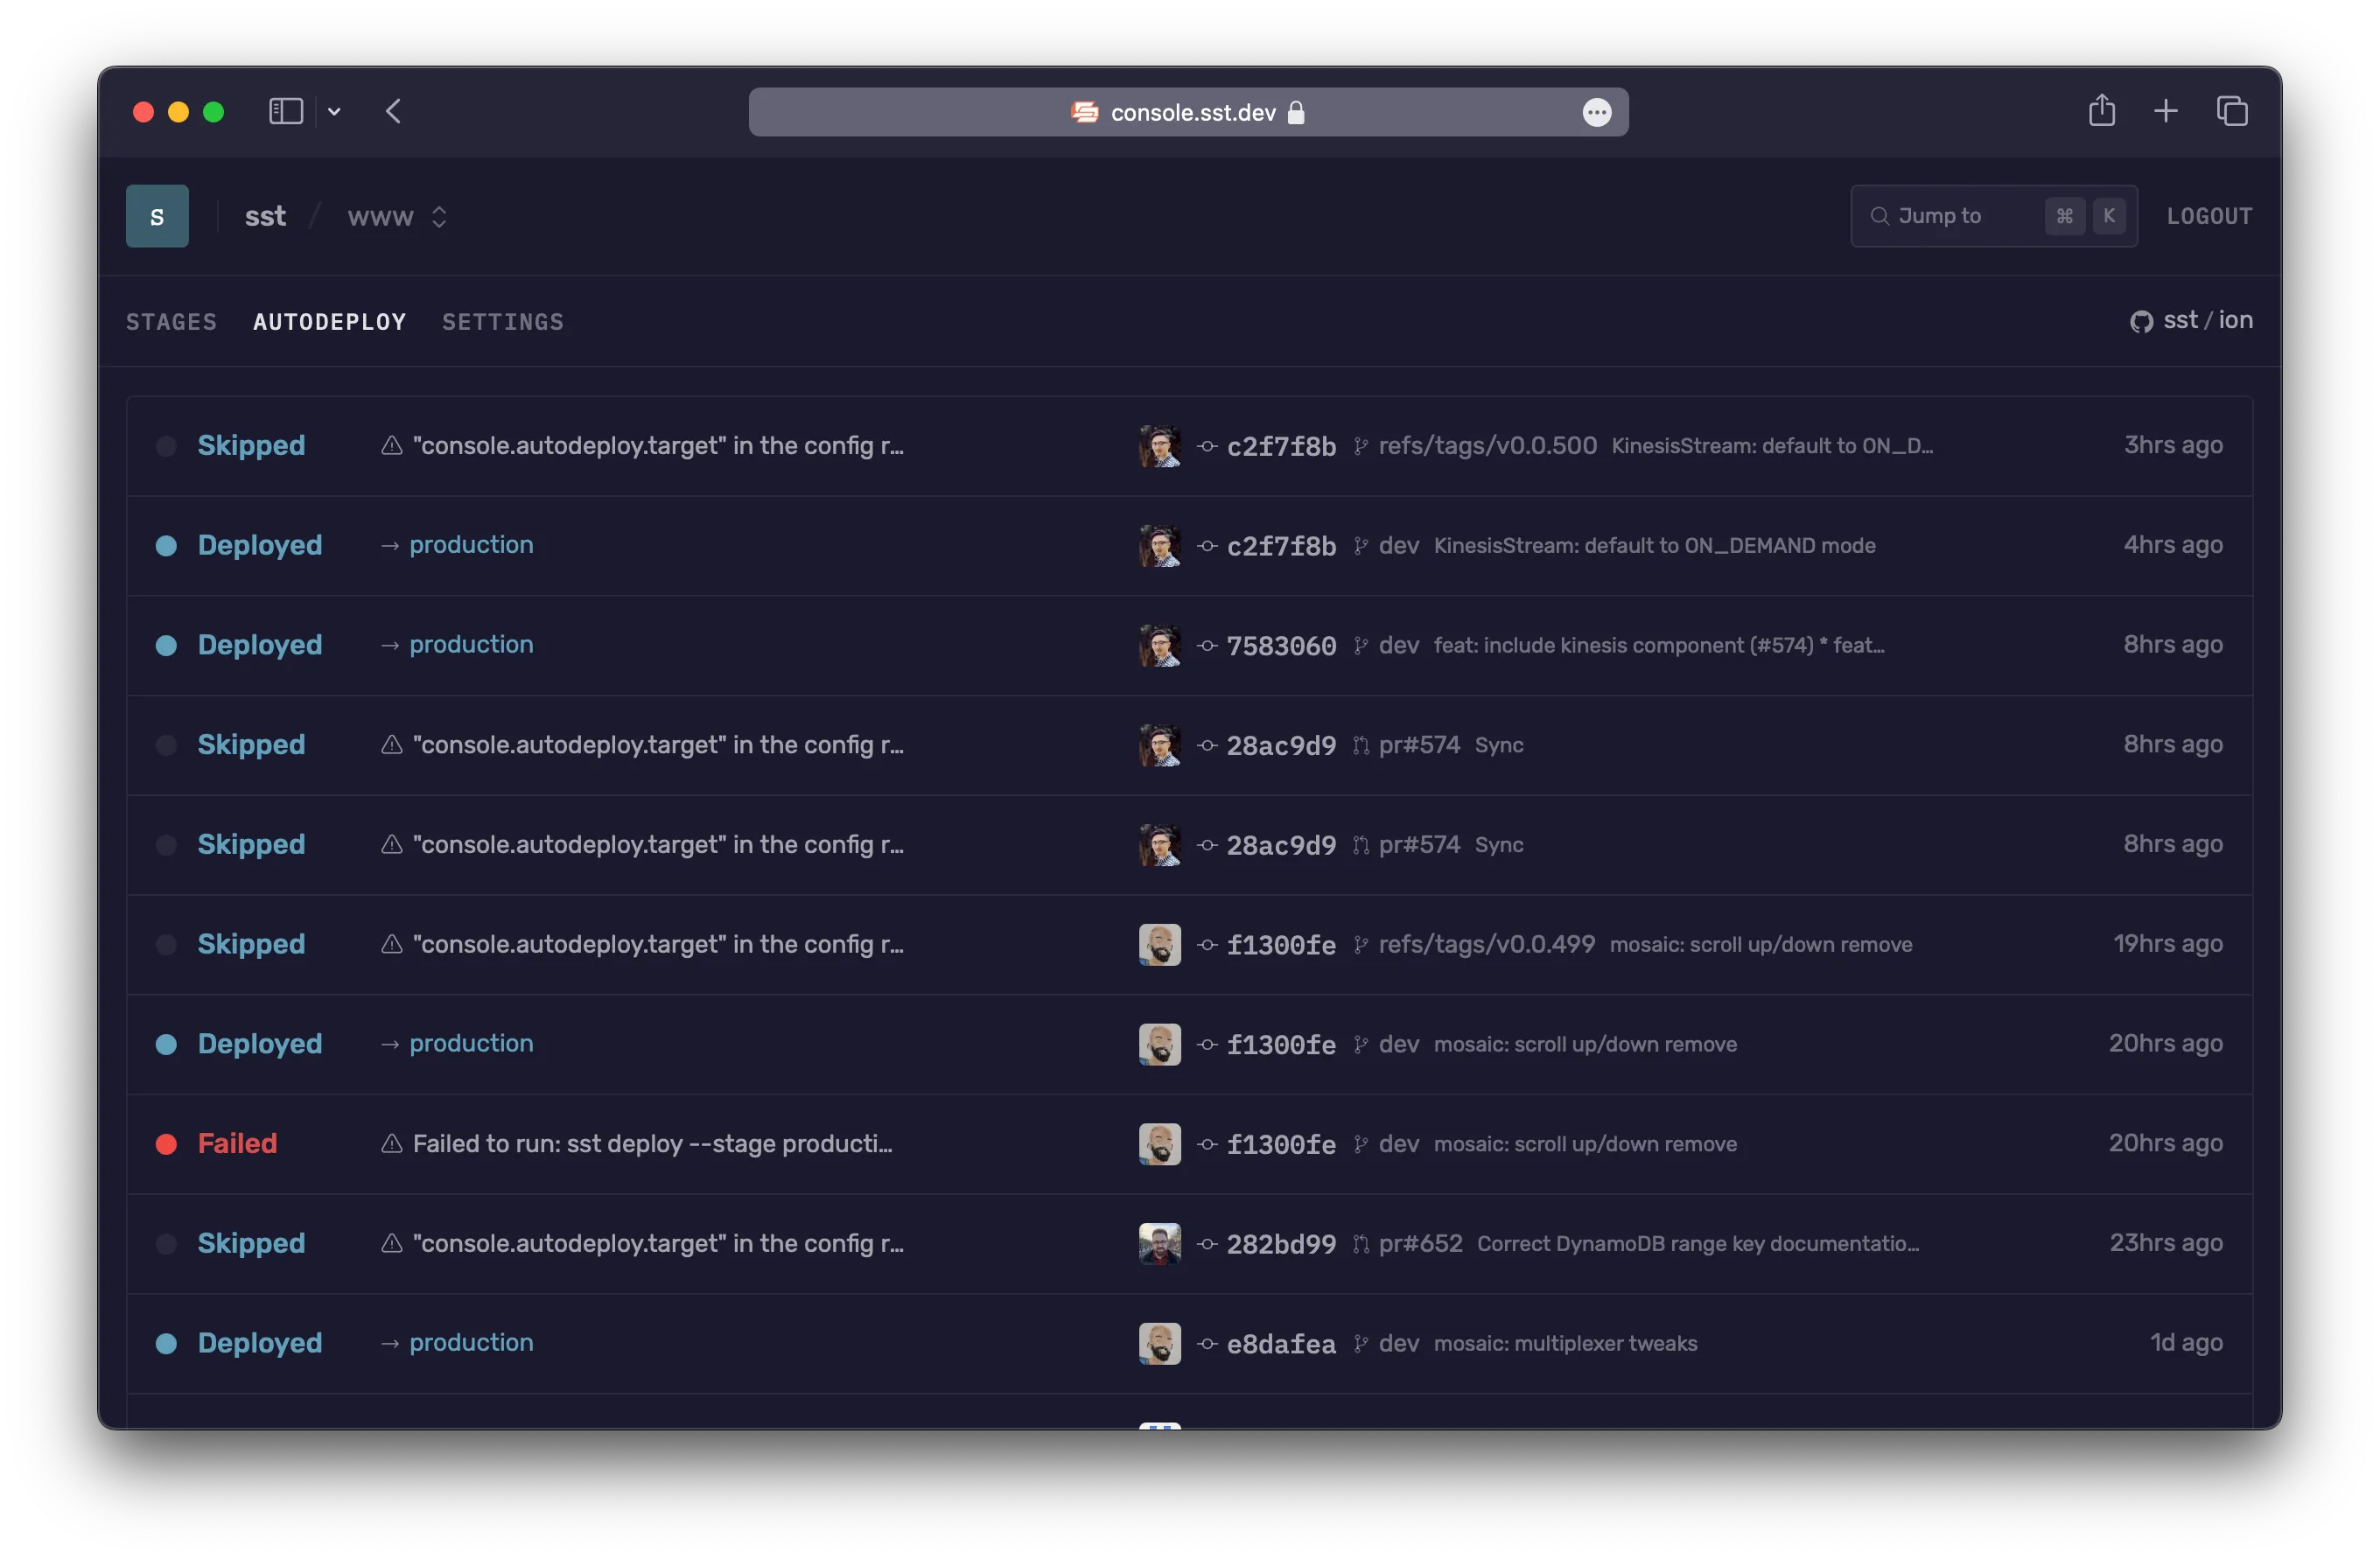
As a next step, you can setup the SST Console to git push to deploy your app and view logs from it.

You can create a free account and connect it to your AWS account.