Workflow
The main difference between working on SST versus any other framework is that everything related to your app is all defined in code.
- SST automatically manages the resources in AWS (or any provider) defined in your app.
- You don’t need to make any manual changes to them in your cloud provider’s console.
This idea of automating everything can feel unfamiliar at first. So let’s go through the workflow and look at some basic concepts.
Setup
Before you start working on your app, there are a couple of things we recommend setting up.
Starting with your code editor.
Editor
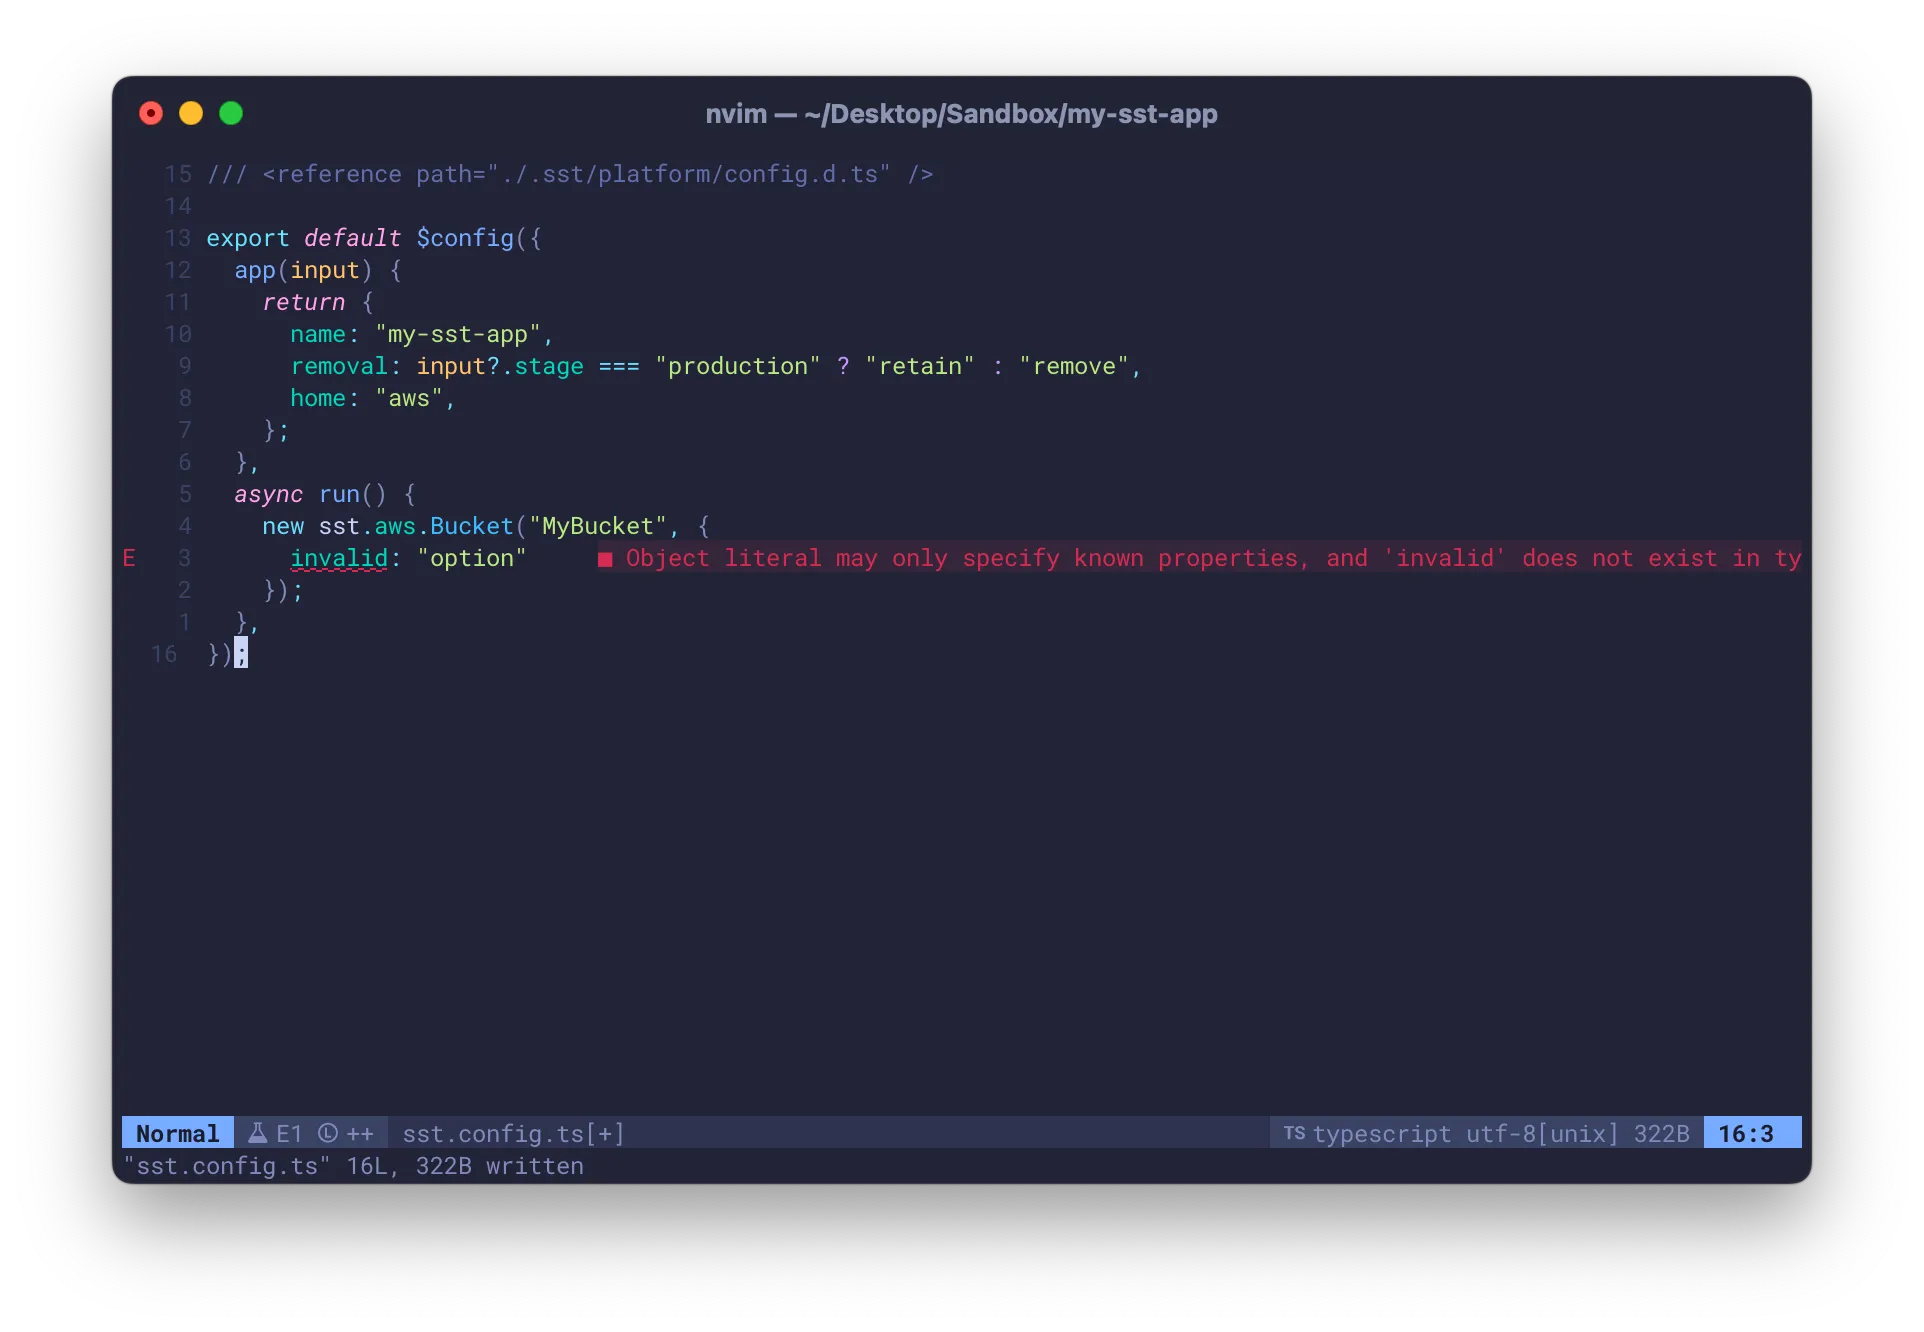
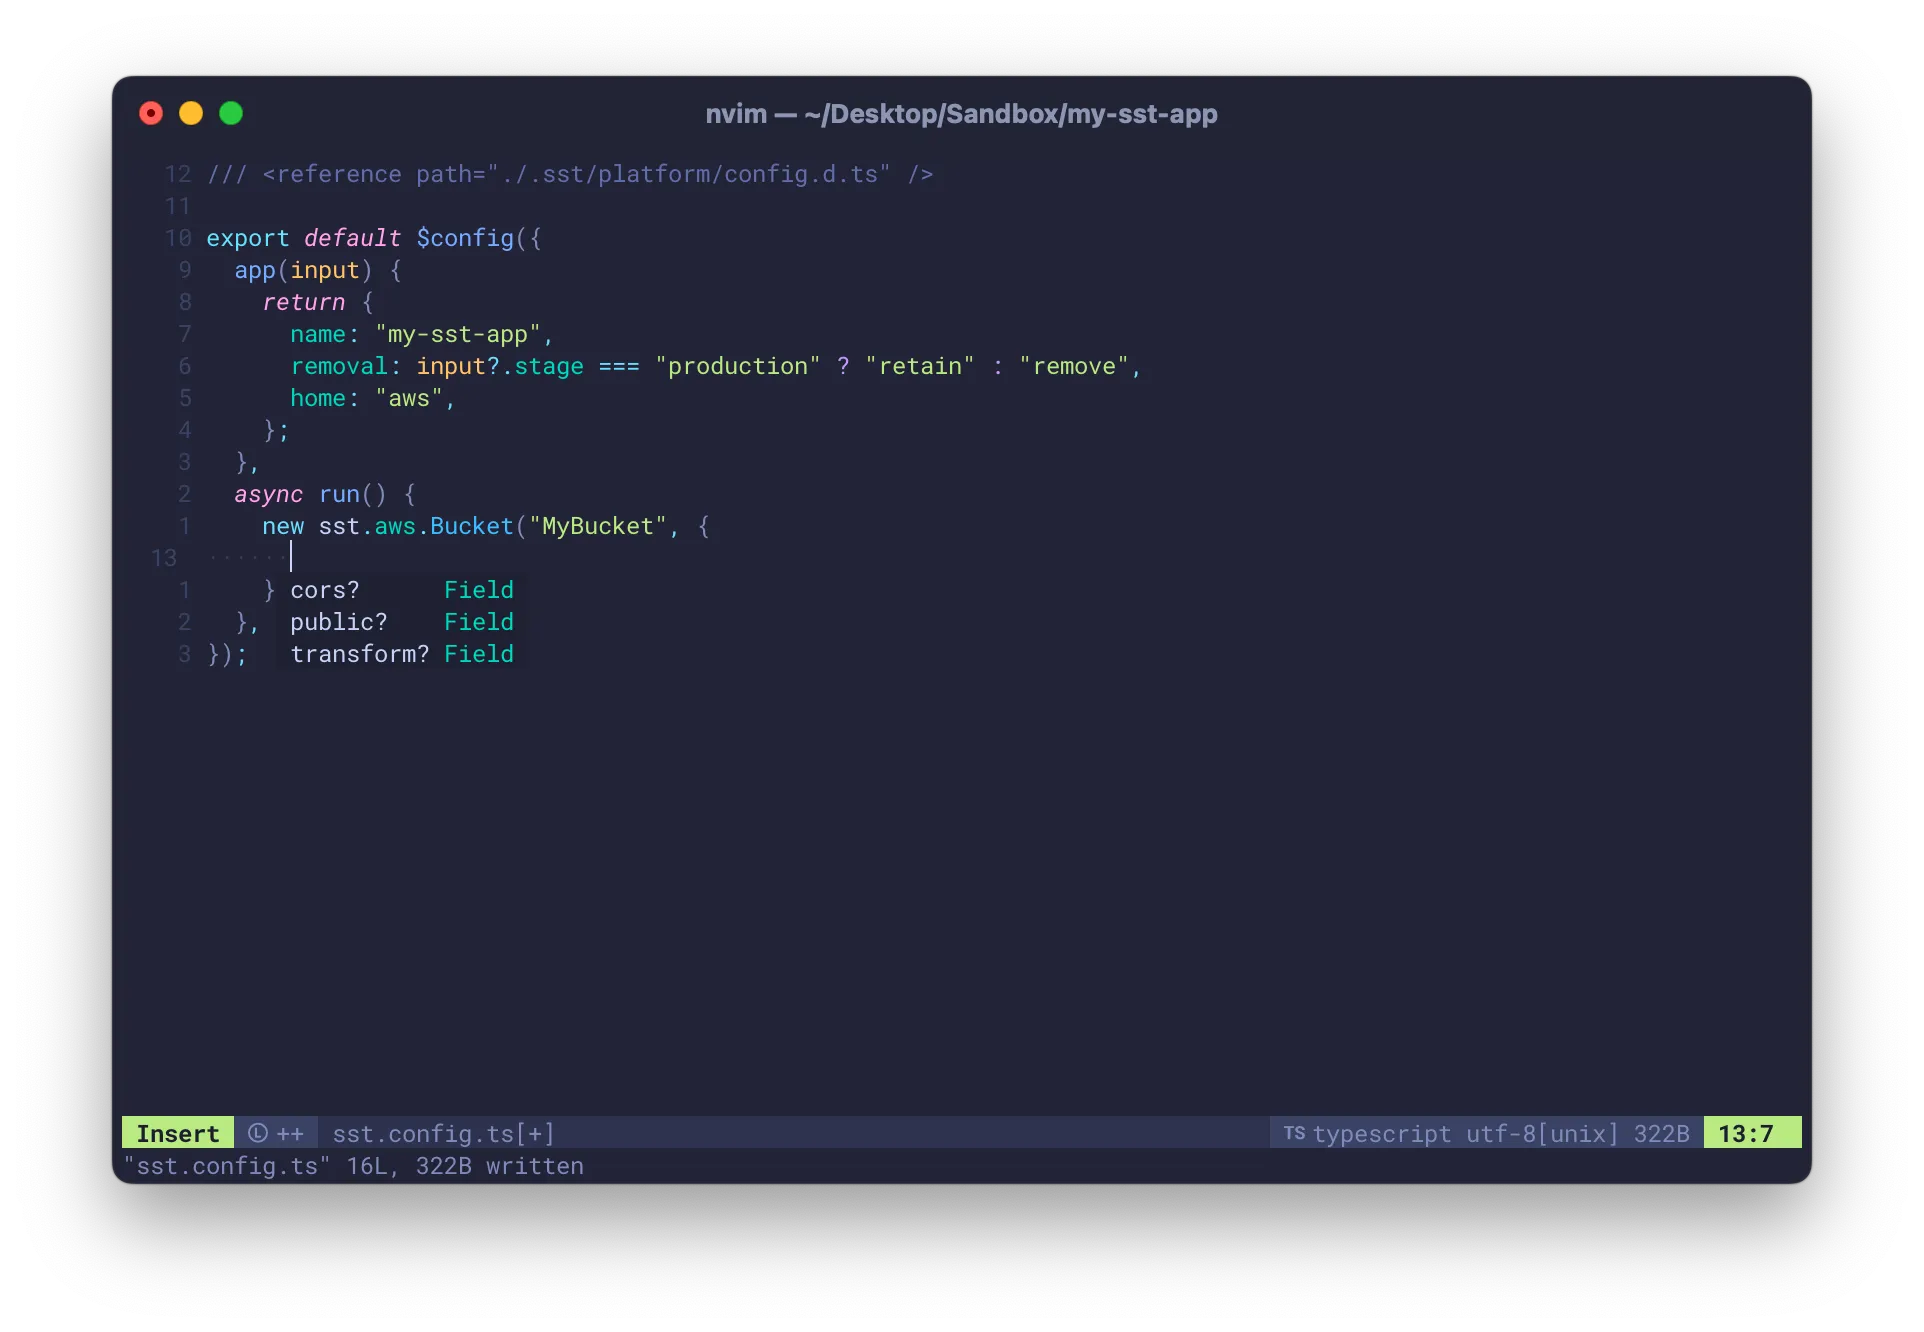
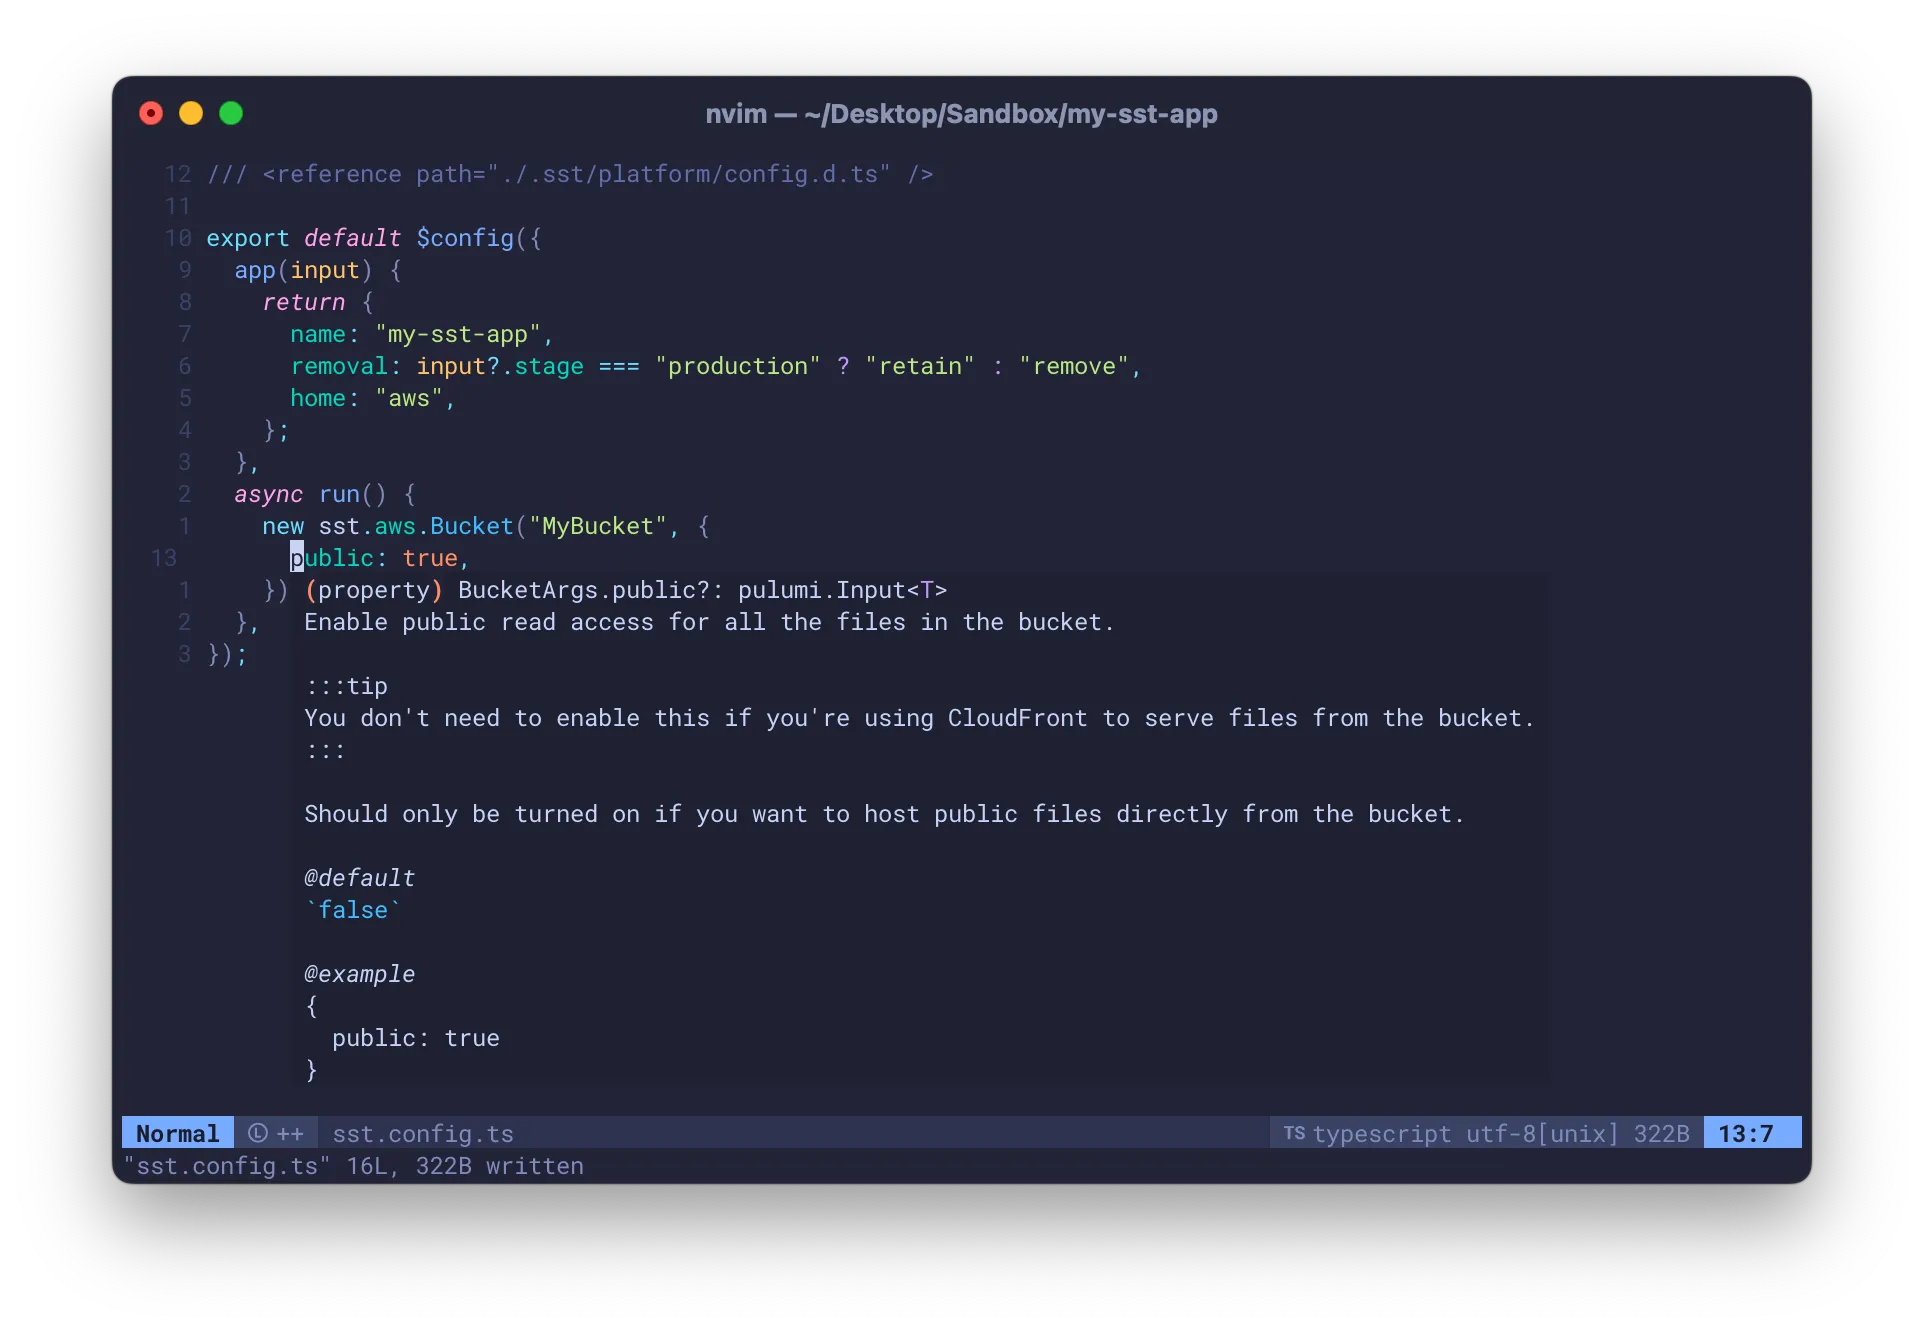
SST apps are configured through a file called sst.config.ts. It’s a TypeScript file and it can work with your editor to type check and autocomplete your code. It can also show you inline help.


Most modern editors; VS Code and Neovim included, should do the above automatically. But you should start by making sure that your editor has been set up.
Credentials
SST apps are deployed to your infrastructure. So whether you are deploying to AWS, or Cloudflare, or any other cloud provider, make sure you have their credentials configured locally.
Learn more about how to configure your AWS credentials.
Console
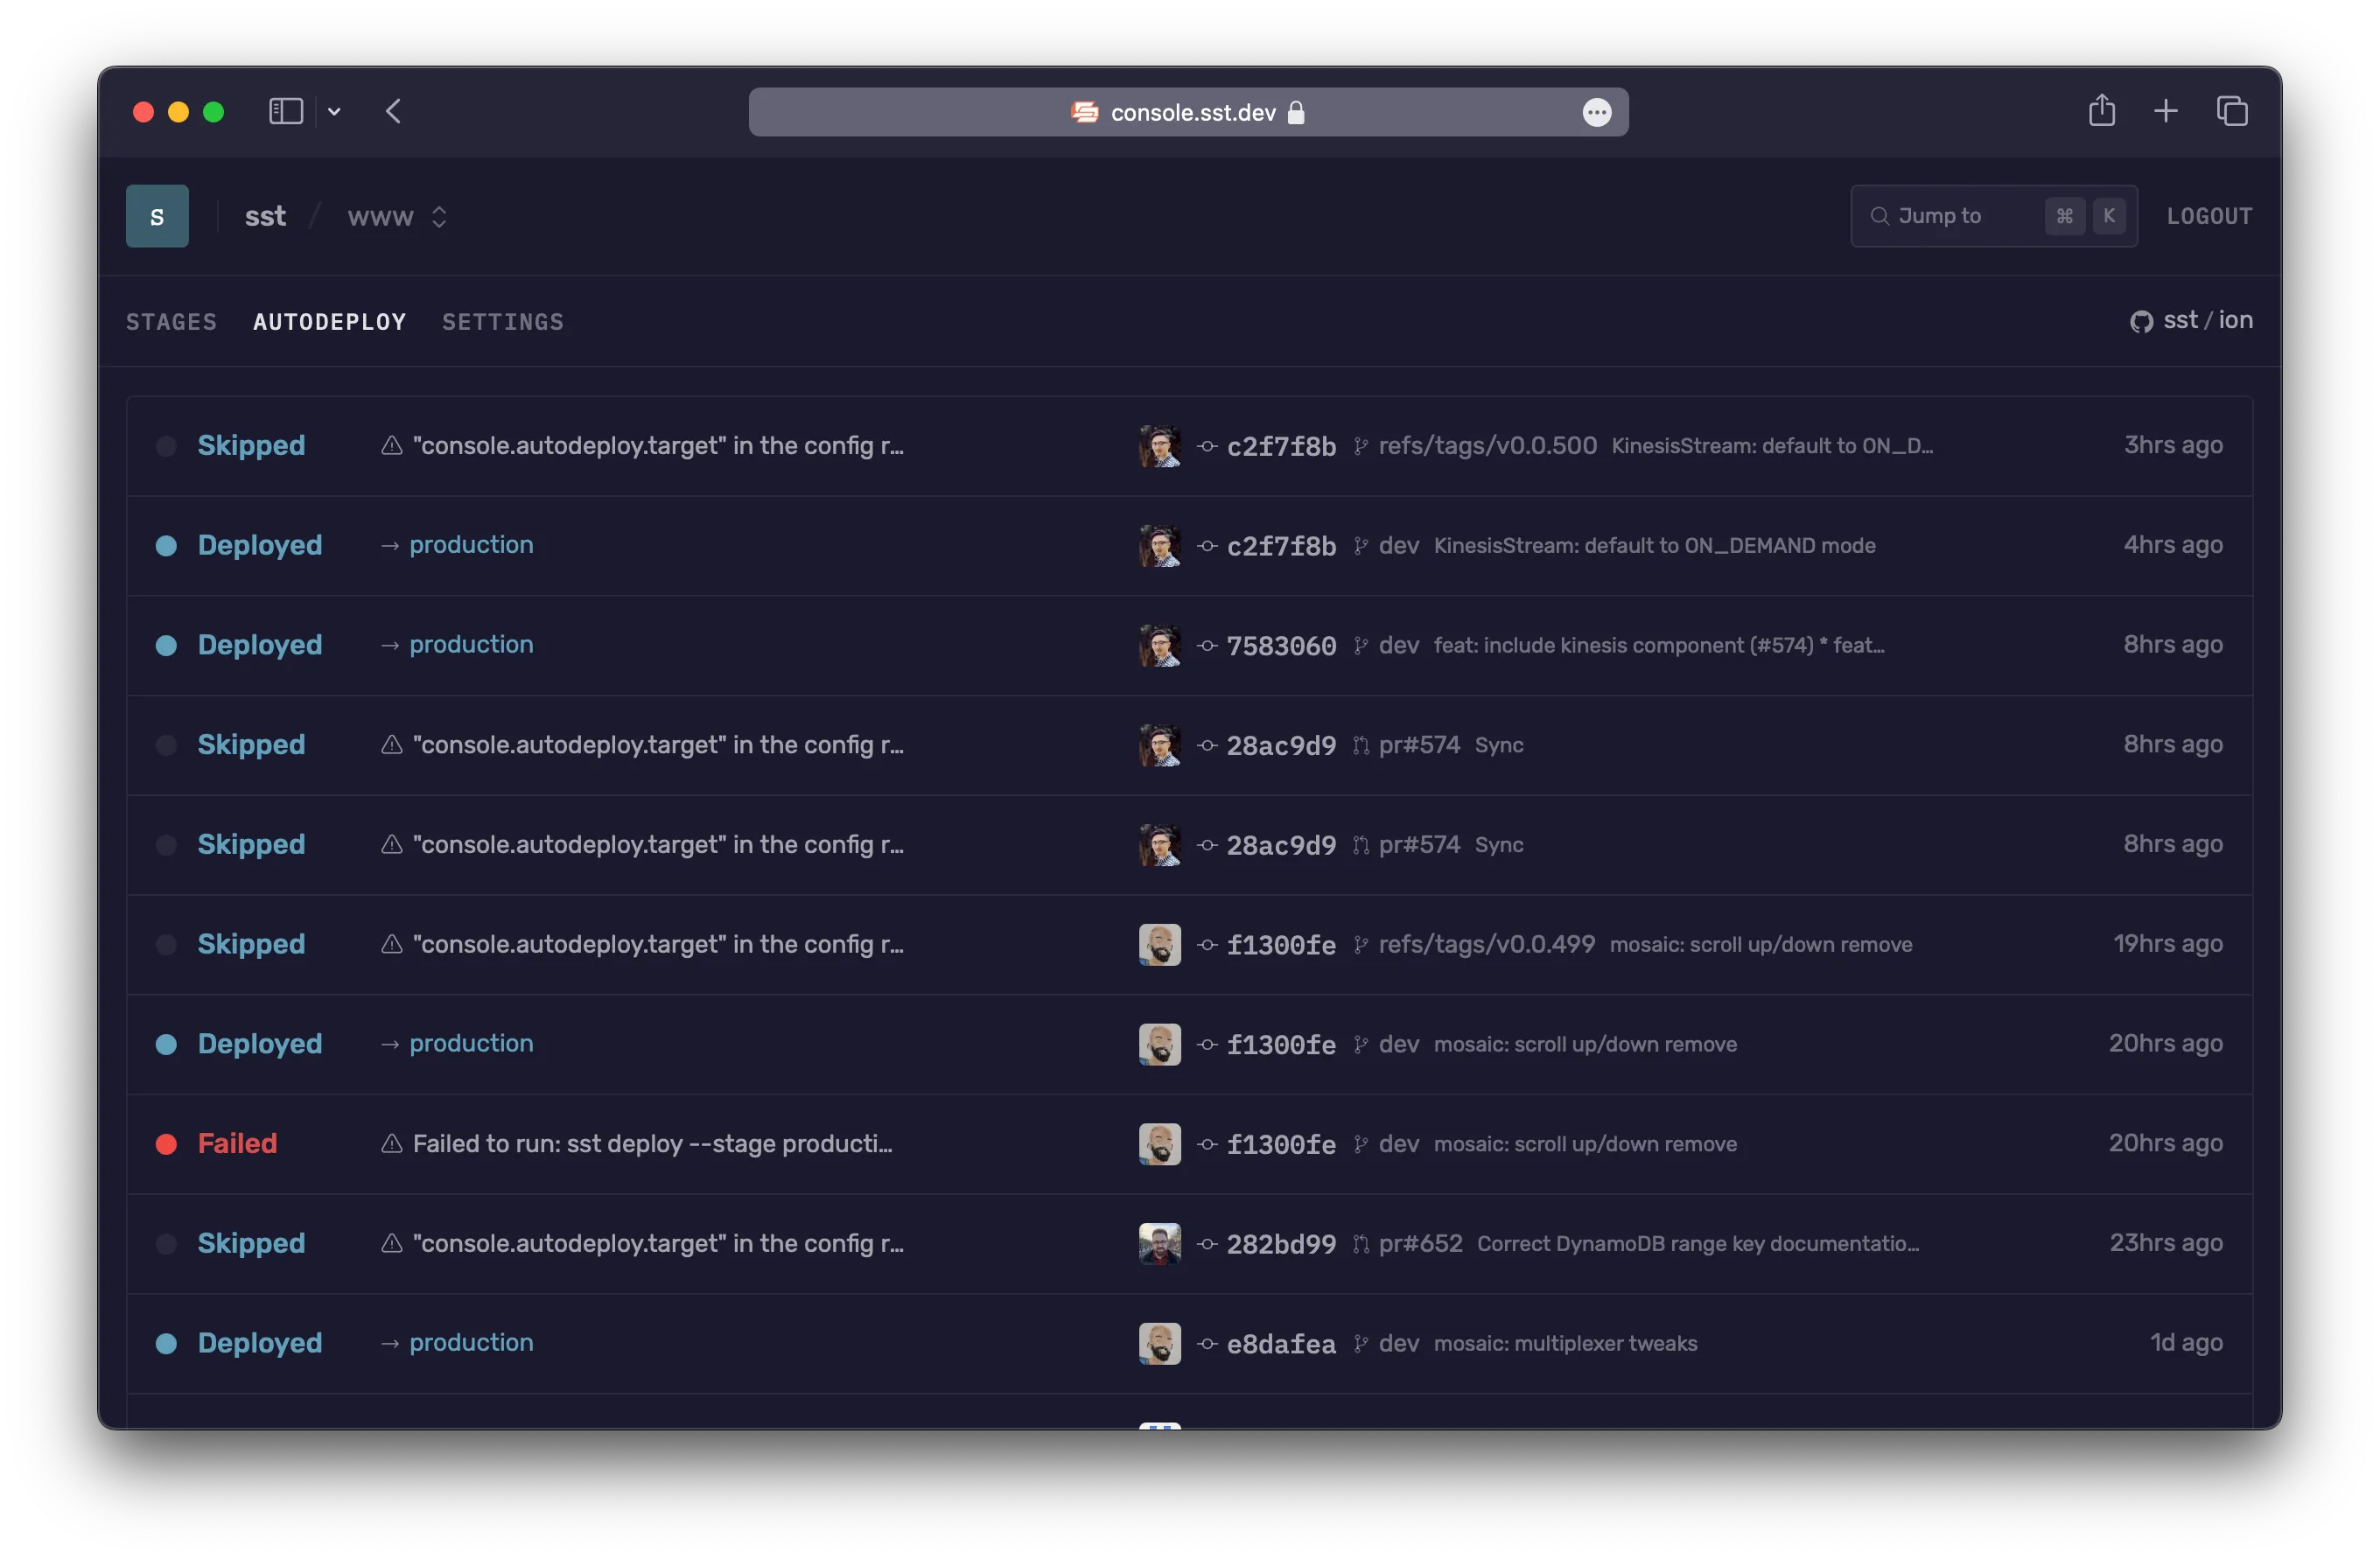
SST also comes with a Console. It shows you all your apps, the resources in them, lets you configure git push to deploy, and also send you alerts for when there are any issues.
While it is optional, we recommend creating a free account and linking it to your AWS account. Learn more about the SST Console.
sst.config.ts
Now that you are ready to work on your app and your sst.config.ts, let’s take a look at what it means to configure everything in code.
IaC
Infrastructure as Code or IaC is a process of automating the management of infrastructure through code. Rather than doing it manually through a console or user interface.
Say your app has a Function and an S3 bucket, you would define that in your sst.config.ts.
const bucket = new sst.aws.Bucket("MyBucket");
new sst.aws.Function("MyFunction", {  handler: "index.handler"});
You won’t need to go to the Lambda and S3 parts of the AWS Console. SST will do the work for you.
In the above snippets, sst.aws.Function and sst.aws.Bucket are called Components. Learn more about Components.
Resources
The reason this works is because when SST deploys the above app, it’ll convert it into a set of commands. These then call AWS with your credentials to create the underlying resources. So the above components get transformed into a list of low level resources in AWS.
If you log in to your AWS Console you can see what gets created internally. While these might look a little intimidating, they are all managed by SST and you are not directly responsible for them.
SST will create, track, and remove all the low level resources defined in your app.
Exceptions
There are some exceptions to this. You might have resources that are not defined in your SST config. These could include the following resources:
-
Previously created
You might’ve previously created some resources by hand that you would like to use in your new SST app. You can import these resources into your app. Moving forward, SST will manage them for you. Learn more about importing resources.
-
Externally managed
You might have resources that are managed by a different team. In this case, you don’t want SST to manage them. You simply want to reference them in your app. Learn more about referencing resources.
-
Shared across stages
If you are creating preview environments, you might not want to make copies of certain resources, like your database. You might want to share these across stages. Learn more about sharing across stages.
Linking
Let’s say you wanted your function from the above example to upload a file to the S3 bucket, you’d need to hardcode the name of the bucket in your API.
SST avoids this by allowing you to link resources together.
new sst.aws.Function("MyFunction", { handler: "index.handler", link: [bucket]});Now in your function you can access the bucket using SST’s SDK.
import { Resource } from "sst";
console.log(Resource.MyBucket.name);
There’s a difference between the two snippets above. One is your infrastructure code and the other is your runtime code. One is run while creating your app, while the other runs when your users use your app.
The link allows you to access your infrastructure in your runtime code. Learn more about resource linking.
State
When you make a change to your sst.config.ts, like we did above. SST only deploys the changes.
new sst.aws.Function("MyFunction", { handler: "index.handler", link: [bucket]});It does this by maintaining a state of your app. The state is a tree of all the resources in your app and all their properties.
The state is stored in a file locally and backed up to a bucket in your AWS (or Cloudflare) account.
A word of caution, if for some reason you delete your state locally and in your provider, SST won’t be able to manage the resources anymore. To SST this app won’t exist anymore.
To fix this, you’ll have to manually re-import all those resources back into your app. Learn more about how state works.
Out of sync
We mentioned above that you are not responsible for the low level resources that SST creates. But this isn’t just a point of convenience; it’s something you should not do.
The reason for this is that, SST only applies the diffs when your sst.config.ts changes. So if you manually change the resources, it’ll be out of sync with your state.
You can fix some of this by running sst refresh but in general you should avoid doing this.
App
So now that we know how IaC works, a lot of the workflow and concepts will begin to make sense. Starting with the key parts of an app.
Name
Every app has a name. The name is used as a namespace. It allows SST to deploy multiple apps to the same cloud provider account, while isolating the resources in an app.
If you change the name of your app in your sst.config.ts, SST will create a completely new set of resources for it. It does not rename the resources.
So if you:
- Create an app with the name
my-sst-appin yoursst.config.tsand deploy it. - Rename the app in your
sst.config.tstomy-new-sst-appand deploy again.
You will now have two apps in your AWS account called my-sst-app and my-new-sst-app.
If you want to rename your app, you’ll need to remove the old app first and then deploy a new one with the new name.
Stage
An app can have multiple stages. A stage is like an environment, it’s a separate version of your app. For example, you might have a dev stage, a production stage, or a personal stage.
It’s useful to have multiple versions of your app because it lets you make changes and test in one version while your users continue to use the other.
You create a new stage by deploying to it with the --stage <name> CLI option. The stage name is used as a namespace to create a new version of your app. It’s similar to how the app name is used as a namespace.
Similar to app names, stages cannot be renamed. So if you wanted to rename a development stage to dev; you’ll need to first remove development and then deploy dev.
Personal stages
By default, if no stage is passed in, SST creates a stage using the username in your computer. This is called a personal stage. Personal stages are typically used in dev mode and every developer on your team should use their own personal stage.
We’ll look at this in detail below.
Region
Most resources that are created in AWS (and many other providers) belong to a specific region. So when you deploy your app, it’s deployed to a specific region.
For AWS, the region comes from your AWS credentials but it can be specified in the sst.config.ts.
export default $config({ app(input) { return { name: "my-sst-app", providers: { aws: { region: "us-west-2" } } }; }});Similar to the app and stage, if you want to switch regions; you’ll need to remove your app in the old region and deploy it to the new one.
Commands
Now with the above background let’s look at the workflow of building an SST app.
Let’s say you’ve created an app by running.
sst initDev
To start with, you’ll run your app in dev.
sst devThis deploys your app to your personal stage in dev mode. It brings up a multiplexer that deploys your app, runs your functions, creates a tunnel, and starts your frontend and container services.
It deploys your app a little differently and is optimized for local development.
- It runs the functions in your app Live by deploying a stub version. These proxy any requests to your local machine.
- It does not deploy your frontends or container services. Instead, it starts them locally.
- It also creates a tunnel that allows them to connect to any resources that are deployed in a VPC.
For this reason we recommend only using your personal stage for local development. And instead deploying to a separate stage when you want to share your app with your users.
Learn more about sst dev.
Deploy
Once you are ready to go to production you can run.
sst deploy --stage productionYou can use any stage name for production here.
Remove
If you want to remove your app and all the resources in it, you can run.
sst remove --stage <name>You want to be careful while running this command because it permanently removes all the resources from your AWS (or cloud provider) account.
To prevent accidental removal, our template sst.config.ts comes with the following.
removal: input?.stage === "production" ? "retain" : "remove",This is telling SST that if the stage is called production then on remove, retain critical resources like buckets and databases. This should avoid any accidental data loss.
Learn more about removal policies.
With a team
This workflow really shines when working with a team. Let’s look at what it looks like with a basic git workflow.
- Every developer on the team uses
sst devto work in their own isolated personal stage. - You commit your changes to a branch called
dev. - Any changes to the
devbranch are auto-deployed usingsst deploy --stage dev. - Your team tests changes made to the
devstage of your app. - If they look good,
devis merged into a branch calledproduction. - And any changes to the
productionbranch are auto-deployed to theproductionstage withsst deploy --stage production.
In this setup, you have a separate stage per developer, a dev stage for testing, and a production stage.
Autodeploy
To have a branch automatically deploy to a stage when commits are pushed to it, you need to configure GitHub Actions.

Or you can connect your repo to the SST Console and it’ll auto-deploy your app for you. Learn more about Autodeploy.
PR environments
You can also set it up to create preview environments.
So when a pull request (say PR#12) is created, you auto-deploy a new stage using sst deploy --stage pr-12. And once the PR is merged, the preview environment or stage gets removed using sst remove --stage pr-12.
Just like above, you can configure this using GitHub Actions or let the SST Console do it for you.
And there you have it. You are now ready to build apps the SST way.